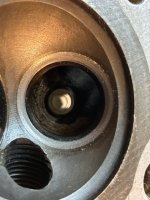
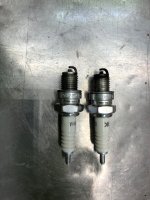
So, I pulled the plugs and noticed the right cylinder plug is black, whereas the left cylinder is relatively clean
After giving much thought about EzPete's suggestion about possible clogged mufflers, I decided to pull the right-side muffler (because of black plug on same side) and take a look. No clog. The mufflers are straight thru. The right-side header pipe is loaded with black oil. I purposely cleaned the inside of the header pipes before reinstallation.
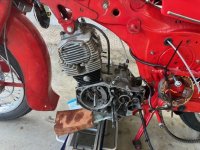
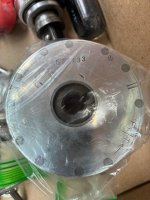
Then something dawned on me. Broken piston rings? All the time I waited for my cylinder head to come back I never thought to pull the cylinders to have a look. The cylinders show no damage, but the total time the engine actually ran (and crappy at that) is 20 minutes total. I followed the book as far as which ring fit which grove on the piston and like previous piston installations I've done, I simply used lots of assembly lube while compressing the rings in the cylinder taper one by one, back and forth until the pistons glided into the bore(s). I staggered the rings far enough apart to have a little wiggle room while I slip the pistons into the cylinders.
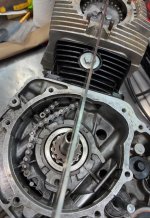
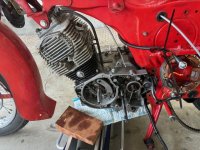
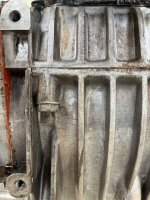
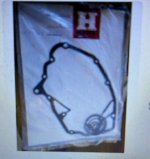
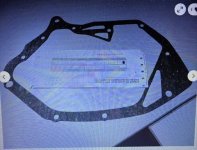
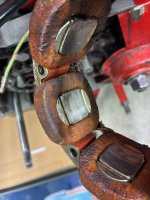
Now my twisted logic is I (with the help of members input) replaced ignition components, had a valve job done, went over carburation multiple times, bored the cylinders, installed new pistons, rings, seals & gaskets. checked new coil ohm, cleaned wire connectors, installed solid state rectifier. I double checked cam/sprocket timing chain line up, installed 3 sets of new spark plugs. The oil has been changed three times (every time I opened up the case to access the cam chain).
First time start of the engine I had a lot of smoke and wrote off the smoke as rings not seated. Eventually the smoke subsided but has not disappeared, especially the right cylinder.
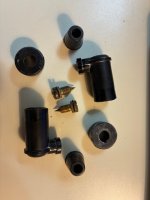
Tomorrow, when I get my new spark plug caps, I will try to start the engine again. I have limited faith the new caps will do the trick.
If you have read this far, consider everything done to bring the engine back to life has actually made the engine run worse! Like every improvement aggravated the real reason (theory) that the piston rings are to blame. I'll take her down one last time if I need to.