Spokes
Veteran Member
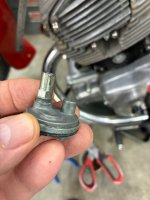
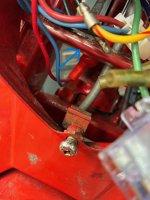
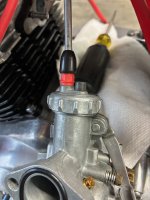
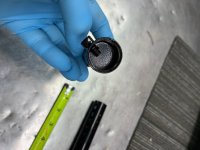
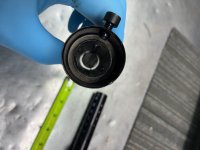
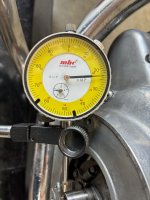
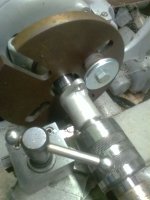
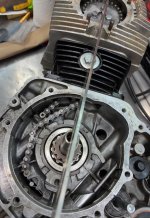
Yes! I thought so as well! The advance is seated tight to the keyway! I watched my video many times before I posted it. I chucked the bolt in my cordless drill and spun it fast. No wobble. The bolt diameter is smaller than the bore of the advance if that means anything. Bent Crankshaft? I mean anything is possible. I may have to pull the side cover off and check clearance between the rotor and stator. Sadly, I don't have another bolt although I would order one before going after the crankshaft.but the center of the rotor bolt seems to wobble more than I'd expect. Either the bolt is bent or malformed or the advance is not seated against the rotor face on it's indent.
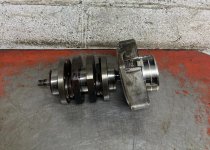
Wouldn't that be something, a bent crank.