Nick, you may not have given this bike the concours treatment, but you have certainly gone over all the details... definitely looking forward to seeing the finished product after all you've done. ")
Nick, you may not have given this bike the concours treatment, but you have certainly gone over all the details... definitely looking forward to seeing the finished product after all you've done.


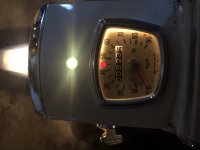
That's actually the color of the CL350 Hi Beam lens, I think CB's alsoEhh... self destruct mode??
Does anything good ever happen when the red light turns on???


.jpg")


No one's going to notice those screw heads but you. That said, when we bought our house, I went through and did this to every switch/outlet plate:
No one's ever said anything but, at least once a day, I question if I should have pointed them horizontally...


doh! I don't seem doing this bit very well! I have just ordered a 106 linkIn the pic, You are THREE pins (links) short, not two....
So, a 106 chain AND a "half" link, OR a 108 chain...
(I'd just order a 110 and cut it to length)


I wouldn't have thought of doing that, good idea as it would get round pretty much any bend.I just tie a fishing weight on a heavy string to run it thru the bars and then tie & tape the wires to the string to pull them thru while pushing them in at the switch end.

Nabs, table from the factory service manual. 1 1/4 turn.
So of course Jim is correct!!!:lol:
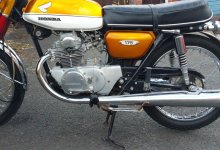
The bike is looking great. Can't wait to see the finish product.
Best Regards


apologies Tom, I think it should work now.Nick, we can't watch the video unless you make it shared.
a quick update, I just tried it again when cold - it started first kick but ran for a few seconds, revs increased rapidly and then stalled. I waited a minute and tried again and it ran a bit longer but stalled the same way. I took the float bowl off and there was very little fuel in there - if the fuel is not getting to the carb quickly enough could it cause these symptoms?