IIRC the 350 axle would work, I know the 450 won't. This is what the tool version looks like
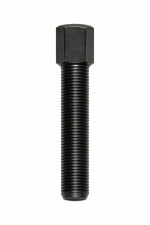

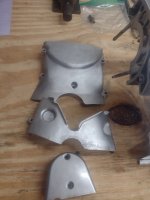
The rear axle of that bike works as a puller.Looking for some advice here on how to get the rotor off the end of the crankshaft from my bad one to the new (used) one I got. Also, I need to move the gears that are right behind the rotor as wellView attachment 54674


I would keep the clutch sprocket together with the rotor when you remove it from the crankshaft. The sprocket just slides off. There are some springs and caps that push a roller against the sprocket and could go flying if you are not careful (#8,9 and 27)Also, I need to move the gears that are right behind the rotor as well
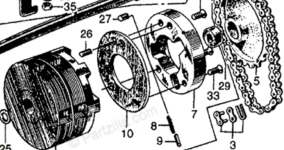
I plan on sliding the sprockets all of together and right back on the other shaft. Is that possible to do? I didn’t plan on taking any of it apart.I would keep the clutch sprocket together with the rotor when you remove it from the crankshaft. The sprocket just slides off. There are some springs and caps that push a roller against the sprocket and could go flying if you are not careful (#8,9 and 27)
View attachment 54676
As @boddy mentioned, it should all slide off. Handle things carefully and try to prepare for the possibility that a roller, spring, or cap comes out unexpectedly.I plan on sliding the sprockets all of together and right back on the other shaft. Is that possible to do? I didn’t plan on taking any of it apart.
The steel plates generally do not need to be replaced unless they are warped. I had my old ones vapor blasted for my recent CB350 build.I was looking around today at replacement clutch plates, does anyone know of a good place to get them. I found a set on eBay for $90 +$30 shipping. And then a lot of single plates as well. Not even sure mine are bad but figured while everything is apart might as well replace them.
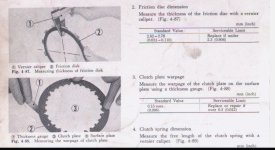
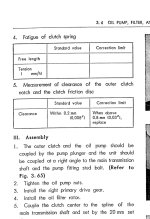
You might check your FSM for guidance. I'll include the analogous part of the CB350 manual, which discusses the thickness of the friction discs and the warpage of the steel plates. There is a specification for the springs also.So the steel plates are reusable as long as they are still straight and true? I guess I just figured they all got replaced together. Good to know!
Yeah. Steels are reusable and actually clean up fairly well.So the steel plates are reusable as long as they are still straight and true? I guess I just figured they all got replaced together. Good to know!
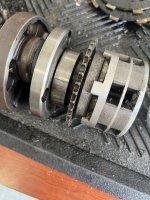
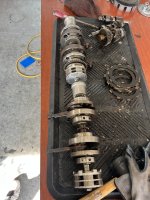
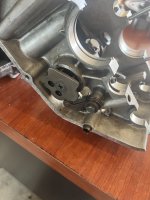
Not sure if assembling everything will remove all side play in the starter clutch sprocket (it's not a gear), but I wonder if #26 is intended to reduce sprocket movement for this engine like a similar bolt and tab does for the 350. Unfortunately it's impossible to be sure with the well below average illustrations in the older FSMs combined with the equivalently poor exploded views of the older parts fiches, but it seems to be in a similar position with respect to the starter clutch and sprocket as the 350 version.Got my rotor swapped to new crankshaft today along with sprocket. All went smoothly and things looking good order. One question Inhave though is if the gear should have any movement left/right? Mine has some slight play left to right. Assume this will be taken up once the crank is put back in the case

 www.cmsnl.com

 www.cmsnl.com

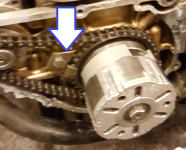
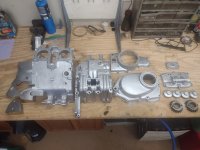
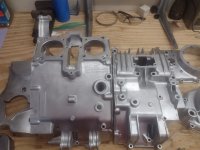
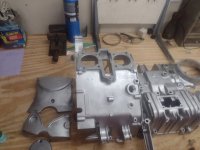
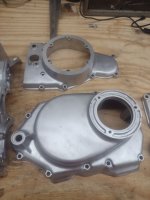
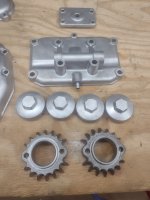
Raw bead blasted looks really good most of the time. Or you can do the thorough scrub/degrease/paint with Aluminum VHT Engine Enamel. Just make sure if you do either, put some sacrificial screws/bolts in the crankcase holes to avoid getting media in there, and flush the heck out of the block after blasting.So, I have been working on getting my engine cases cleaned up in preparation for getting my cylinder and head back from being rebuilt/bored, but they definitely need some additional "cosmetic" help. What are the thoughts on getting these bead blasted and then subsequently powder coated or painted? I like that powder coating is more durable but have read concerns with the ability to dissipate heat. My thoughts are to have the cylinder jug and head in black while the side cases and crank case in the aluminum silver color. I have all new seals and gaskets so hopefully I will be able to get things back and ready to start reassembly of the engine.
I like your idea on painting yours. That will look great! Is powder coat just a bad idea for these old engines? I feel comfortable enough to paint myself but just thinking durability/longevity.Raw bead blasted looks really good most of the time. Or you can do the thorough scrub/degrease/paint with Aluminum VHT Engine Enamel. Just make sure if you do either, put some sacrificial screws/bolts in the crankcase holes to avoid getting media in there, and flush the heck out of the block after blasting.
I've seen a few different combos for the black and silver, the idea I had for my next one was outer covers polished, case black, jugs black, head black but leave the outer edge of the fins silver, almost like a progressive fade from black to silver.
Powder coat can theoretically lead to some heat dissipation issues - but I’m not aware of anything that conclusively states one way or the other.I like your idea on painting yours. That will look great! Is powder coat just a bad idea for these old engines? I feel comfortable enough to paint myself but just thinking durability/longevity.
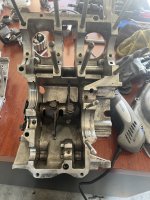
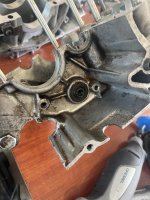
Did you also remove #12 from the upper case?So I have removed as well as the lock washers and bolts from the shift forks and those now slide freely back-and-forth on the shift drum however I still cannot slide the shift drum out. There is definitely something keeping it from moving. Any ideas what I’m missing?

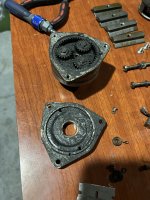
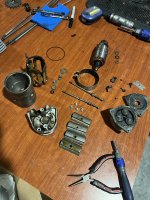
It’s in pretty rough shape and there is actually a small piece missing on left side in the photo. Maybe it will clean up enough to reuse but figured if I could find one, I’d just replace. Guess I could always buy gasket material and make one.Should
Be able to just wipe that gasket and reuse. It’s not holding any pressure in - more to keep dust and moisture out.
I wouldn’t worry about that thin part - it’s a pretty decent ways outside the pressure ring. Could always cut one but it’s pretty detailed and circles are always tough without a punch.It’s in pretty rough shape and there is actually a small piece missing on left side in the photo. Maybe it will clean up enough to reuse but figured if I could find one, I’d just replace. Guess I could always buy gasket material and make one.
 www.vintagehondatwins.com
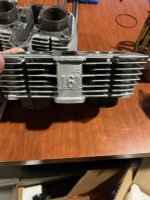
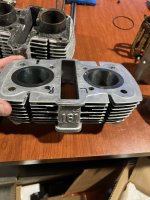
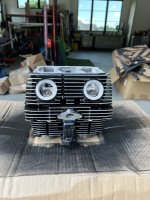 It has been a busy summer so far with both my kids and all their activities. My son in competitive travel baseball and daughter in competitive dance. I’ve little to no time for this project. However, slowly but surely I was able to finally get my head and jug painted. I started by sanding and polishing the fins and then masking all of them. But here is the result fresh after some paint.
It’s been slow going. I hoped to be much further along but with kids activities it’s been tough.Any time for this project lately? I hope it's moving along well.
Slow is way better than not at all. Sometimes projects will just abruptly stop and the member will disappear, so I'm glad that is not the case here.It’s been slow going. I hoped to be much further along but with kids activities it’s been tough.
I used the VHT gloss black engine enamel. I sprayed it up and let air dry, then baked it in my powder coat oven at 200F for an hour per the directions on the can.Very nice job. Those of us that have done this know how much work is involved. What type of paint did you use?
Bill H