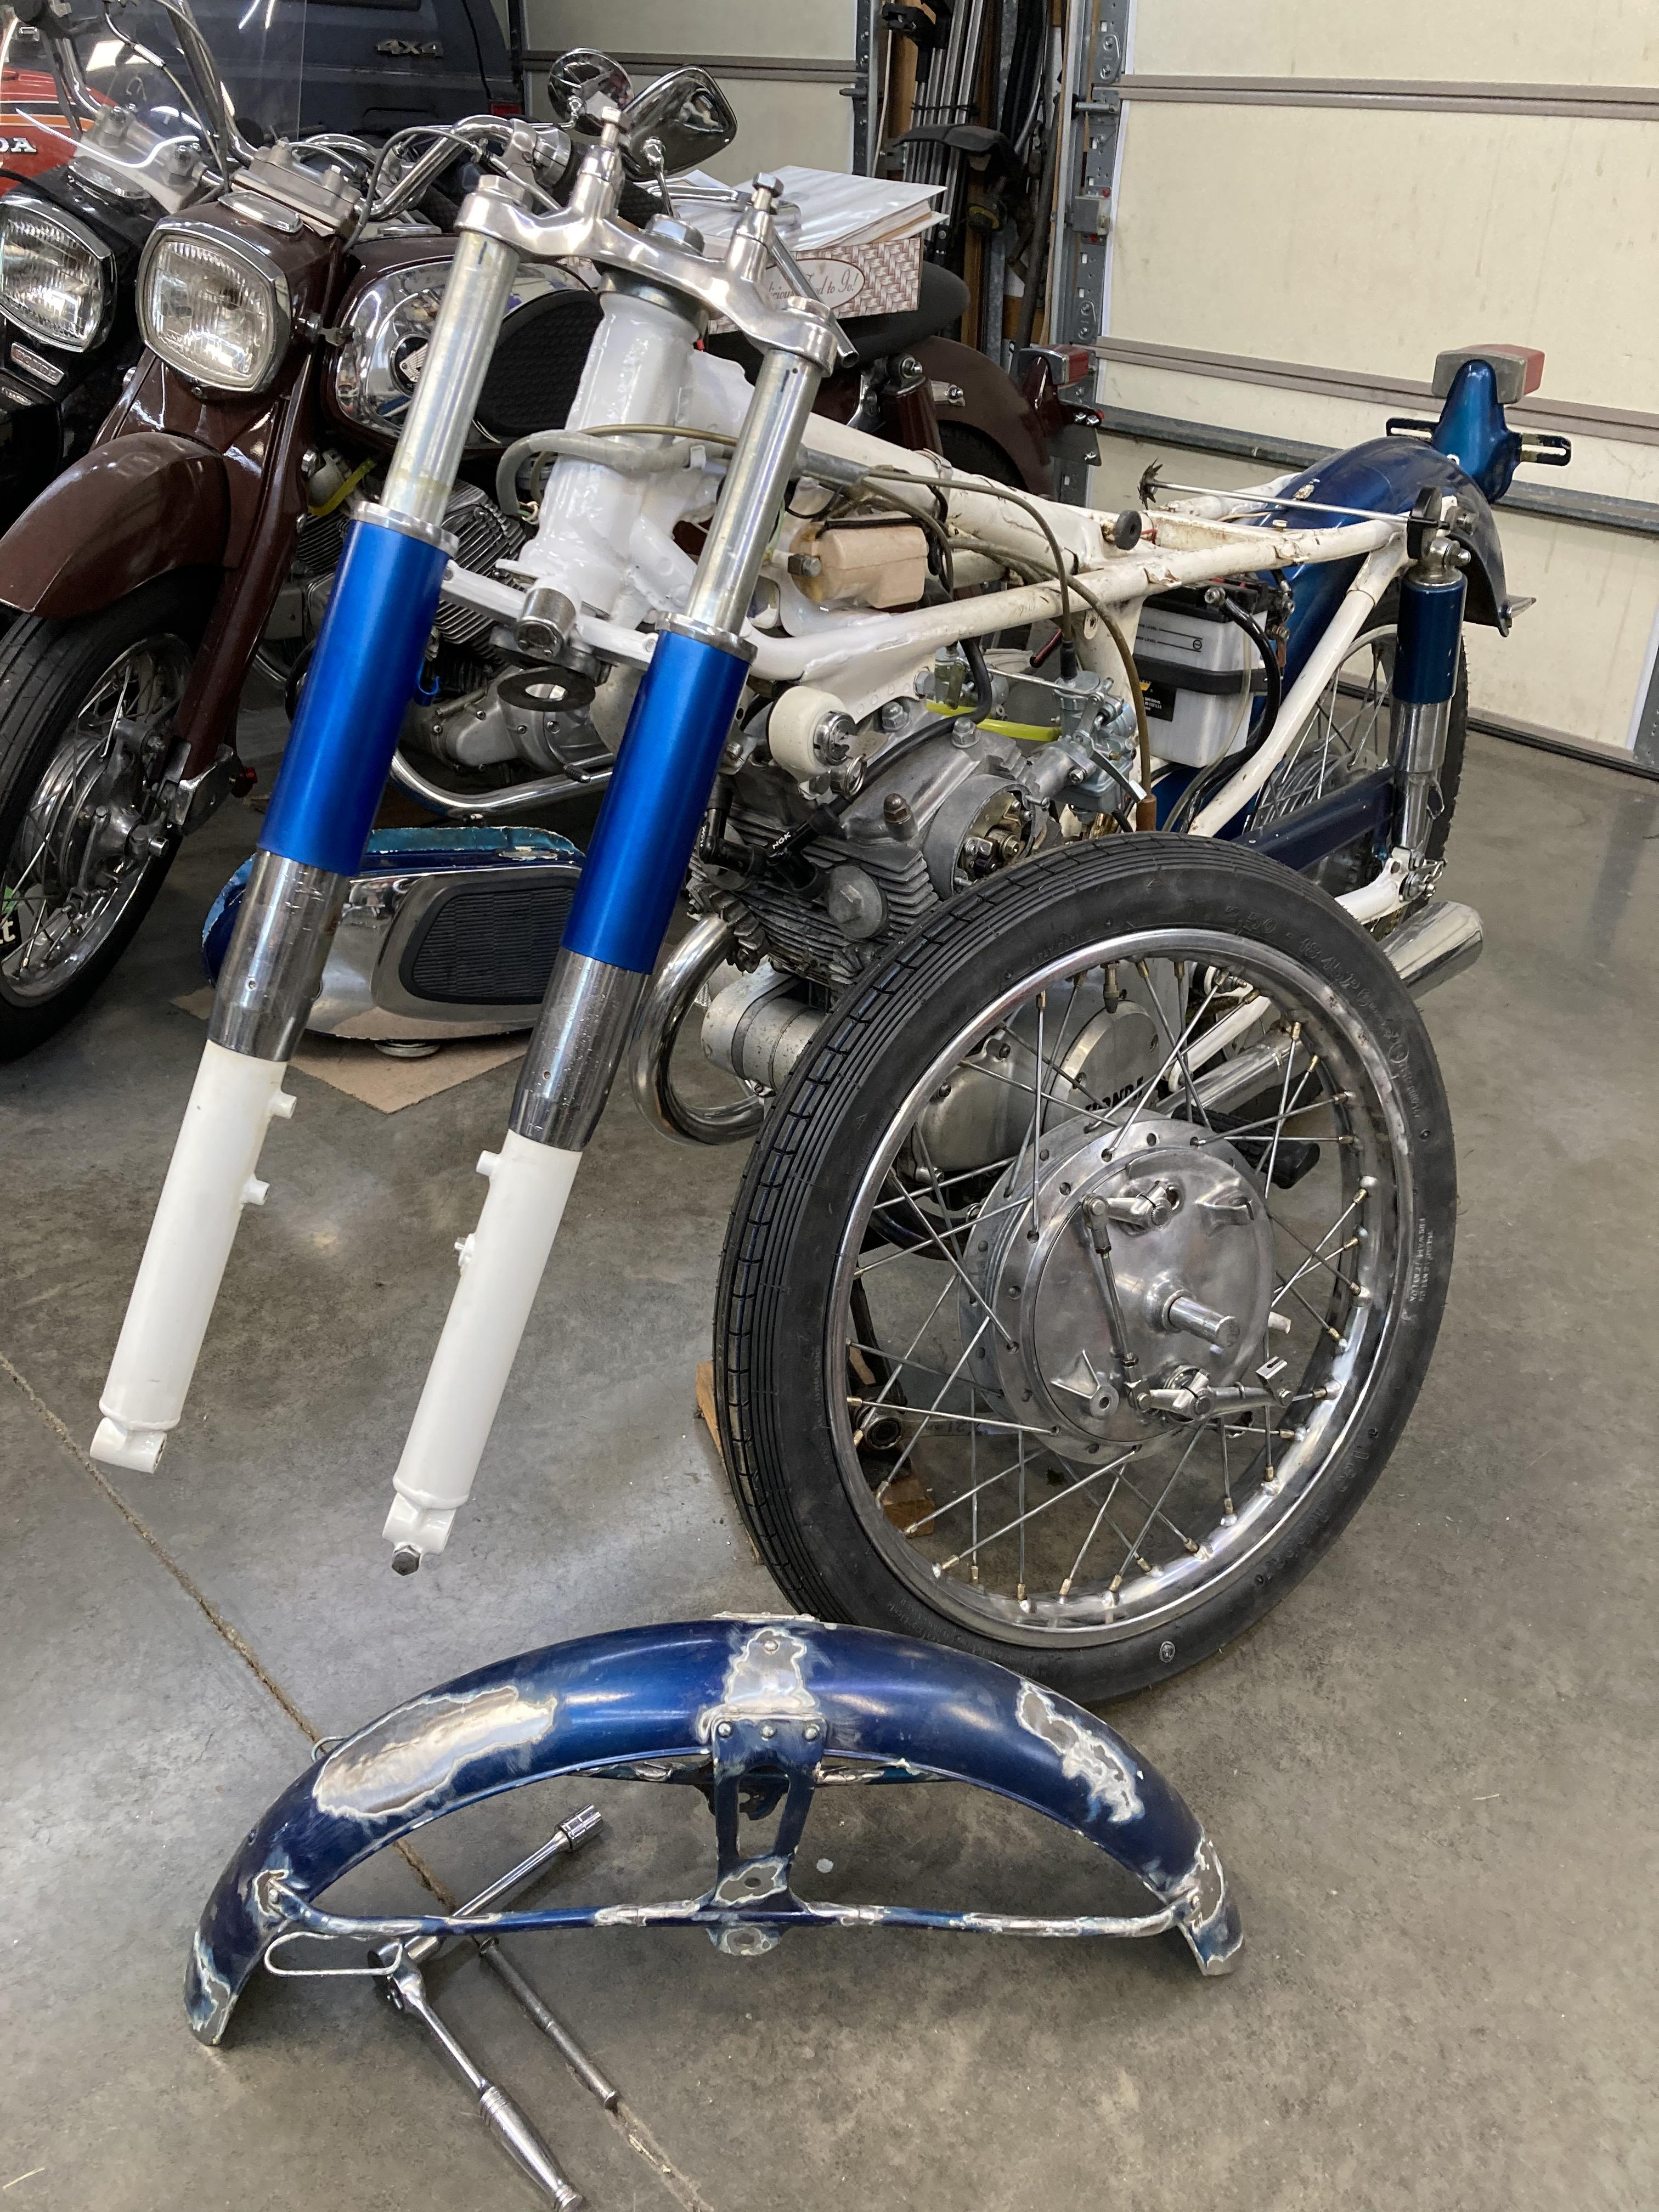
CB160 Blue on White maybe

ballbearian

Veteran Member
Joined
Nov 22, 2021
Total Posts
10,185
Total likes
5,224
Location
Hagerstown MD USA
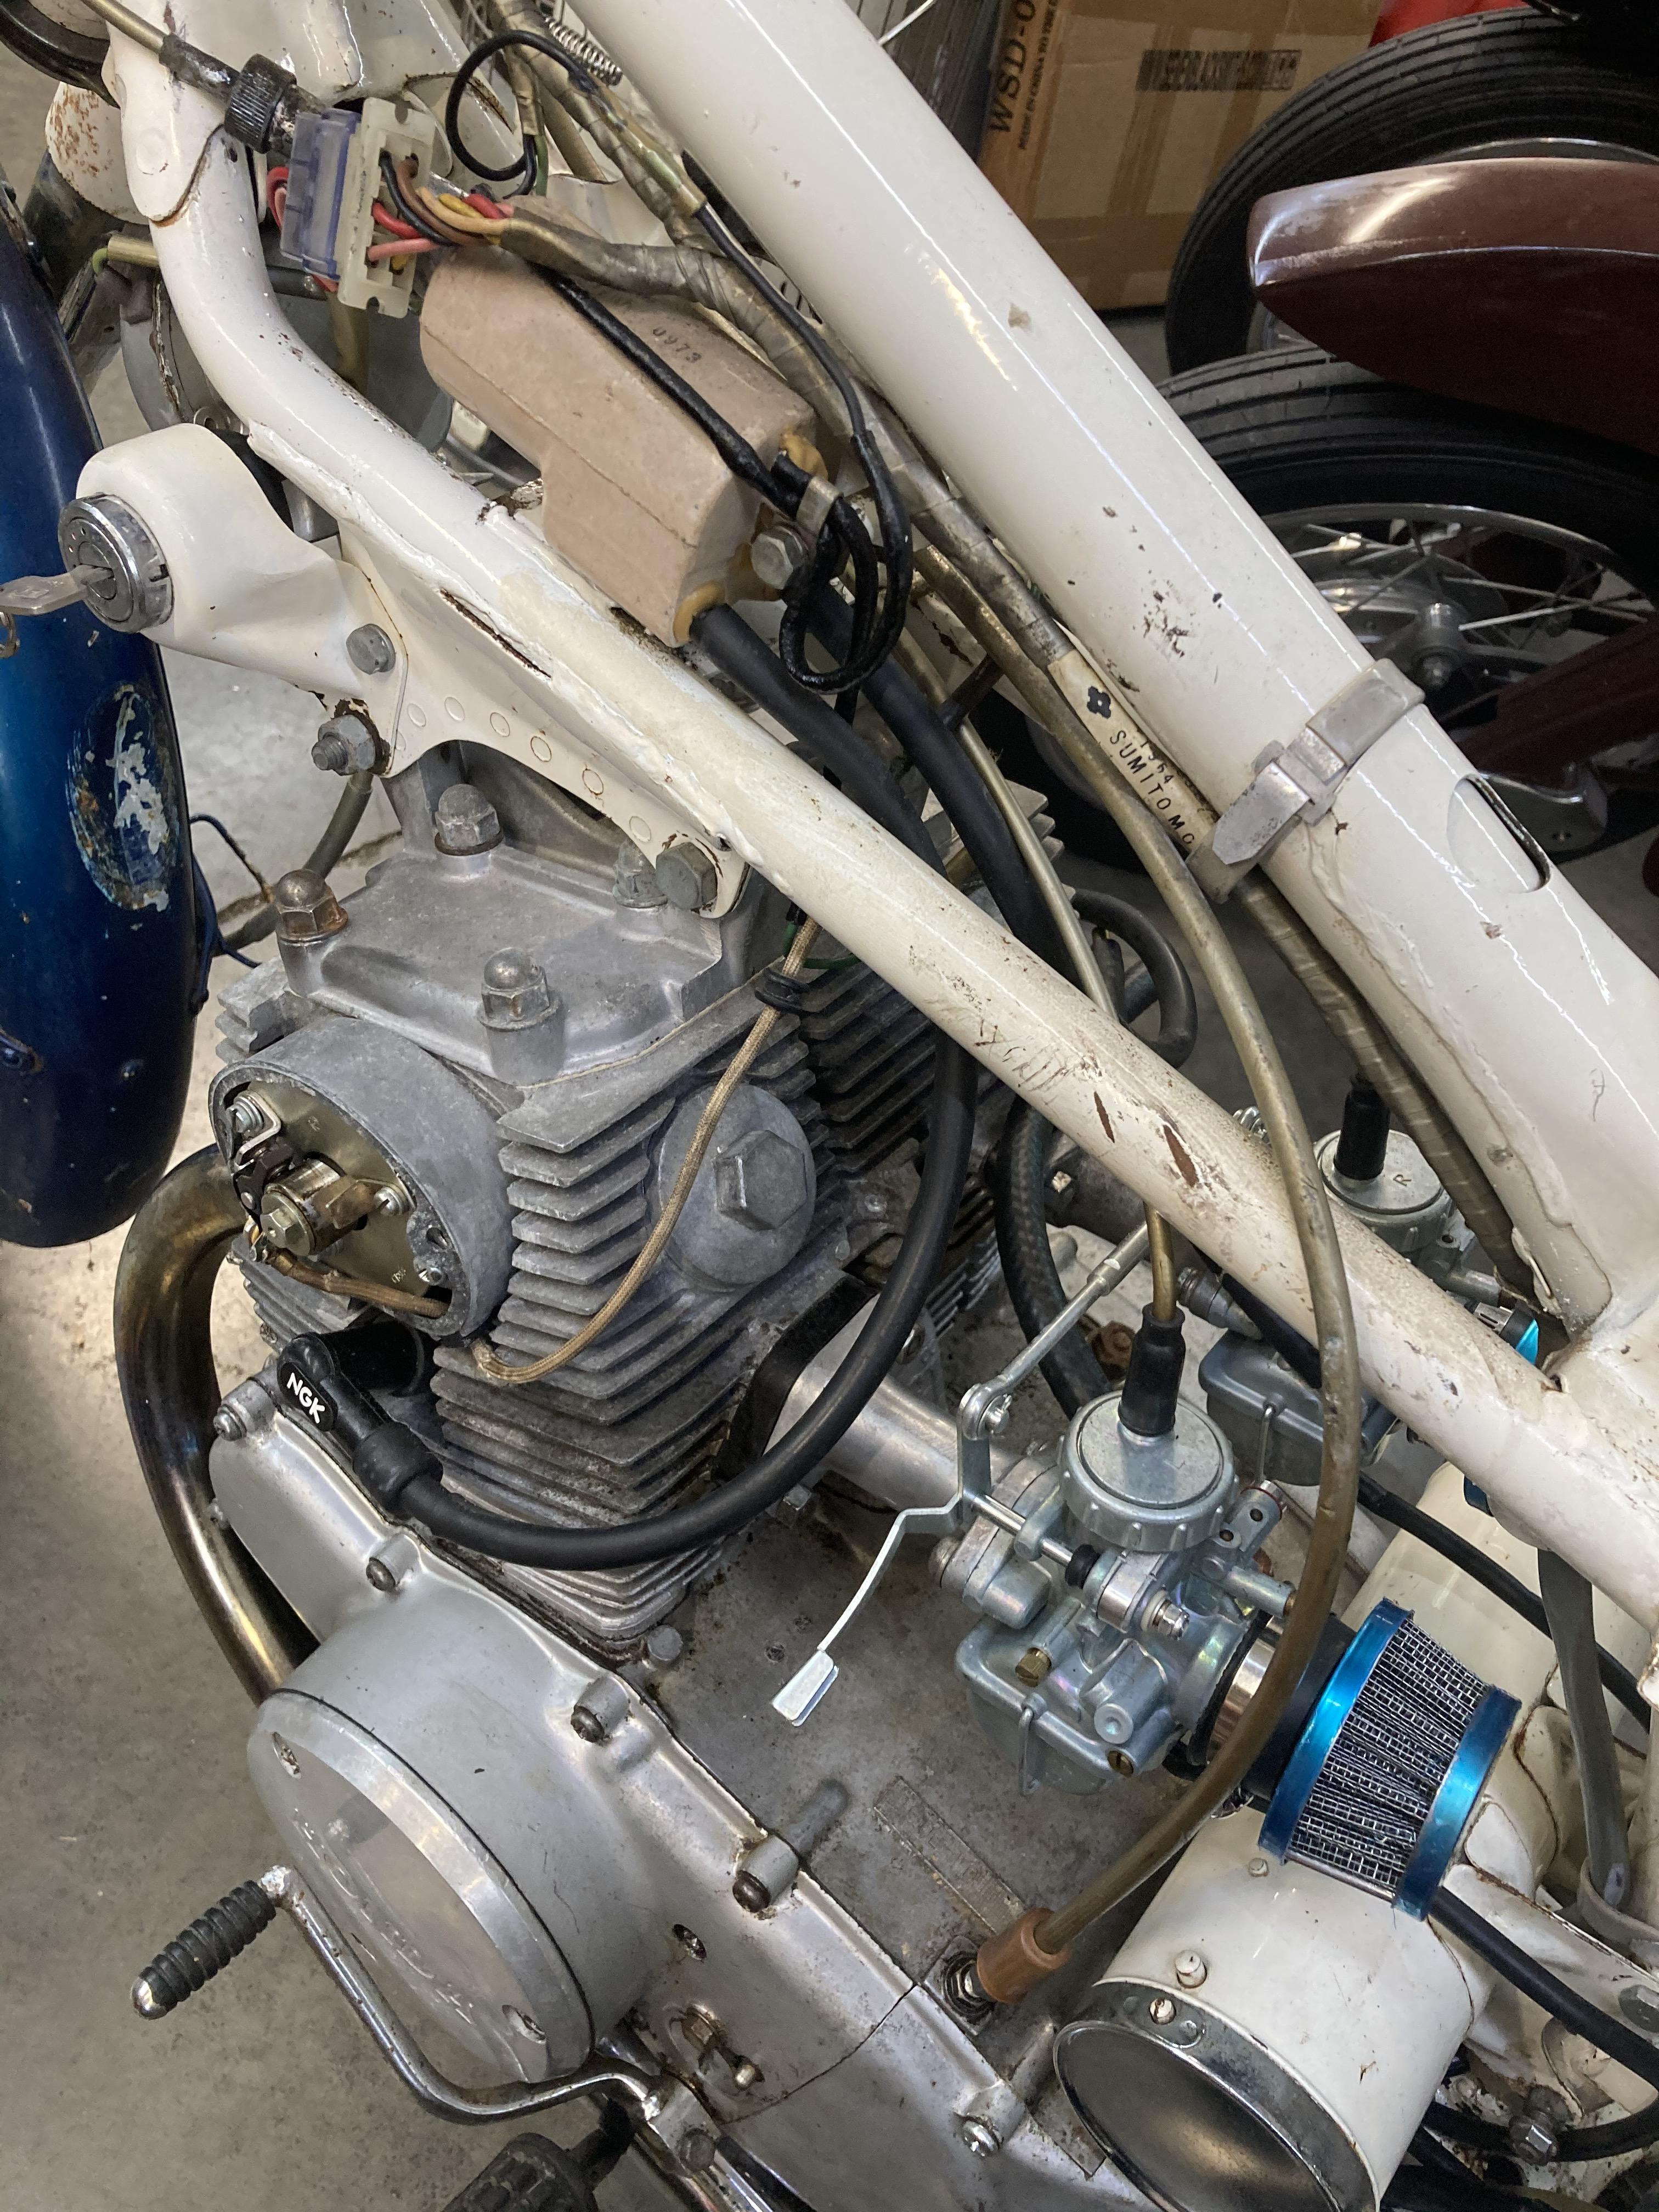
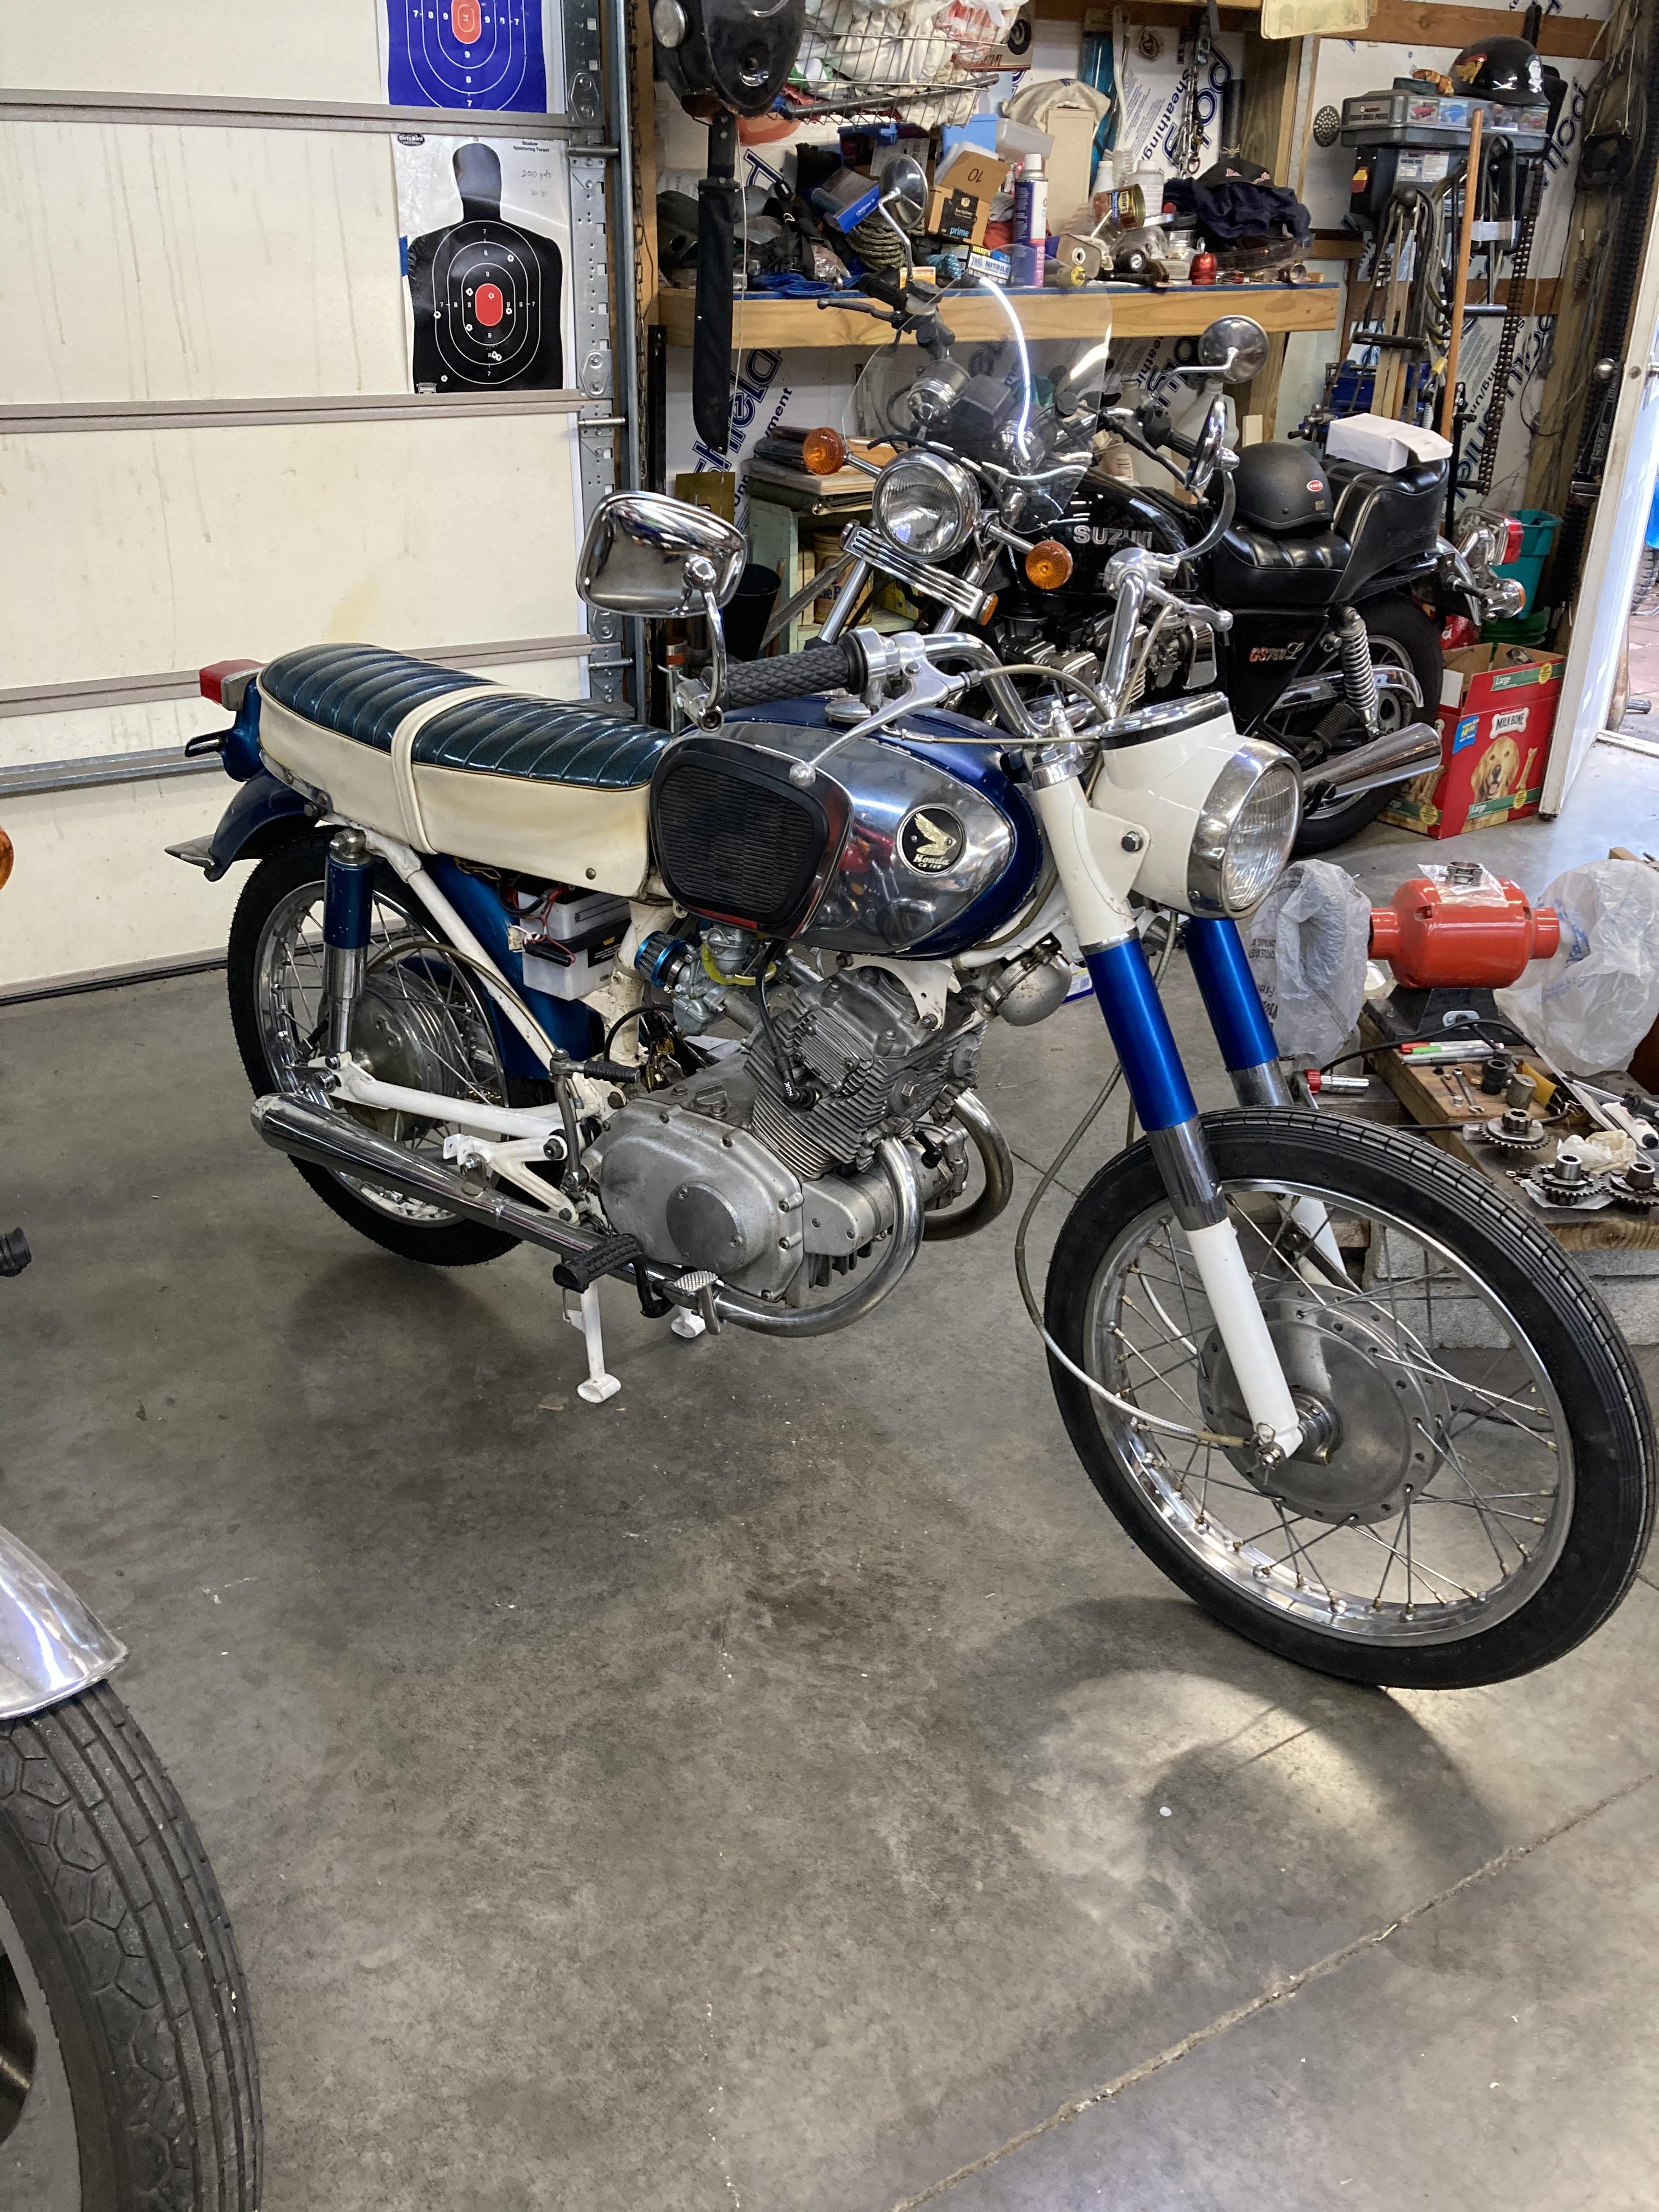
Time to start another log. Mostly poking around, fixing little things and trying to figure out what I should do, besides make it rideable. Interesting machine, must have a 360 crank. 2 lead coil, 1 points.
NGoOT1b.jpg


tpKuH1tb.jpg
IzqIsHIb.jpg


original carbs and filters too. Cool aftermarket exhaust with removeable baffle plates. I like that.
wG6xjI3.jpg

chrome pretty shot. Started fantasizing about these
Fit HONDA CB160 CL160 CB96 CB93 F&R ALLOY WHEEL RIM SET SILVER+RUBBER [mi3095] | eBay

Tyres are on the way. Clean oil filter and fix stuck brake pedal before I start it. It smoked left side at the seller's house so we'll see soon.
The blue Dream is still priority but this thing is really cool.
 
That looks so familiar. The first week, trying to figure out what you bought this time. Those rims are bad enough that there's no real question about saving them, but the original carbs would be tempting. A good cleaning, new o-rings and gaskets, new intake manifolds if the oldies are too far gone, see what happens. Fuel lines, petcock, whatever. Someone gave up on it; why? The basics look good.
 
That looks so familiar. The first week, trying to figure out what you bought this time. Those rims are bad enough that there's no real question about saving them, but the original carbs would be tempting. A good cleaning, new o-rings and gaskets, new intake manifolds if the oldies are too far gone, see what happens. Fuel lines, petcock, whatever. Someone gave up on it; why? The basics look good.

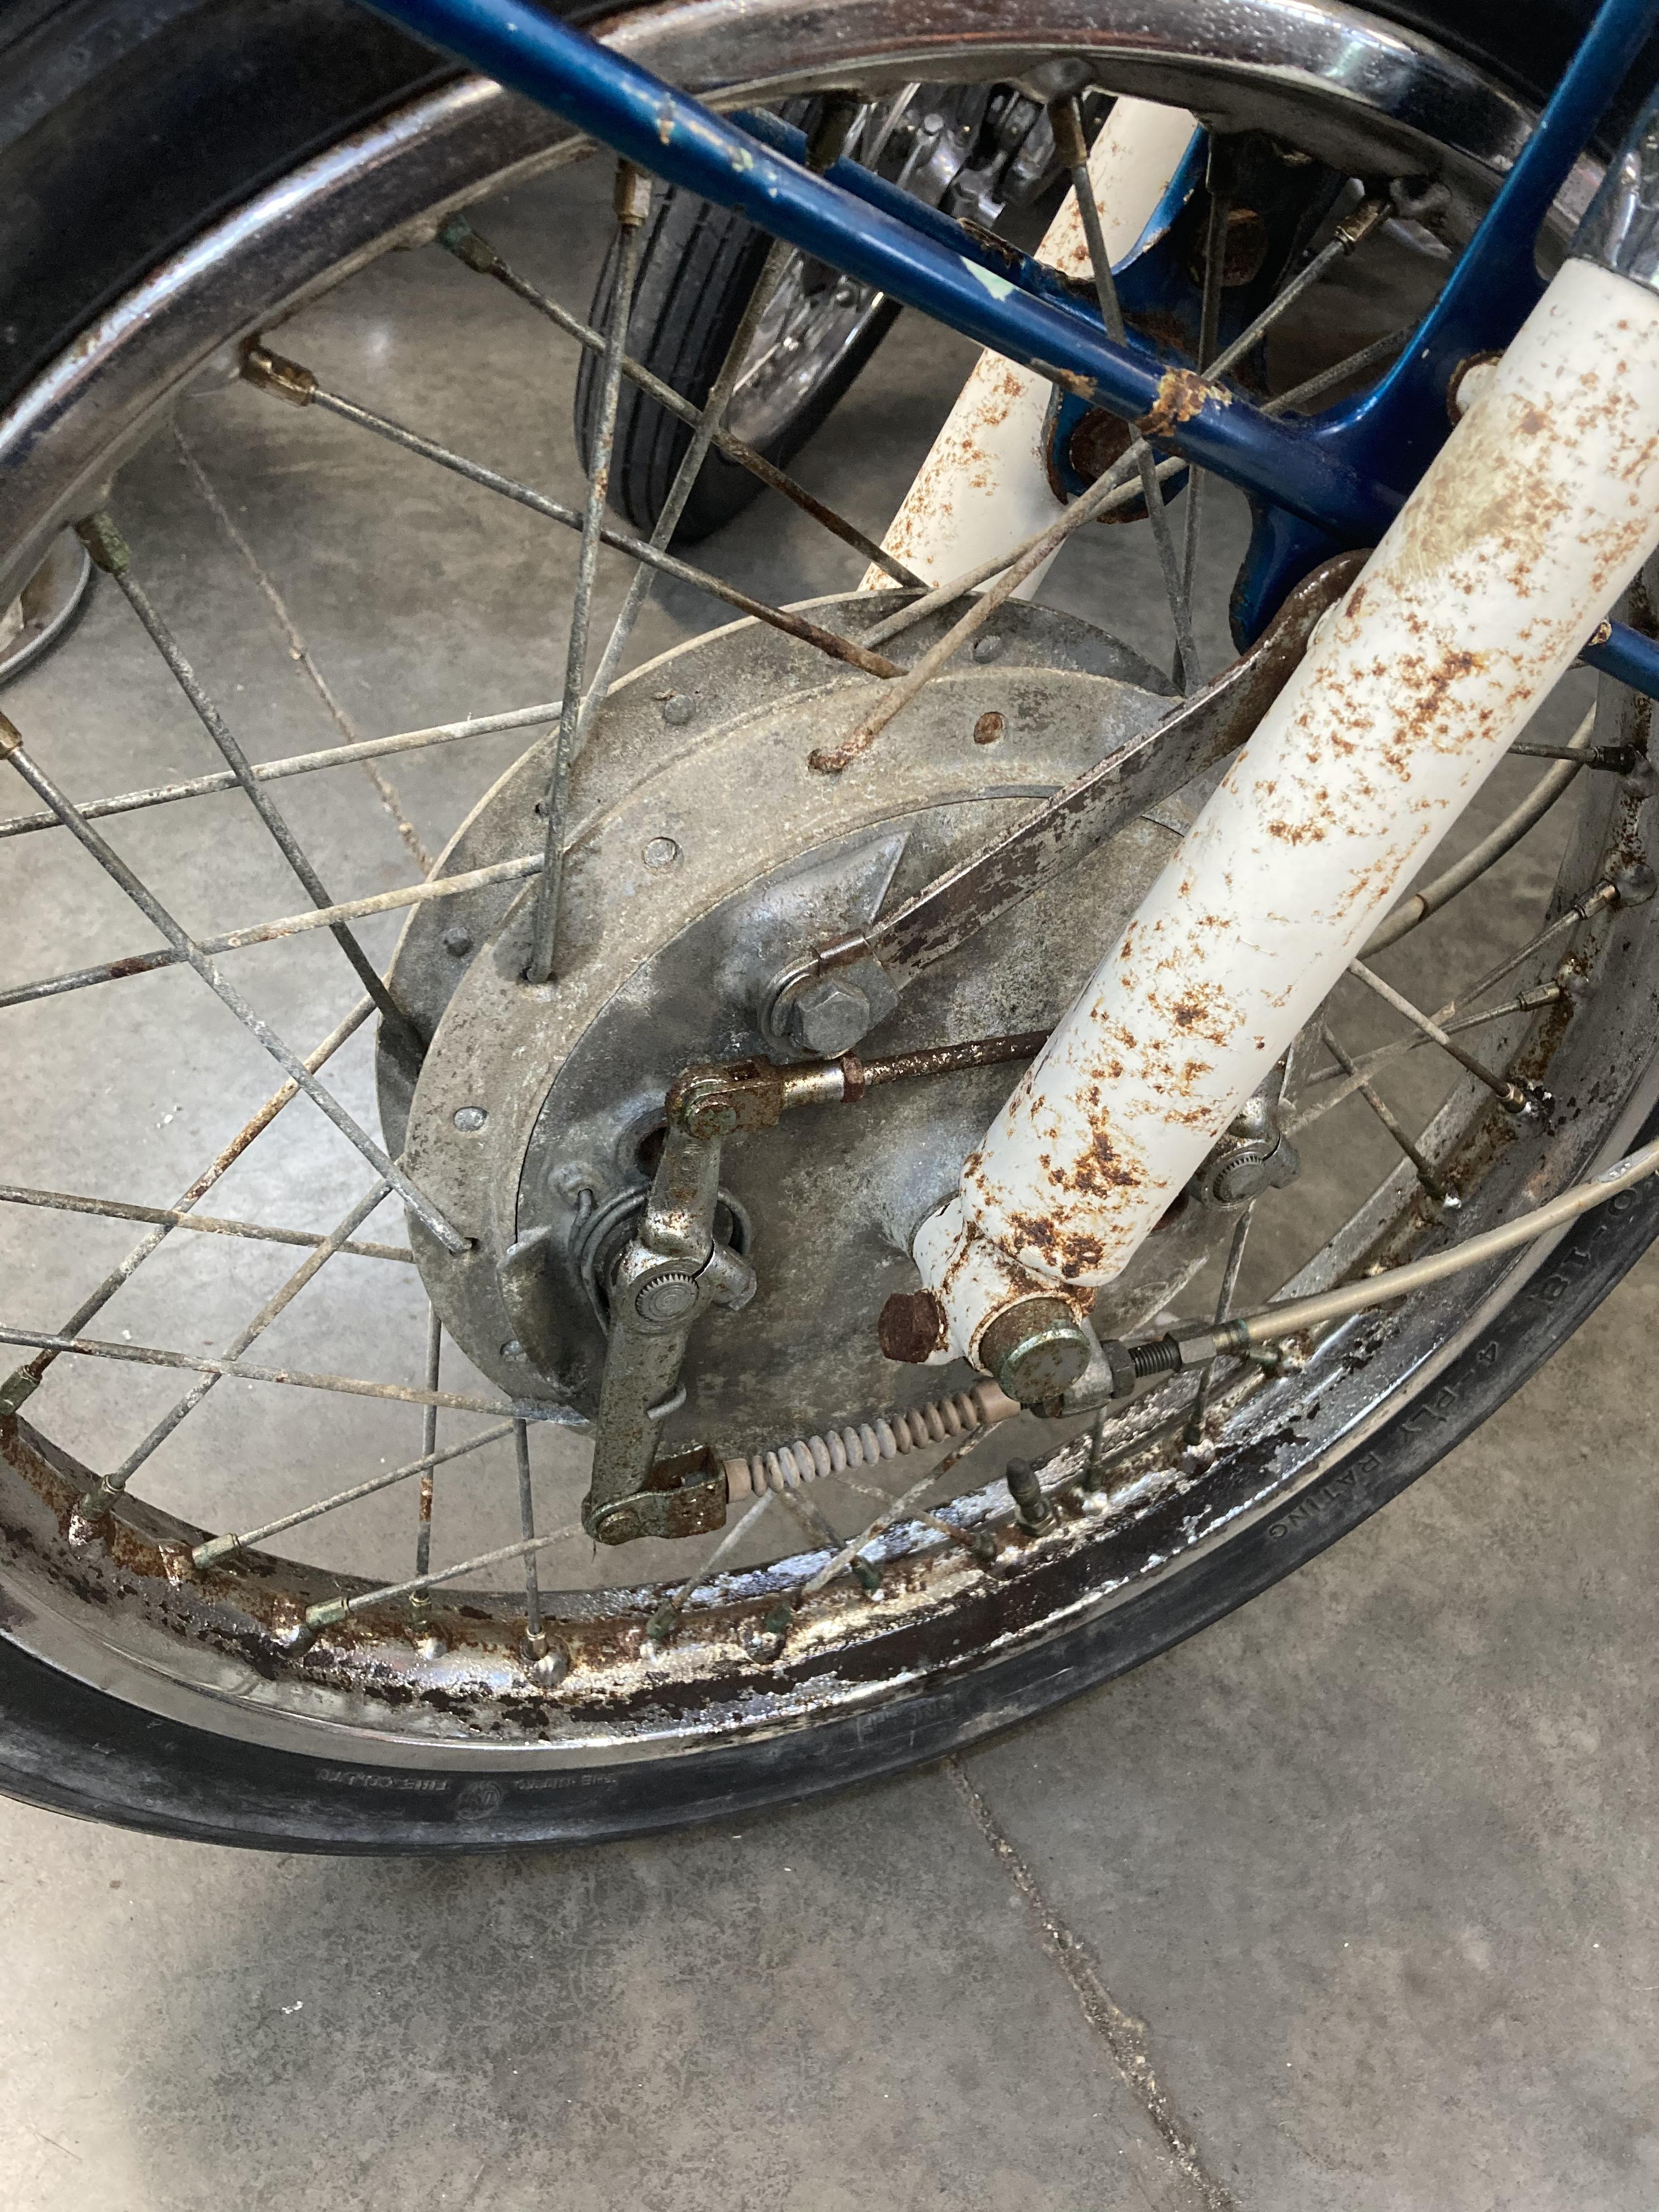
The seller bought it at auction, prior owner a dentist, hasn't been thrashed. Seller, an HD guy and old truck restorer was good but no experience with Honda. He got a manifold and the OEMSTD brand replacement carbs, I don't know why. I don't think engine was stuck or not hard and he got it to run. Guess that was the end of his 'flip'. Oh, and a battery. I'll leave the cupcake filters and carbs for now. Focus on left side smoking (left header is blue), compression test. See what I got. The rear rim is good actually, I may grind the front to bare metal and treat it, maybe paint it, for now. Those ebay alloy rims are very fetching to me and I like wheel builds. Asking sick money for those rather unique petcocks and OEM rims, for that matter.

Struggling to get over the original white (looks dirty), just not feeling it. I'll give it time.

Funny though, matches the colors of my clan's tartan, Clan Hanna, so before I'd paint it, I'll ride in my kilt for a pic for LDR.

Only 3,800 dentist miles.
 
Look forward to following this one.

Me too. Trying to chill but it has a strong draw.

Funny seller story. He started falling for it, I think. After he got it running, he thought he wanted to ride it (maybe 300lbs.), so he hops on and the rear tube must have been pinched. Flat tire brought him to his senses and he listed on FB marketplace, before he got silly again.

He profited. I think I still got a good deal cause I've wanted one of these ever since I got that little Benly 150 touring (CA95) up and wringing it at 70mph+.
 
Interesting starting point and those carbs look pretty good on the outside for aftermarket pieces. The air filters are a killer cost wise, if you can find them now, as no aftermarket ones exist that I am aware of presently.
The white is a good colour for me and different enough from black for sure. Many different shade choices, if you decide to stick with the white colour.
If you have a blasting cabinet then those brake plates and hubs will clean up for polishing later. Being in the US should offer an opportunity for a decent used front rim and other parts as needed.
 
Interesting starting point and those carbs look pretty good on the outside for aftermarket pieces. The air filters are a killer cost wise, if you can find them now, as no aftermarket ones exist that I am aware of presently.
The white is a good colour for me and different enough from black for sure. Many different shade choices, if you decide to stick with the white colour.
If you have a blasting cabinet then those brake plates and hubs will clean up for polishing later. Being in the US should offer an opportunity for a decent used front rim and other parts as needed.

The ebay seller in Thailand made an offer of $185 for a pair of alloy rims. This would be the bike for that (as an old bicycle guy). The carbs are a mystery at this time and the filters too, until I've gone through prelims with it for a 'restart'. New rubber is coming very soon and I'll go ahead and mount them so I can ride a bit (the ones on it have huge flat spots from sitting). I don't want the down time for 2 full wheel rebuilds and polishings right now. It would be great to find a 'can't refuse' offer on a set of extra hubs.

I still wonder if these came all white and the blue was done later by an owner or if Honda did it. I was thinking of trying vinegar to clean the rust stains, then see and decide how to proceed. I know white can be tricky to match for touch up because of patina/ageing. Your paint skill and experience is appreciated.
 
Last edited:
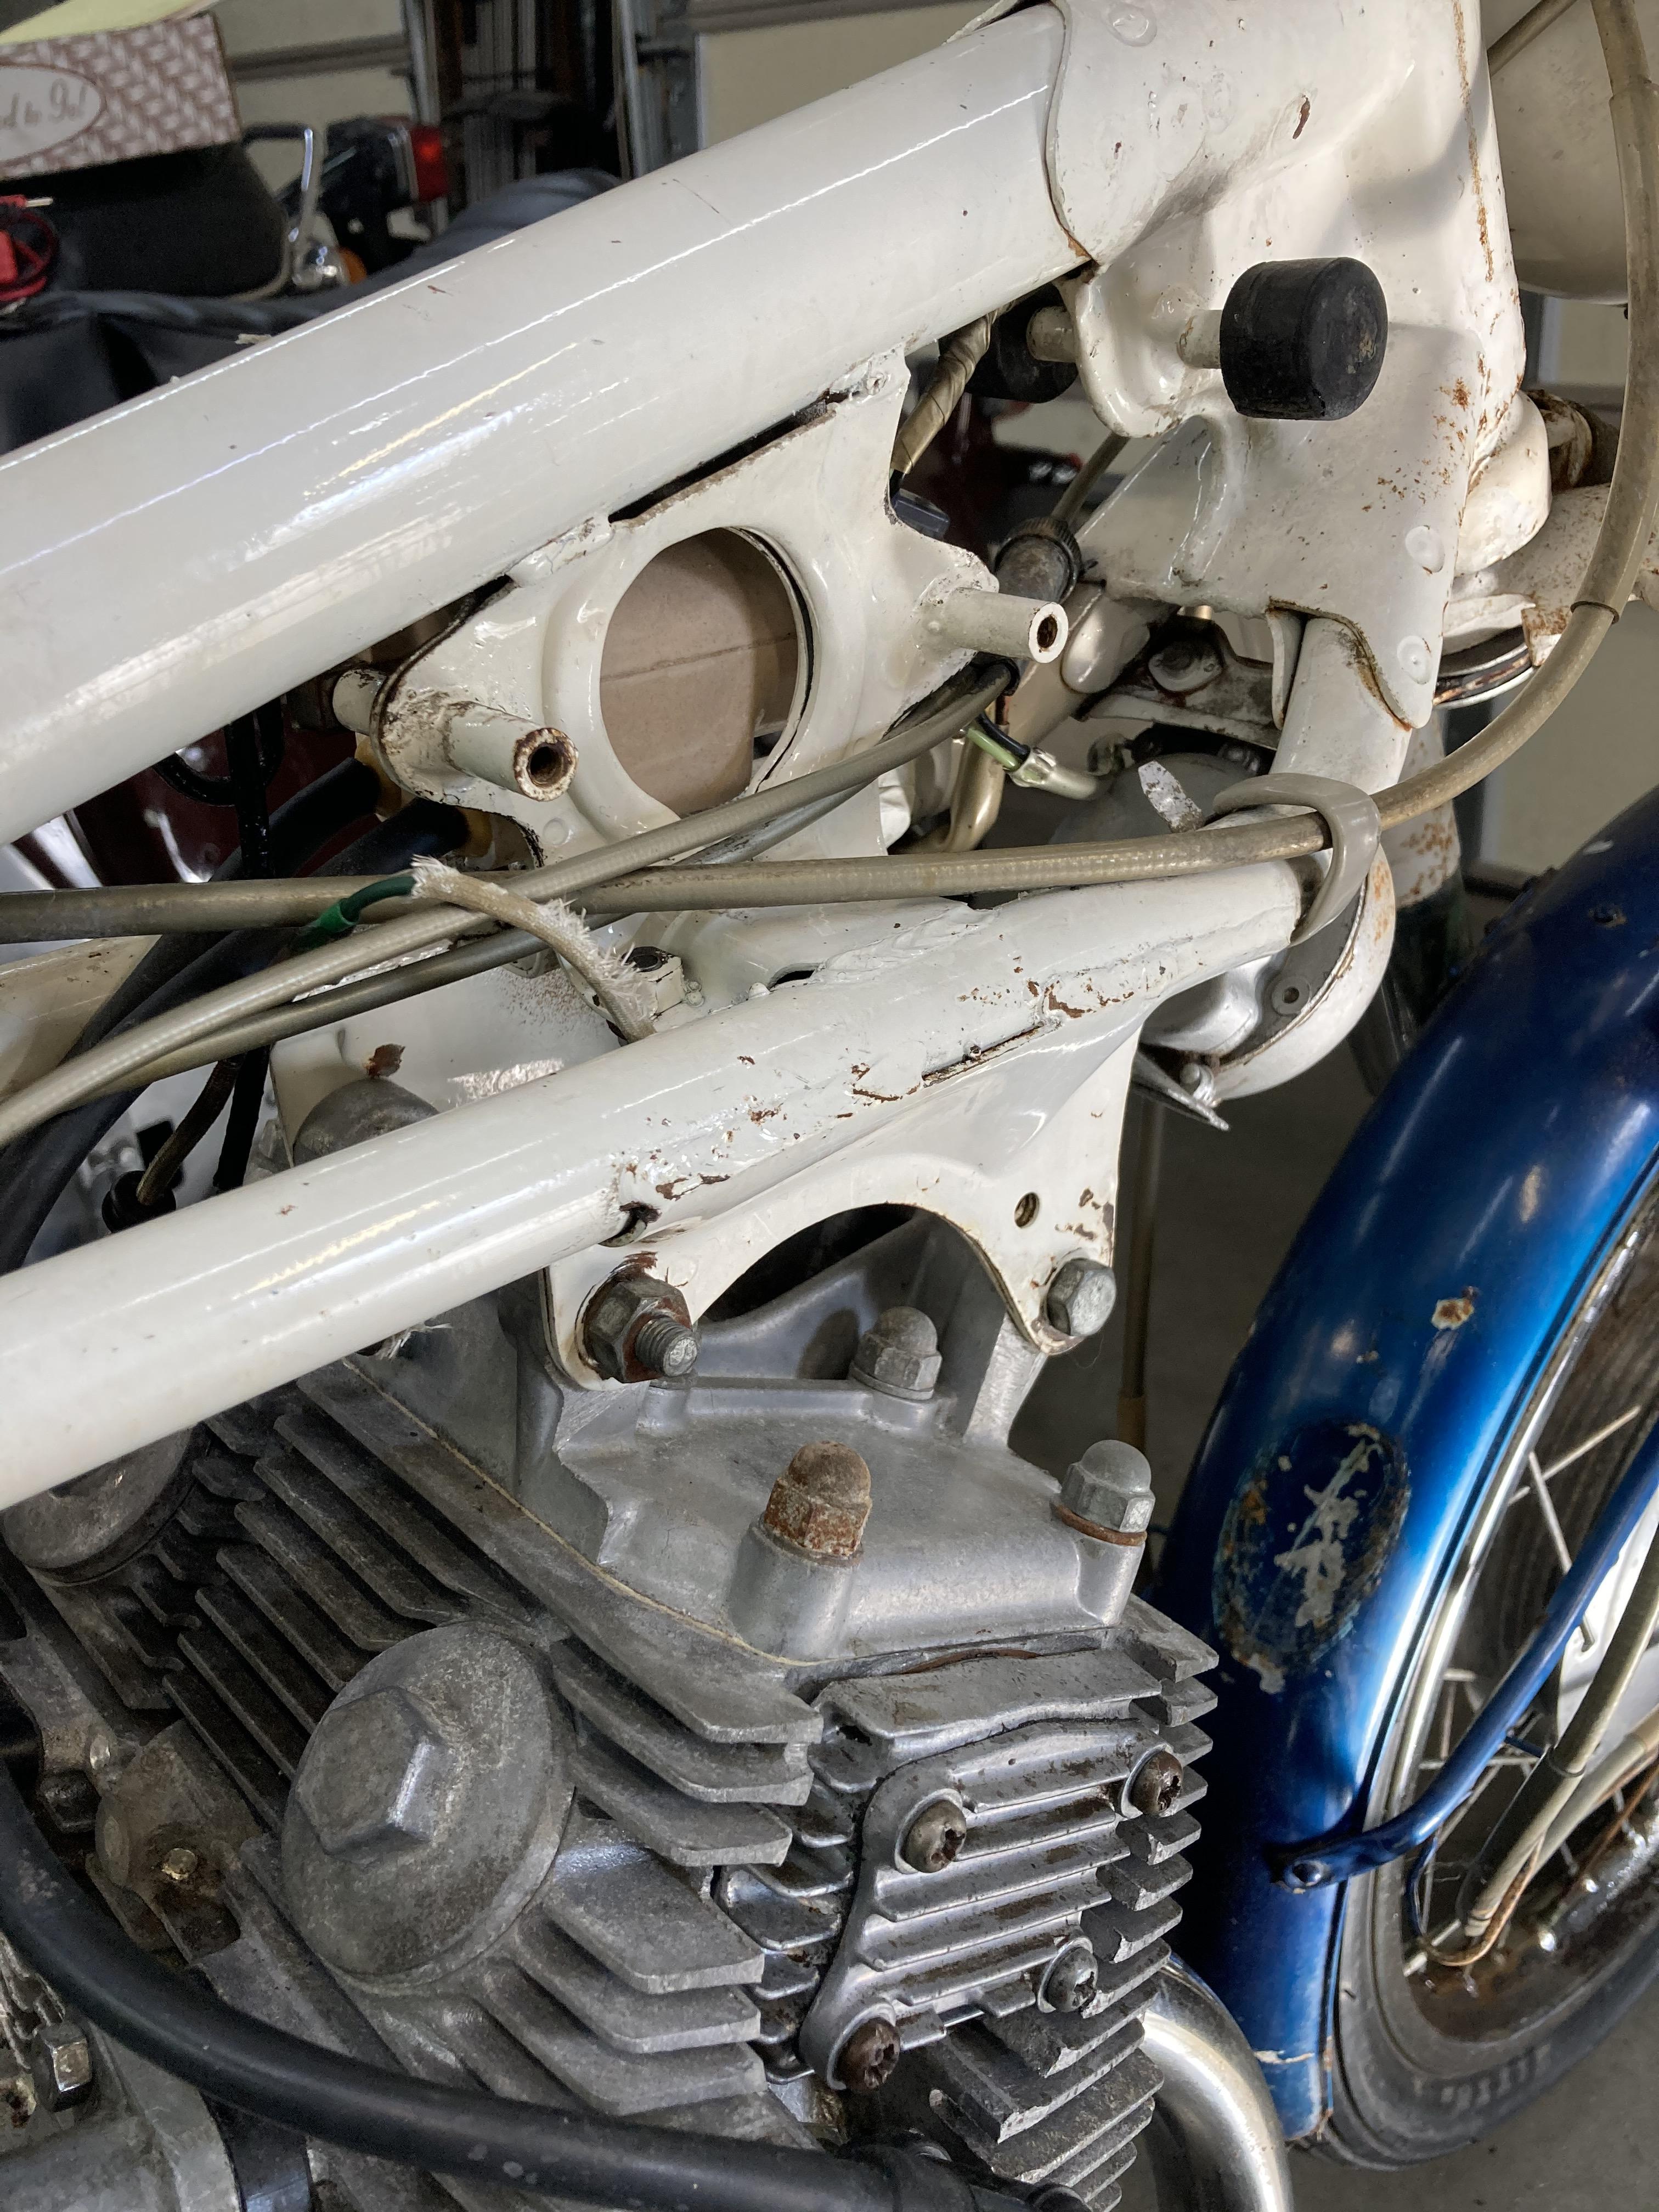
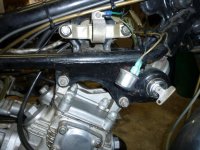
2nd coil for a 180 degree crank?

T4iI8AY.jpg


Maybe the CB93 or 96 was about that. I don't know much about them or other models that used this frame.
 
For the most part, all their small twins were 360° cranks but the domestic models were often opposite of what was sold in the US, like the 360° version of the 350 (hence the Type I and II points covers) and the early CB450s in 360° crank. Can't say I've ever heard of a 180° twin 200cc or smaller but that frame mount implies the possibility
 
Quote: 2nd coil for a 180 degree crank?

I am only aware of a single coil on the 175 motor with two spark plug leads. The motors are 360 degrees, so fire at TDC compression and TDC exhaust. Wasted spark setup.

Is this motor a 180 degree crankshaft set up? The single points set would indicate a 360 degree crank I think???
 
I'd suppose there is an old design sitting in a file folder in Japan that explains what future use this second coil mount would be used for.
 
I'd suppose there is an old design sitting in a file folder in Japan that explains what future use this second coil mount would be used for.

On my CL175 there was a weird metal bracket mounted on the opposite side of the coil onto the frame in that area. It housed maybe the flasher or something else. I have the bracket somewhere but it was empty on my bike. We are restoring a buddies 68 CL175 and I think he has that bracket somewhere in his parts with something mounted in his bracket.

If I remember I will ask to see what it was that is in there.

Here's the bracket on my bike and a modern flasher. I think my buddies bike has the old flasher in there and it is larger tube style unit


P1060193.jpg
 
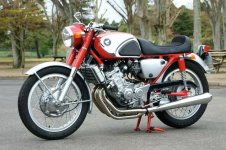
I think it's just begging for a Millyard style 4-cylinder conversion. That would probably warrant thicker top engine mounts...
 
Reply to Tom,

Makes sense. We didn't really get the bubget racers like the Ero folks did. Maybe Dave is on to something with the flasher bracket. Canada got stock winkers before the US.

Sometime, I will have to look into the C93 and 96 versions.
 
Not a 160, impressively impure.

That's a pretty nice job, but I can see that front fender coming awfully close to the radiator on a hard bump. Nicely done overall though, and I'll bet it's a lot faster than that roller was intended for.
 
I'd suppose there is an old design sitting in a file folder in Japan that explains what future use this second coil mount would be used for.
The turn signal flasher bracket bolts on there, on the general export version. They never had 180 degree cranks, they did however have a general export single carb version of the CB and the CL160.
 
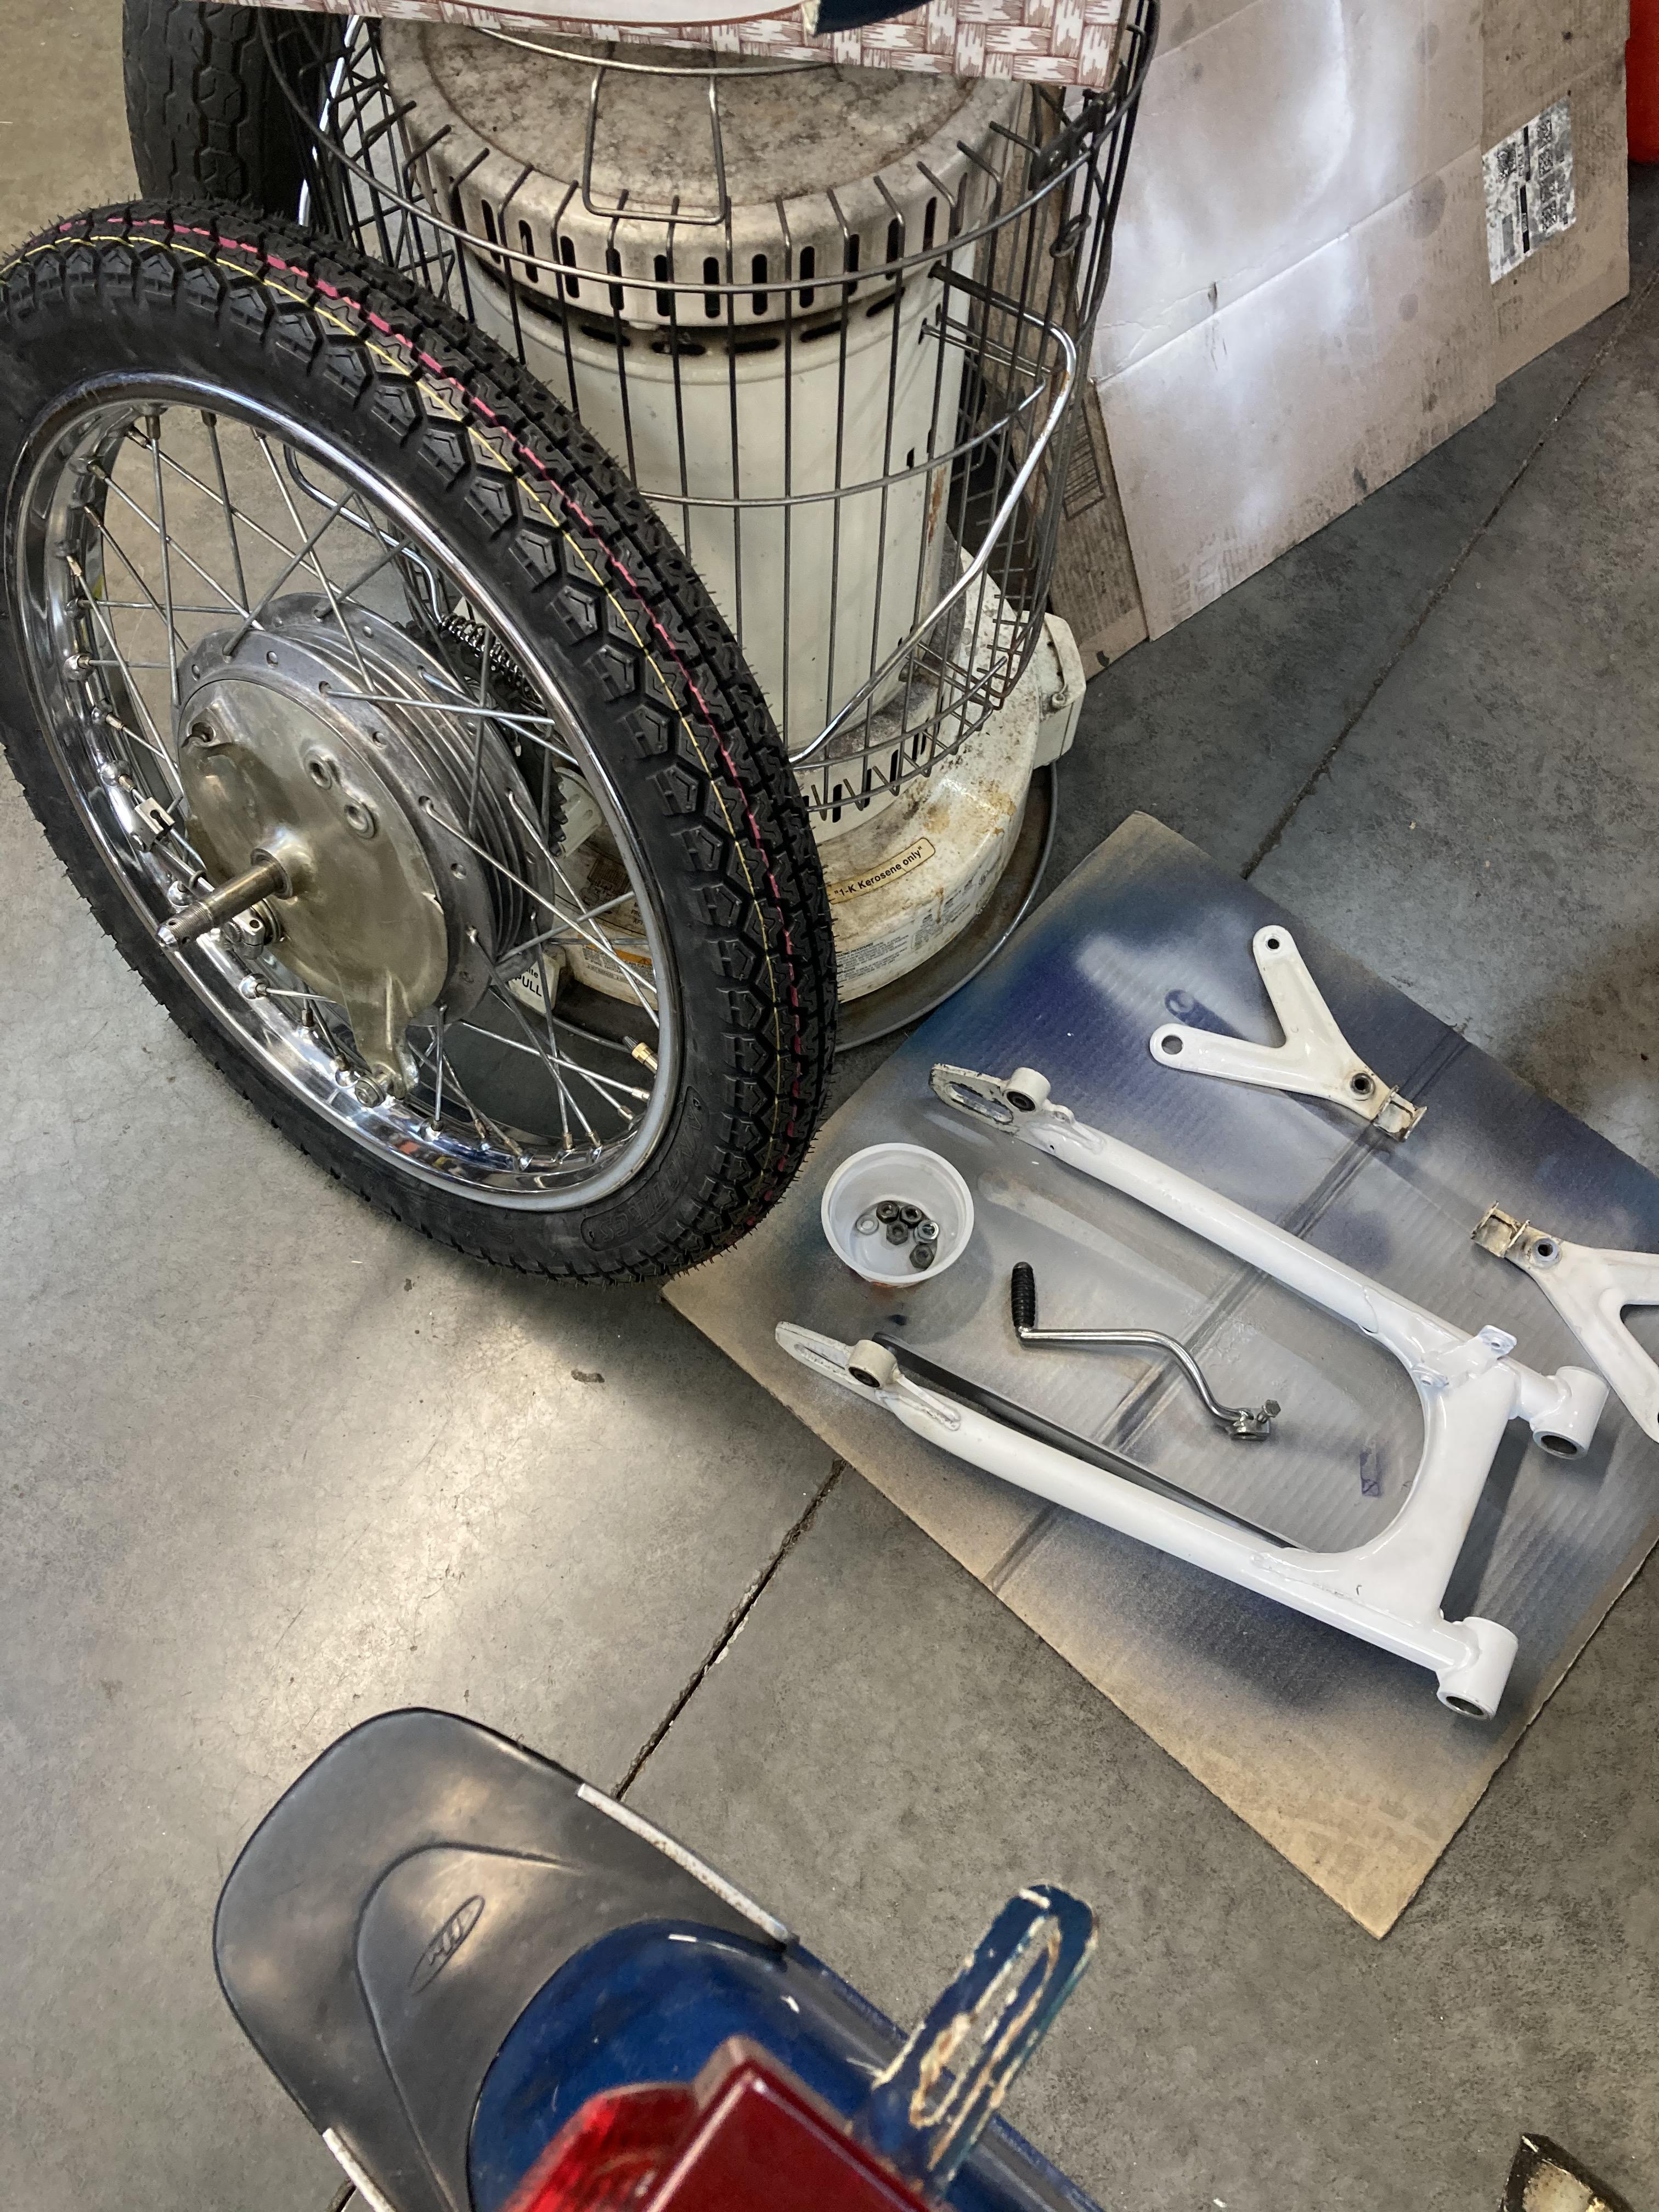
Tyre came today, so time to fix the flat rear. Seller had a tube but I bought it before he had a chance to fix it. No wonder it popped when he aired it up for him to take a ride, the old tube had not had any talcum on it so was self vulcanized to the inside of the tire and got pinched under the bead from being rolled around flat. I'll put about a teaspoon of talc in the new tire and slide it all over in there, and coat the tube too.

Got lucky with the rim as only one bead edge had any appreciable rust. My short course bristled wire wheel made quick work of it. I rub the channel down with motor oil (and the nipple heads) wipe off excess and ready for rubber.

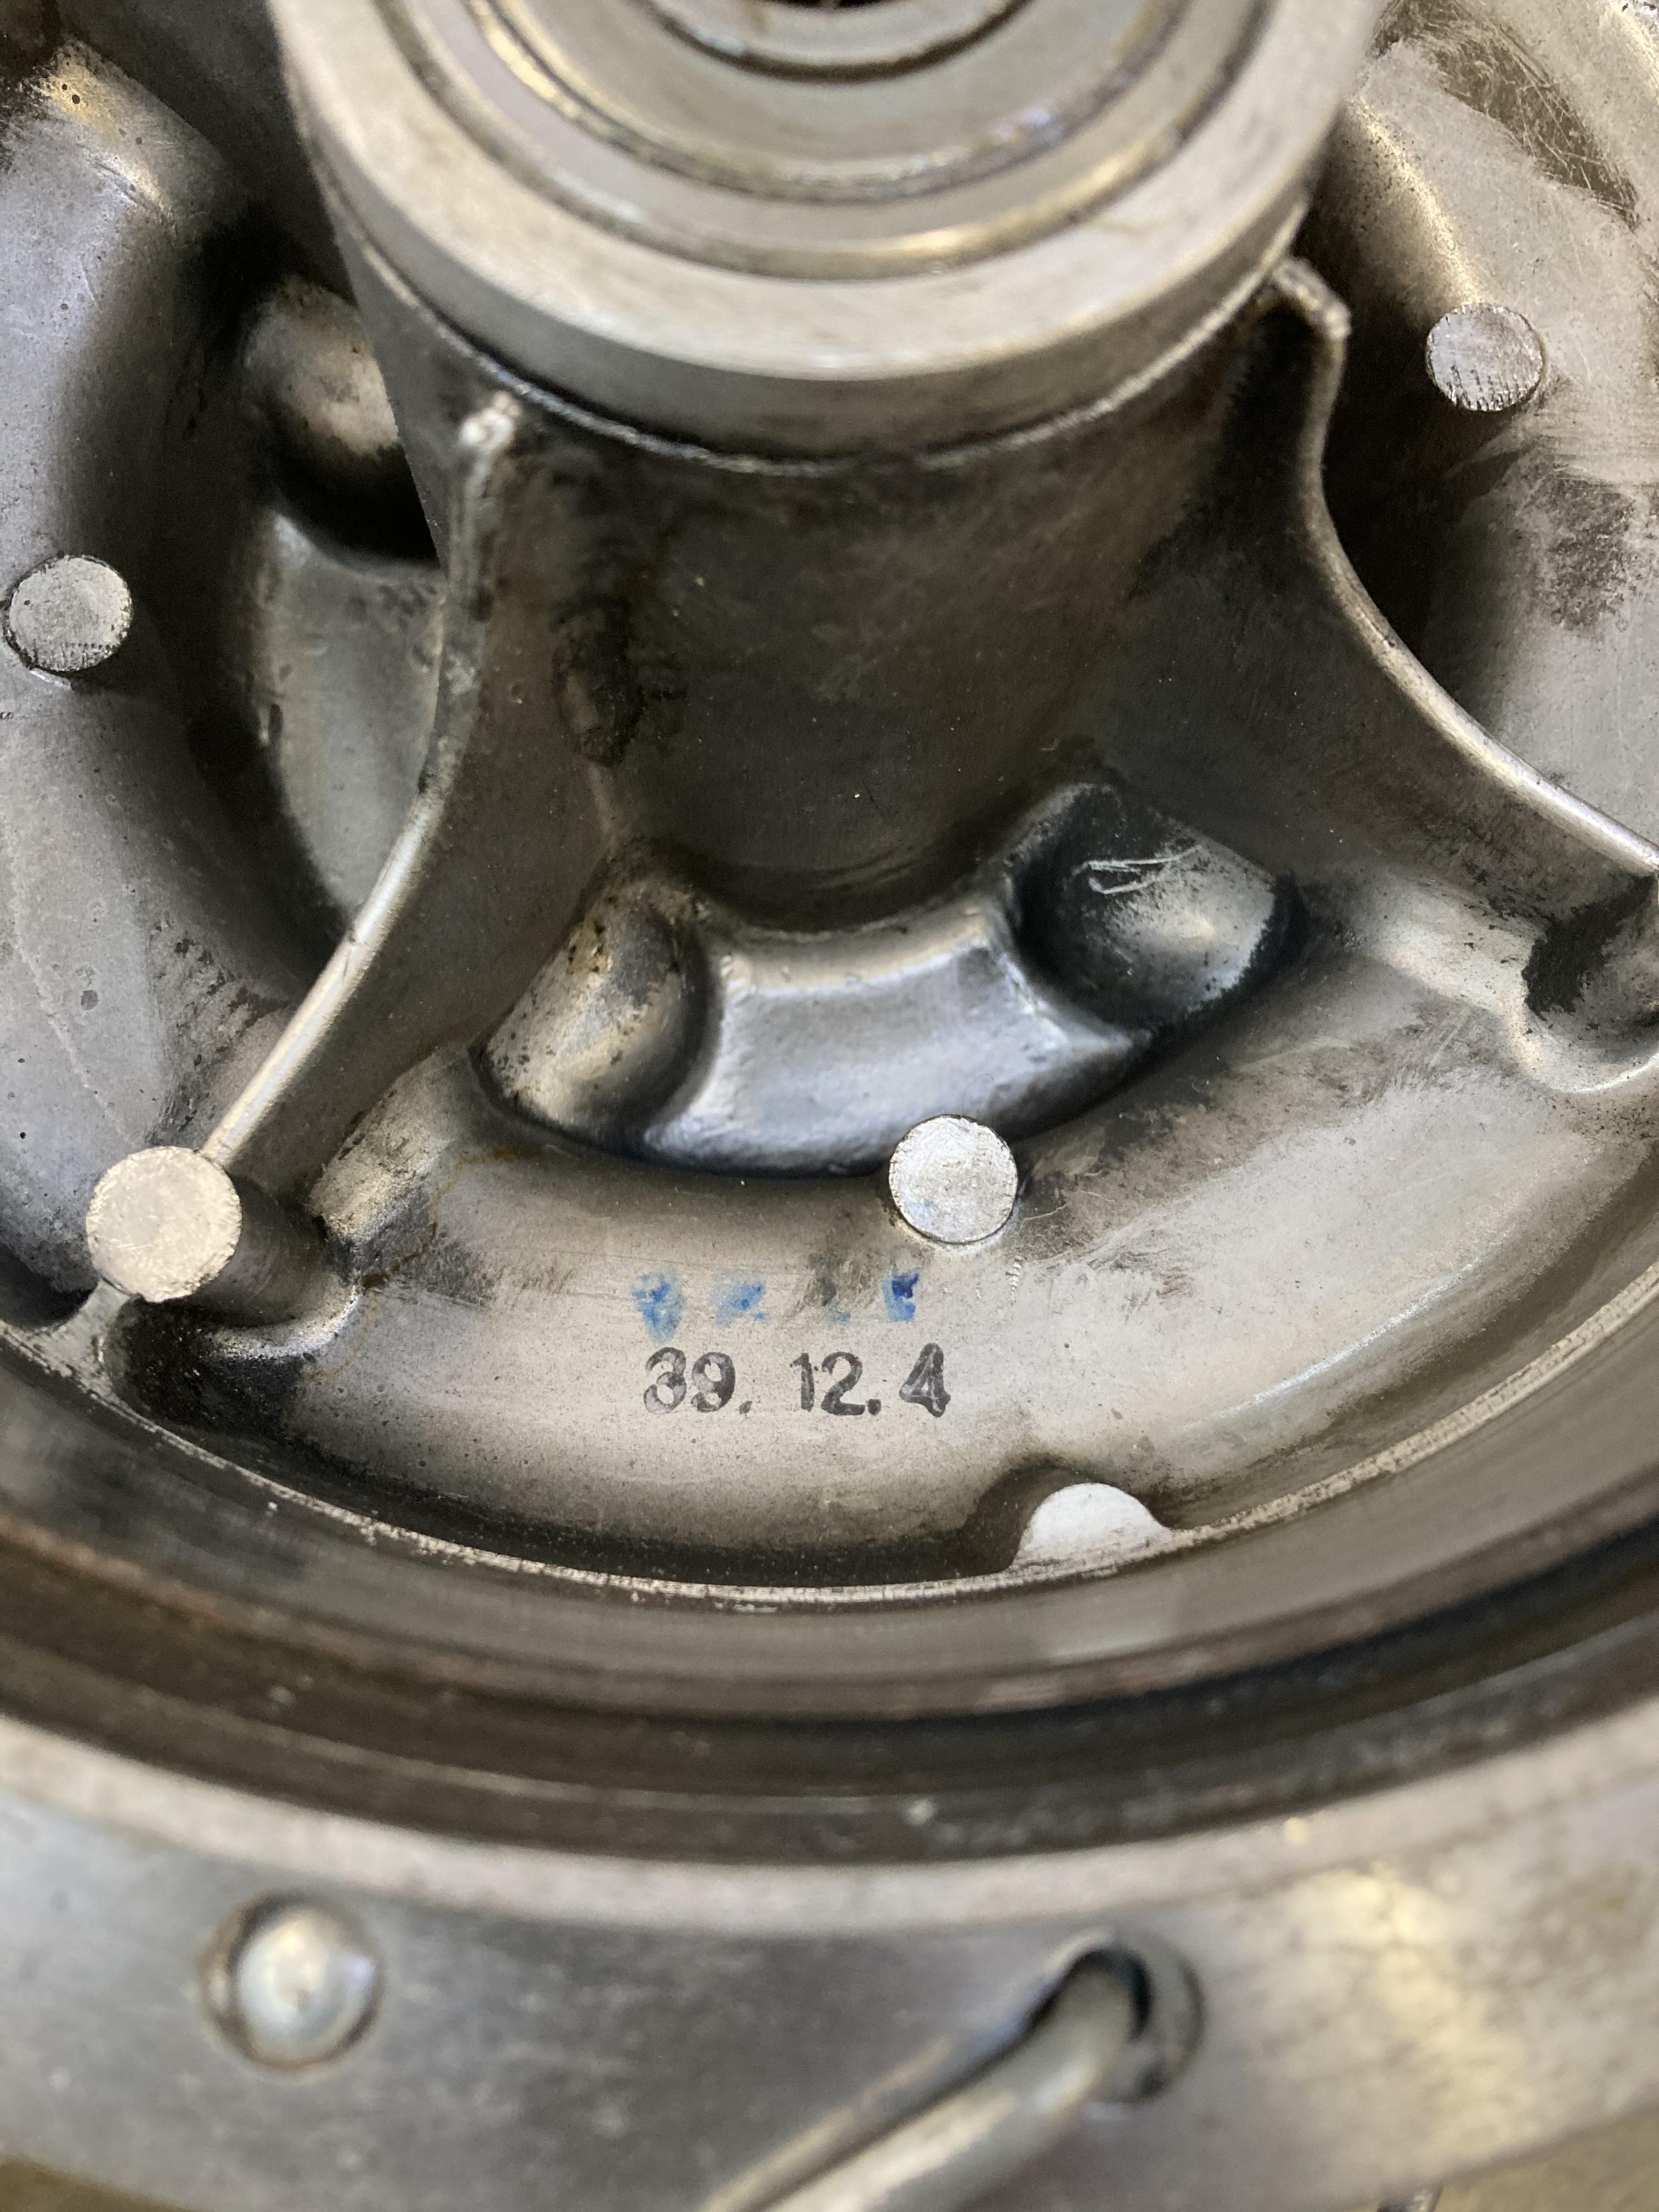
Found a date mark in the hub shell 39 12 4, means the 39th year of the Showa period dynasty (started 1925) then day and month, so April 12, 1964. Matches my wiring harness tag 1964.

I think it's pretty cool that they tried to hang on to their unique cultural conventions, at least for a while. I sense a pride of craftsmanship in these 60's bikes that somehow changed, not dissappear, just changed, as time went on.

OnrHYR3.jpg
 
Tyre came today, so time to fix the flat rear. Seller had a tube but I bought it before he had a chance to fix it. No wonder it popped when he aired it up for him to take a ride, the old tube had not had any talcum on it so was self vulcanized to the inside of the tire and got pinched under the bead from being rolled around flat. I'll put about a teaspoon of talc in the new tire and slide it all over in there, and coat the tube too.

Got lucky with the rim as only one bead edge had any appreciable rust. My short course bristled wire wheel made quick work of it. I rub the channel down with motor oil (and the nipple heads) wipe off excess and ready for rubber.

Found a date mark in the hub shell 39 12 4, means the 39th year of the Showa period dynasty (started 1925) then day and month, so April 12, 1964. Matches my wiring harness tag 1964.

I think it's pretty cool that they tried to hang on to their unique cultural conventions, at least for a while. I sense a pride of craftsmanship in these 60's bikes that somehow changed, not dissappear, just changed, as time went on.

OnrHYR3.jpg

The things you learn here! Up to what year did they use this date coding, would you happen to know?
 
Alloy rims, Aftermarket exhaust and Ye old swingarm pivot bolt

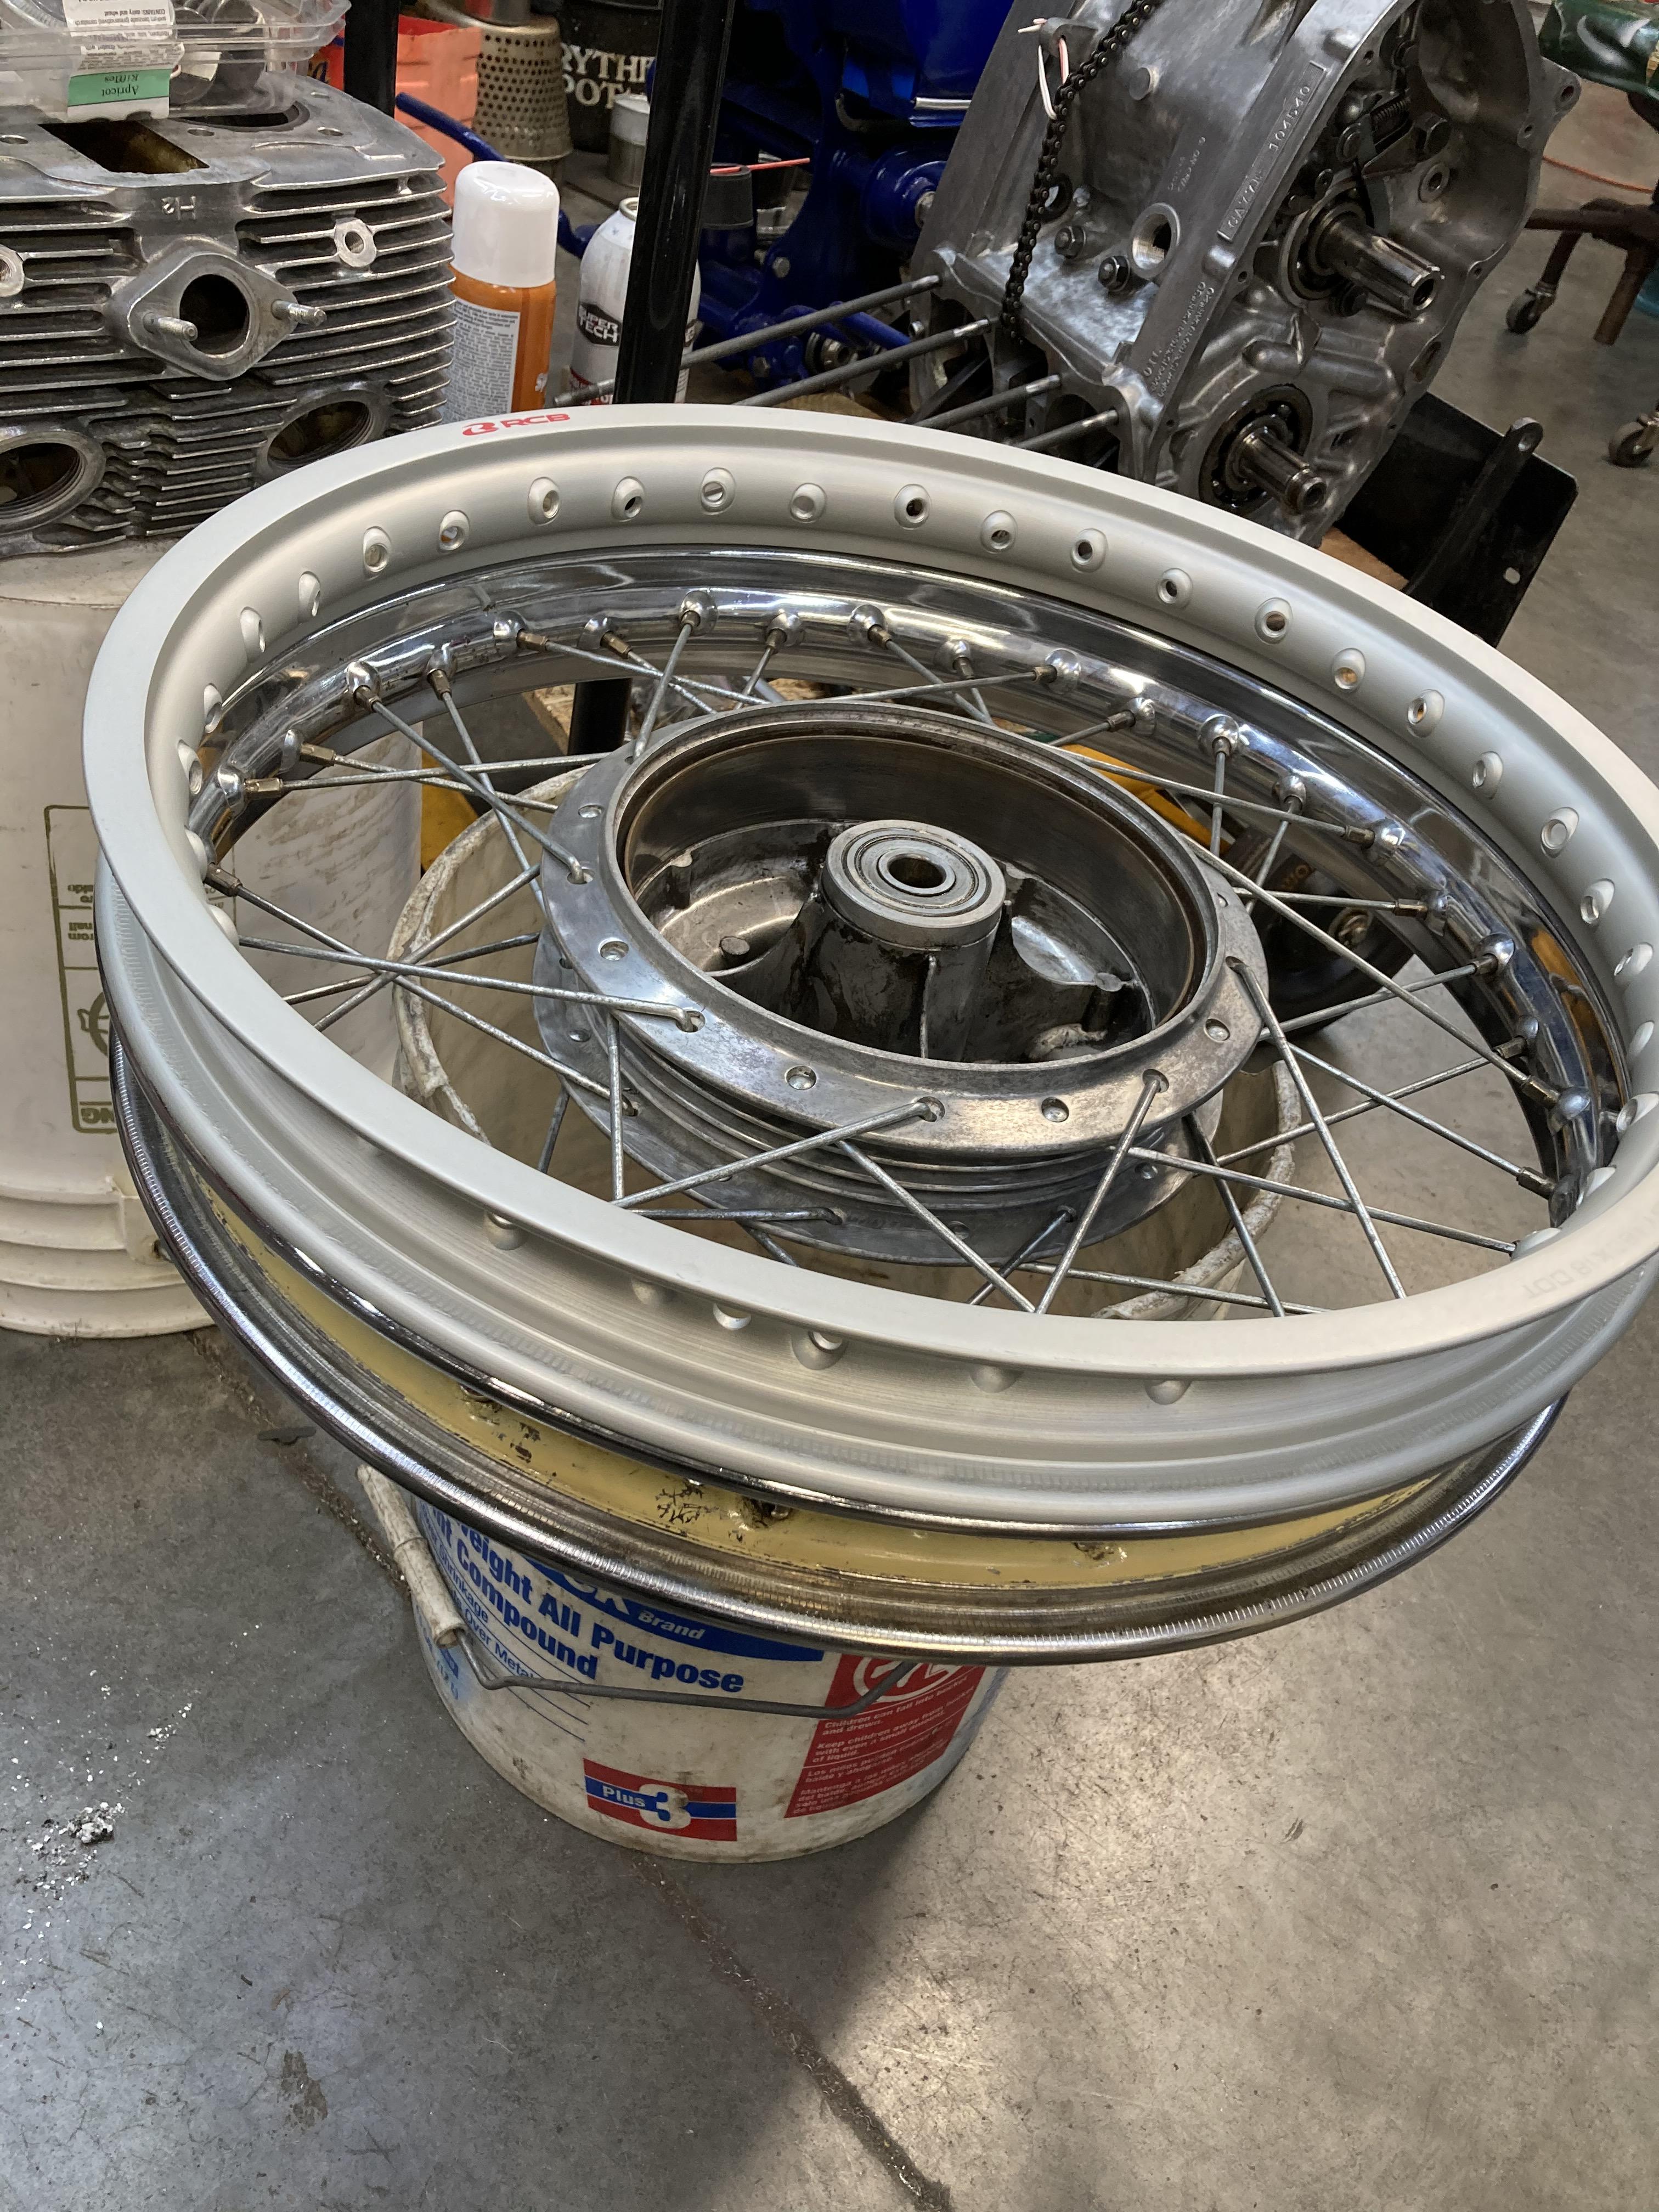
I couldn't resist the alloy rims, good price. I have front and rear used wheels coming so I'll have a better front stock chrome rim and extra hubs for the alloys. Plan is to rehab the front stock wheel and do the alloys later. Used spokes all around, sanded and clearcoated.
The alloy rims are marked 1.60.

wpCqT65.jpg


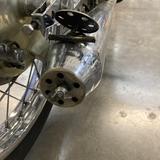
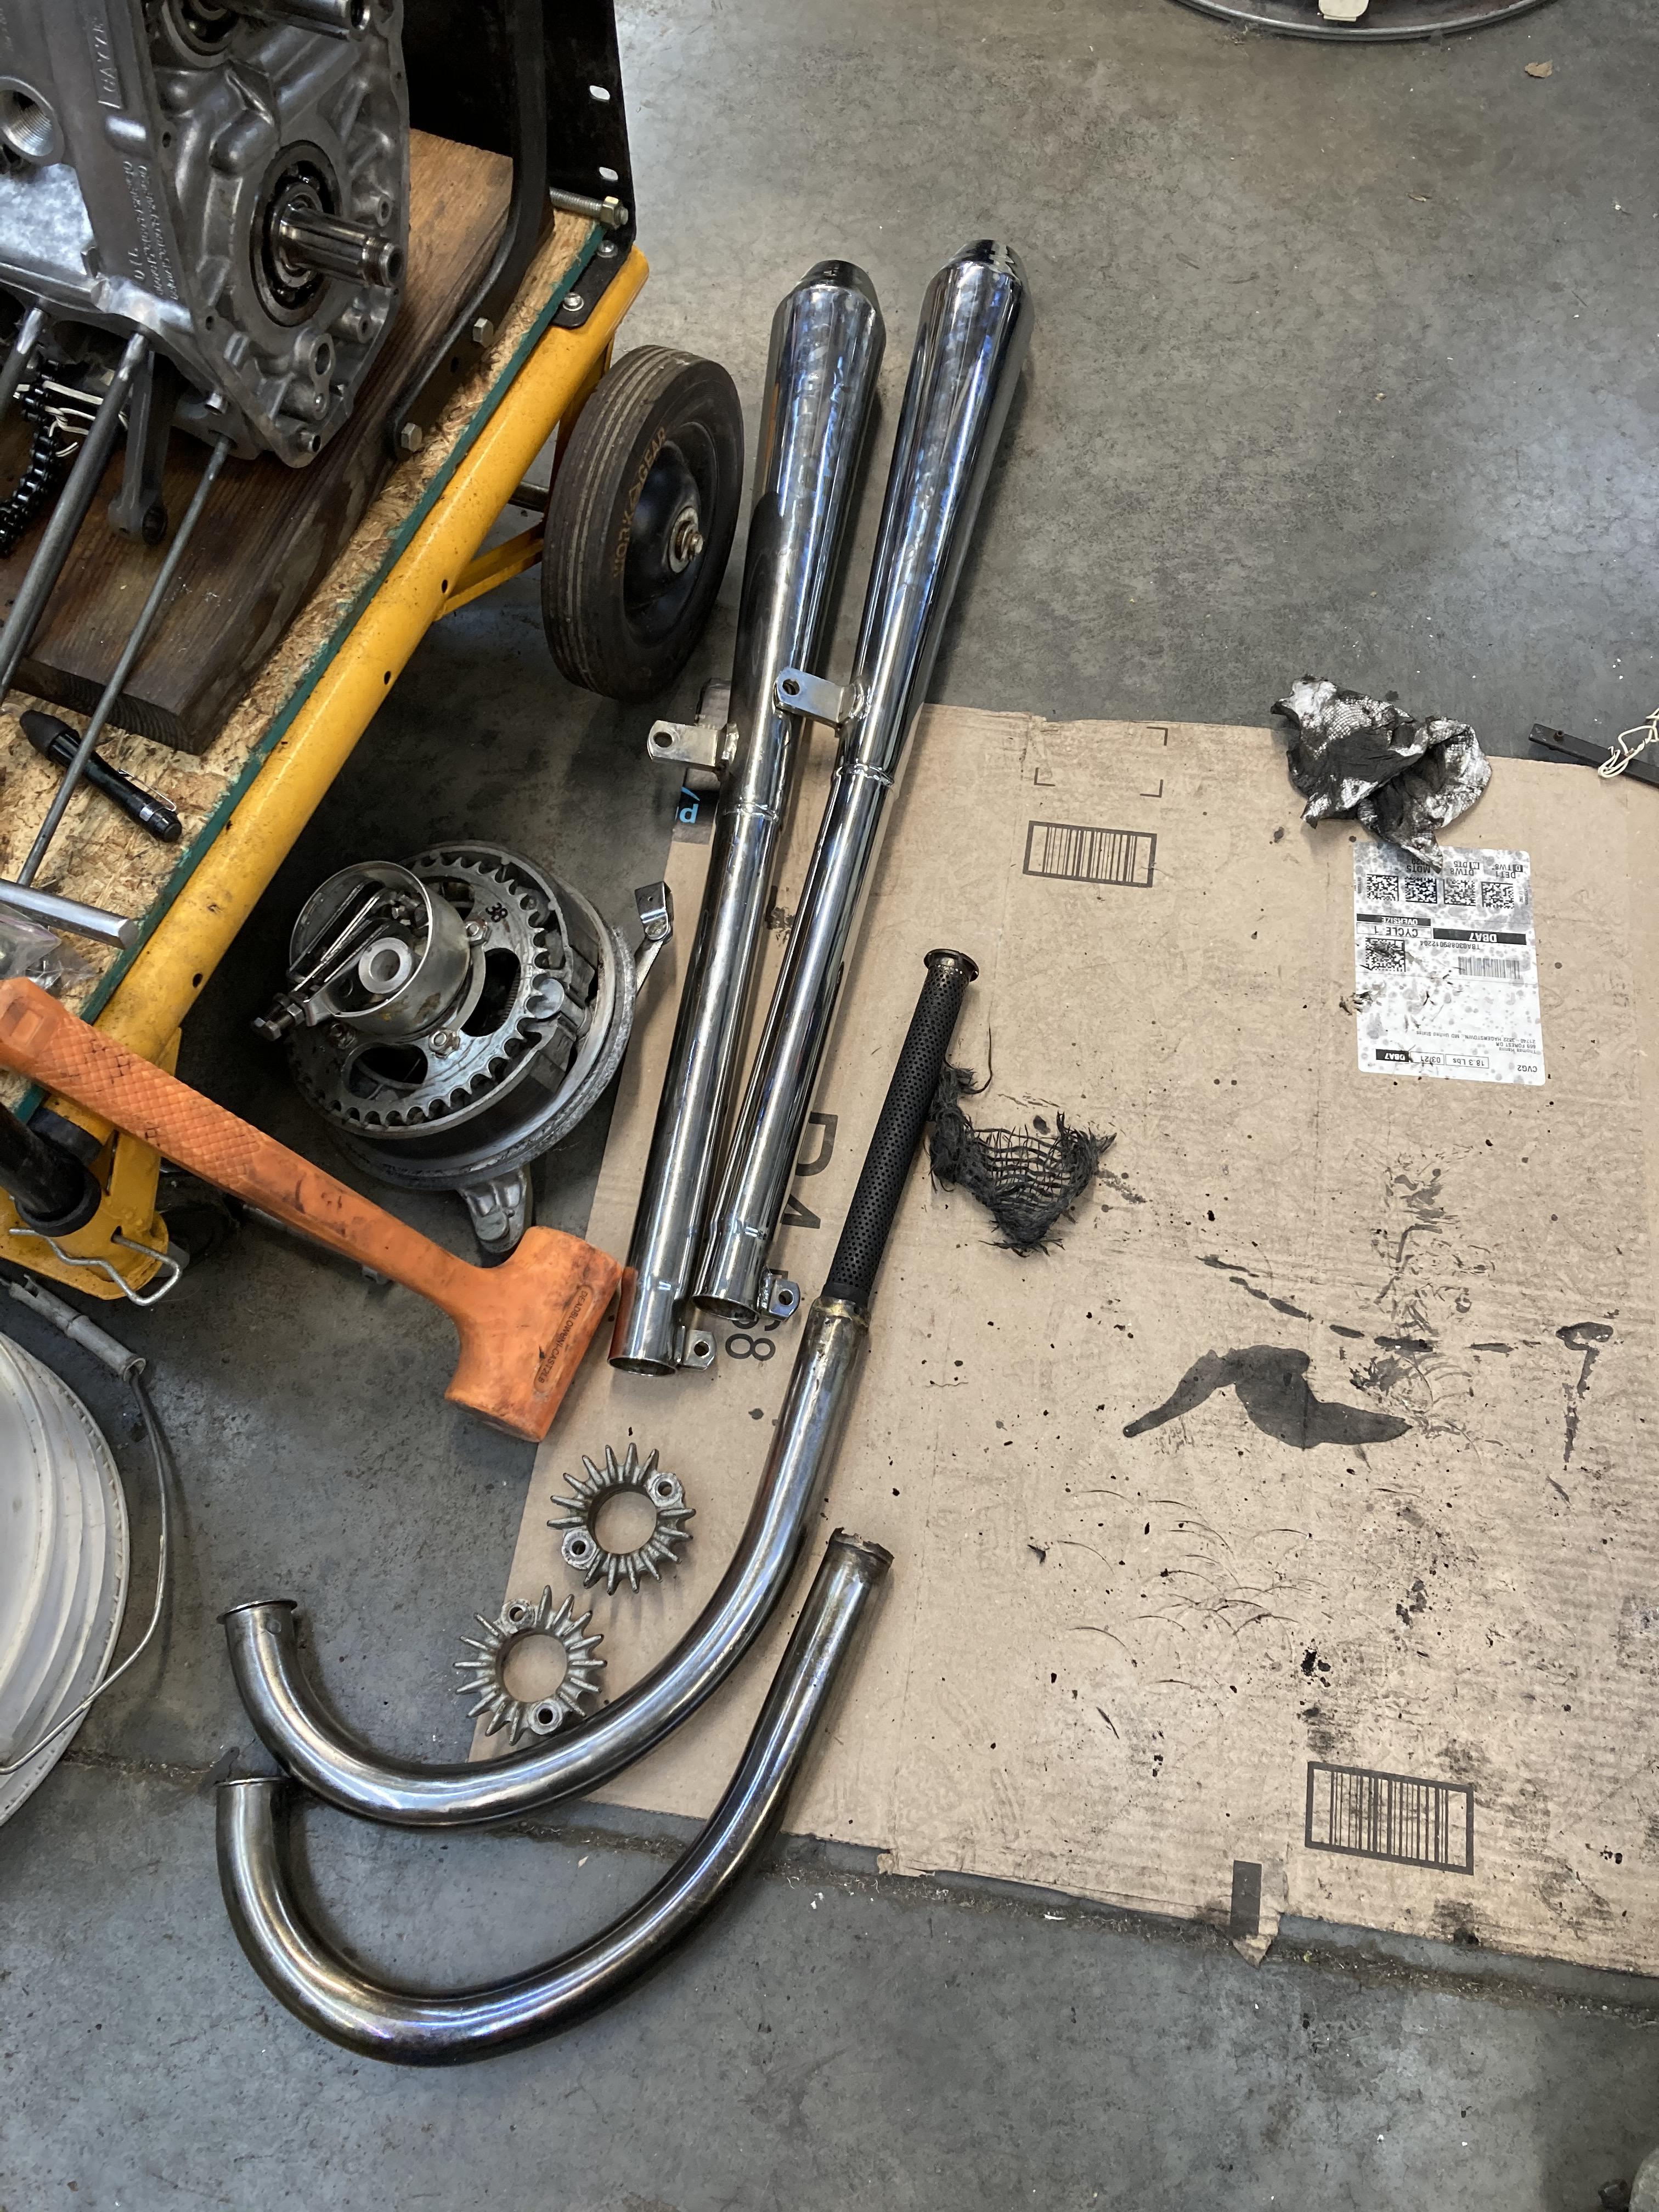
The exhausts were a challenge getting apart. One of the internal baffles is MIA. Remnants of fiberglass matting were wrapped around it.
Has anybody seen these before? I wonder who made them. Pretty thick steel. The end caps with holes remind me of snuff or nots but these don't have a knob, just a wingnut and they come right off.
twDUnL3.jpg


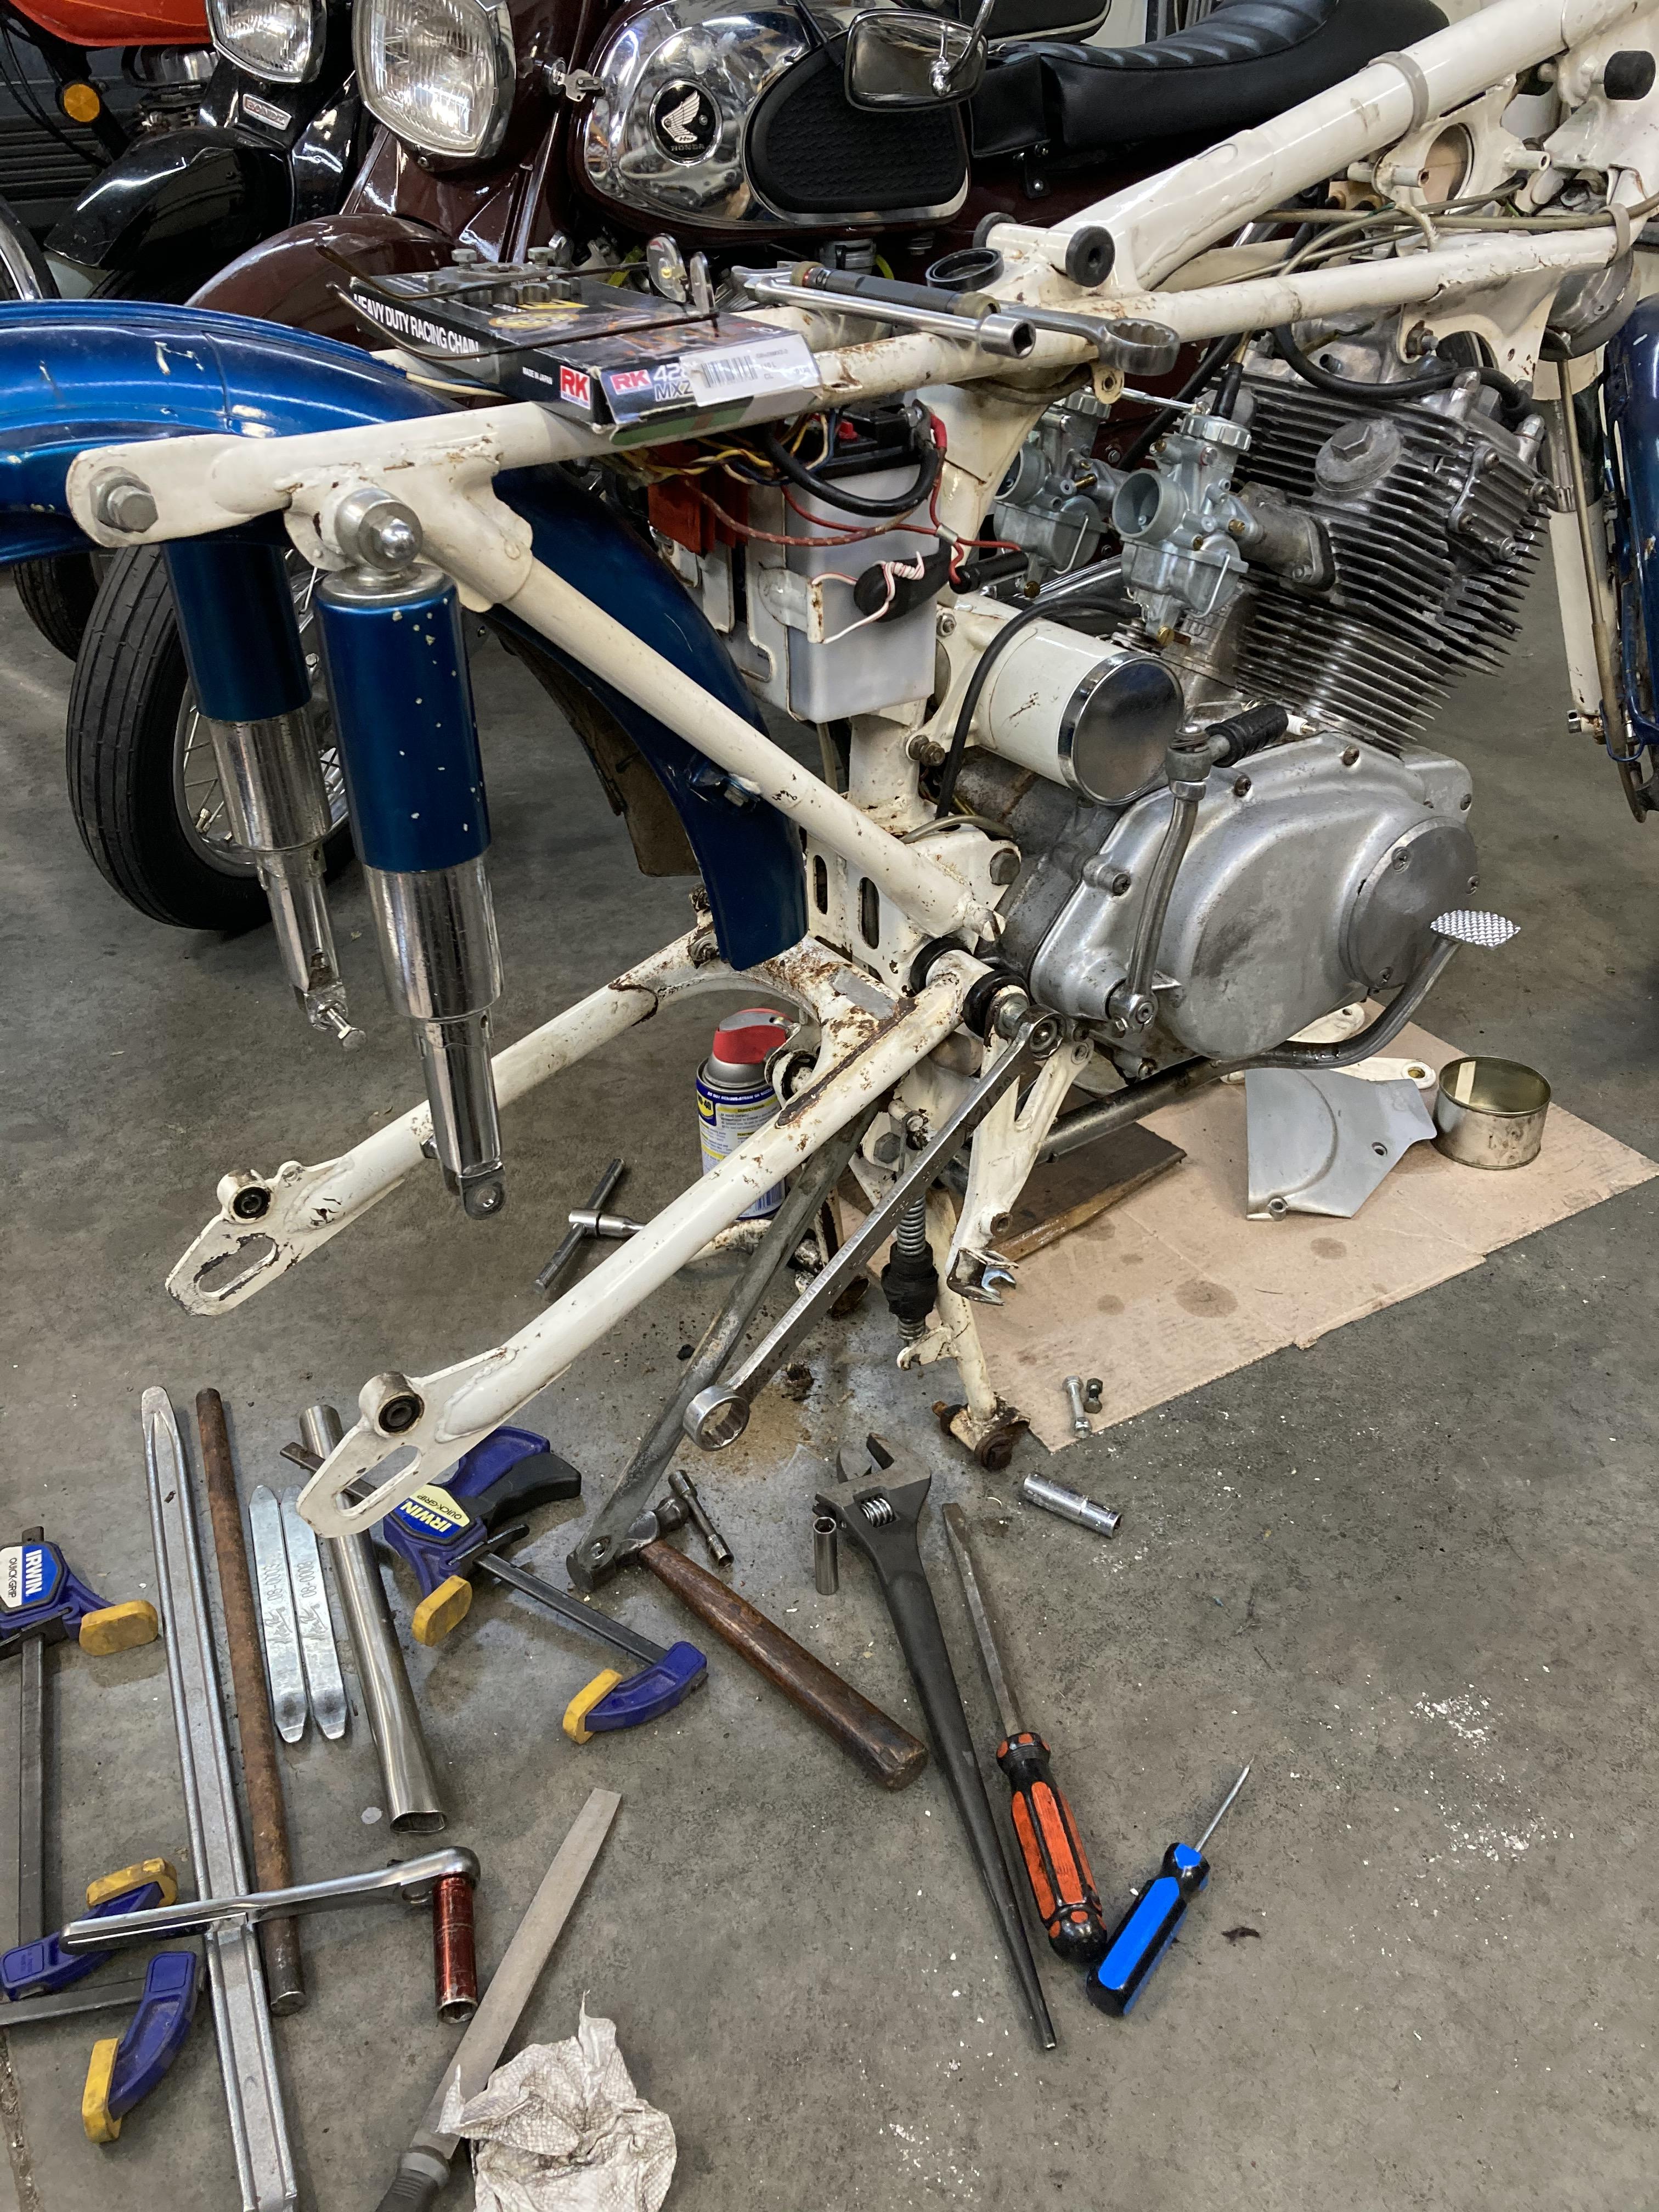
The white swing arm has more rust/bad paint than the picture so I figured to clean and repaint. The pivot was a bit stubborn so it was good to get it out and cleaned before terminal rigor mortis sets in.

The rear rim needs minor truing and then new tire. It's going back together then, I tell myself.

5ggUgbw.jpg
 
The rear wheel trued up good with good bearings, shoes and sprocket. I can't say I'm in love with the MMG chinese tires from Powersports tires. Still haven't got them seated evenly, thought I'd let them get used to 40psi before I give it 60. That is 2 of 3 of this brand I've struggled with.

I repainted the swingarm with some white I had laying around. Still trying to like the white.

id714Gw.jpg


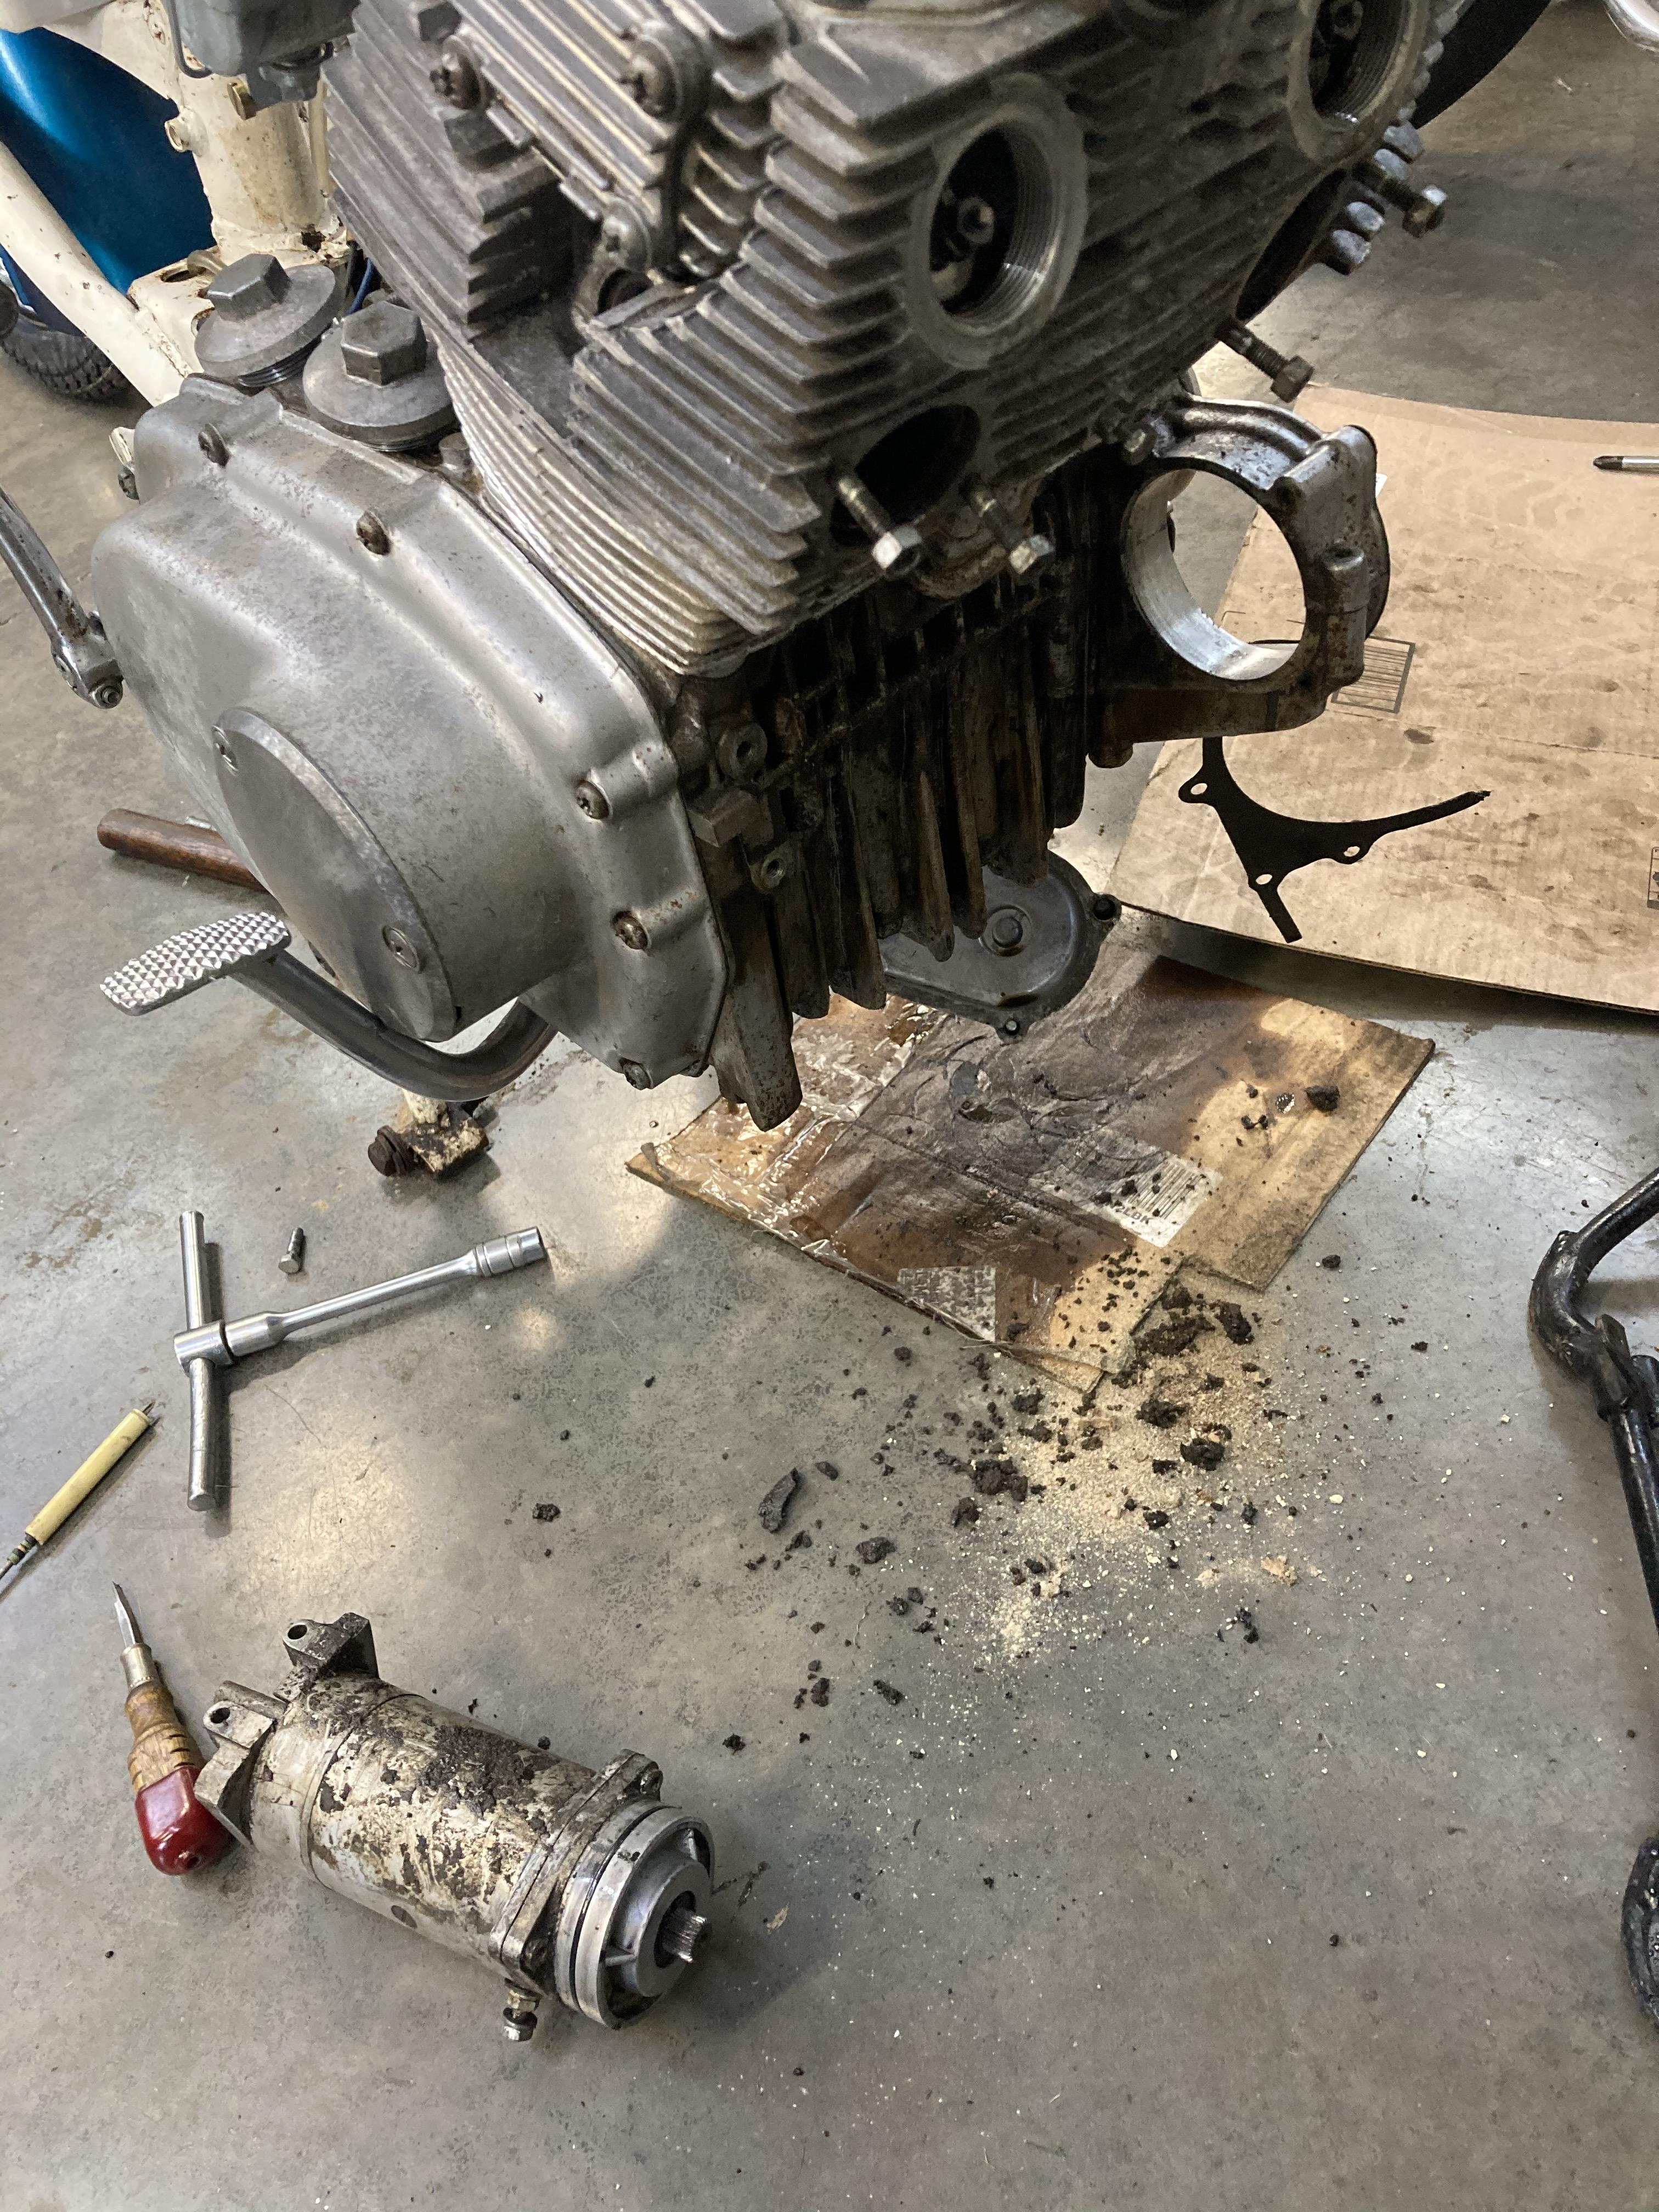
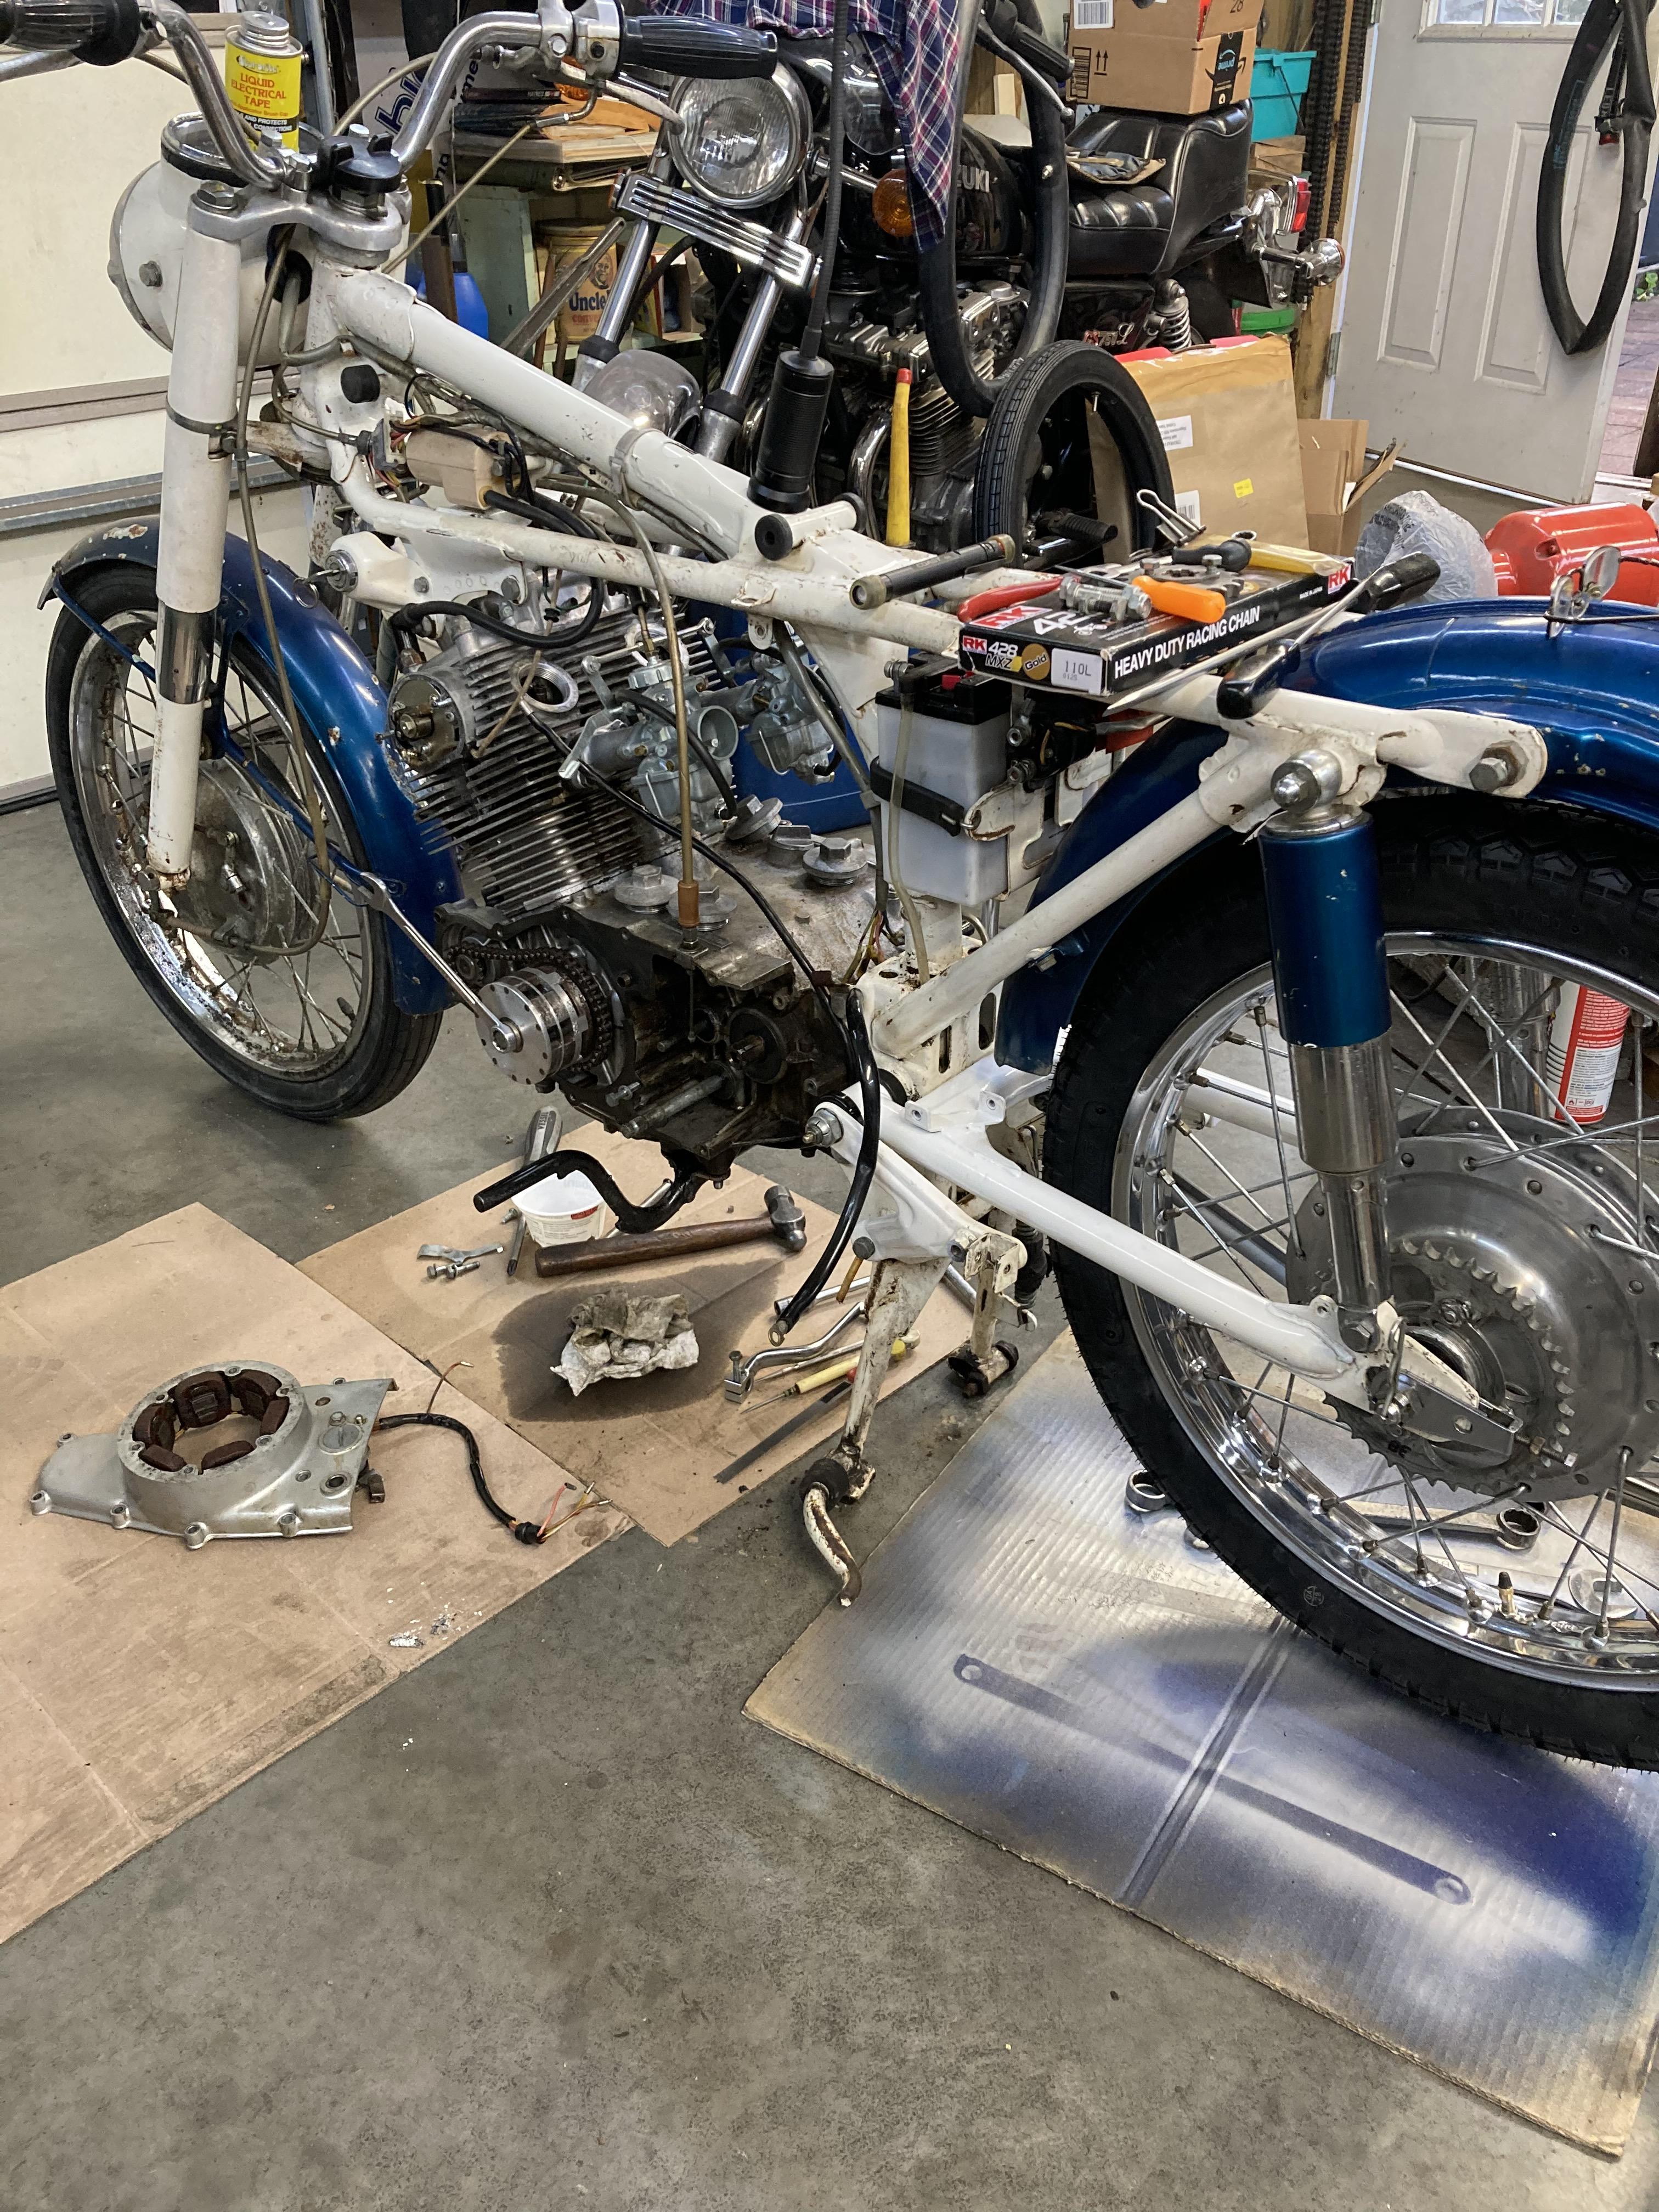
After straightening the foot rests in place with a long cheater pipe, I found a missing 6mm mount stud and a mis-routed starter cable. The ring terminal had been poorly replaced and literally fell off. Had to remove starter to get cable back in proper groove and found grease, rocks and stuff wedged in behind the starter. Also ran a bicycle spoke into the cylinder cooling passages also plugged with mud wasp nests.

p9SEHhS.jpg


It's going back together (I hope).


hCUyZL6.jpg


I need one of those boroscopes. Shining a light in the spark plug holes, I could see some very clean valves and piston tops and what looked like cross hatching on the cylinder wall.

With only 3800 miles (if true), there may be missing chapters to this bikes story. I just hope it was human not mechanical reasons it sat for awhile.

I need to beat out some flat spots in the new/used front wheel and mount new tire before a test ride.
 
9sqSw96.jpg


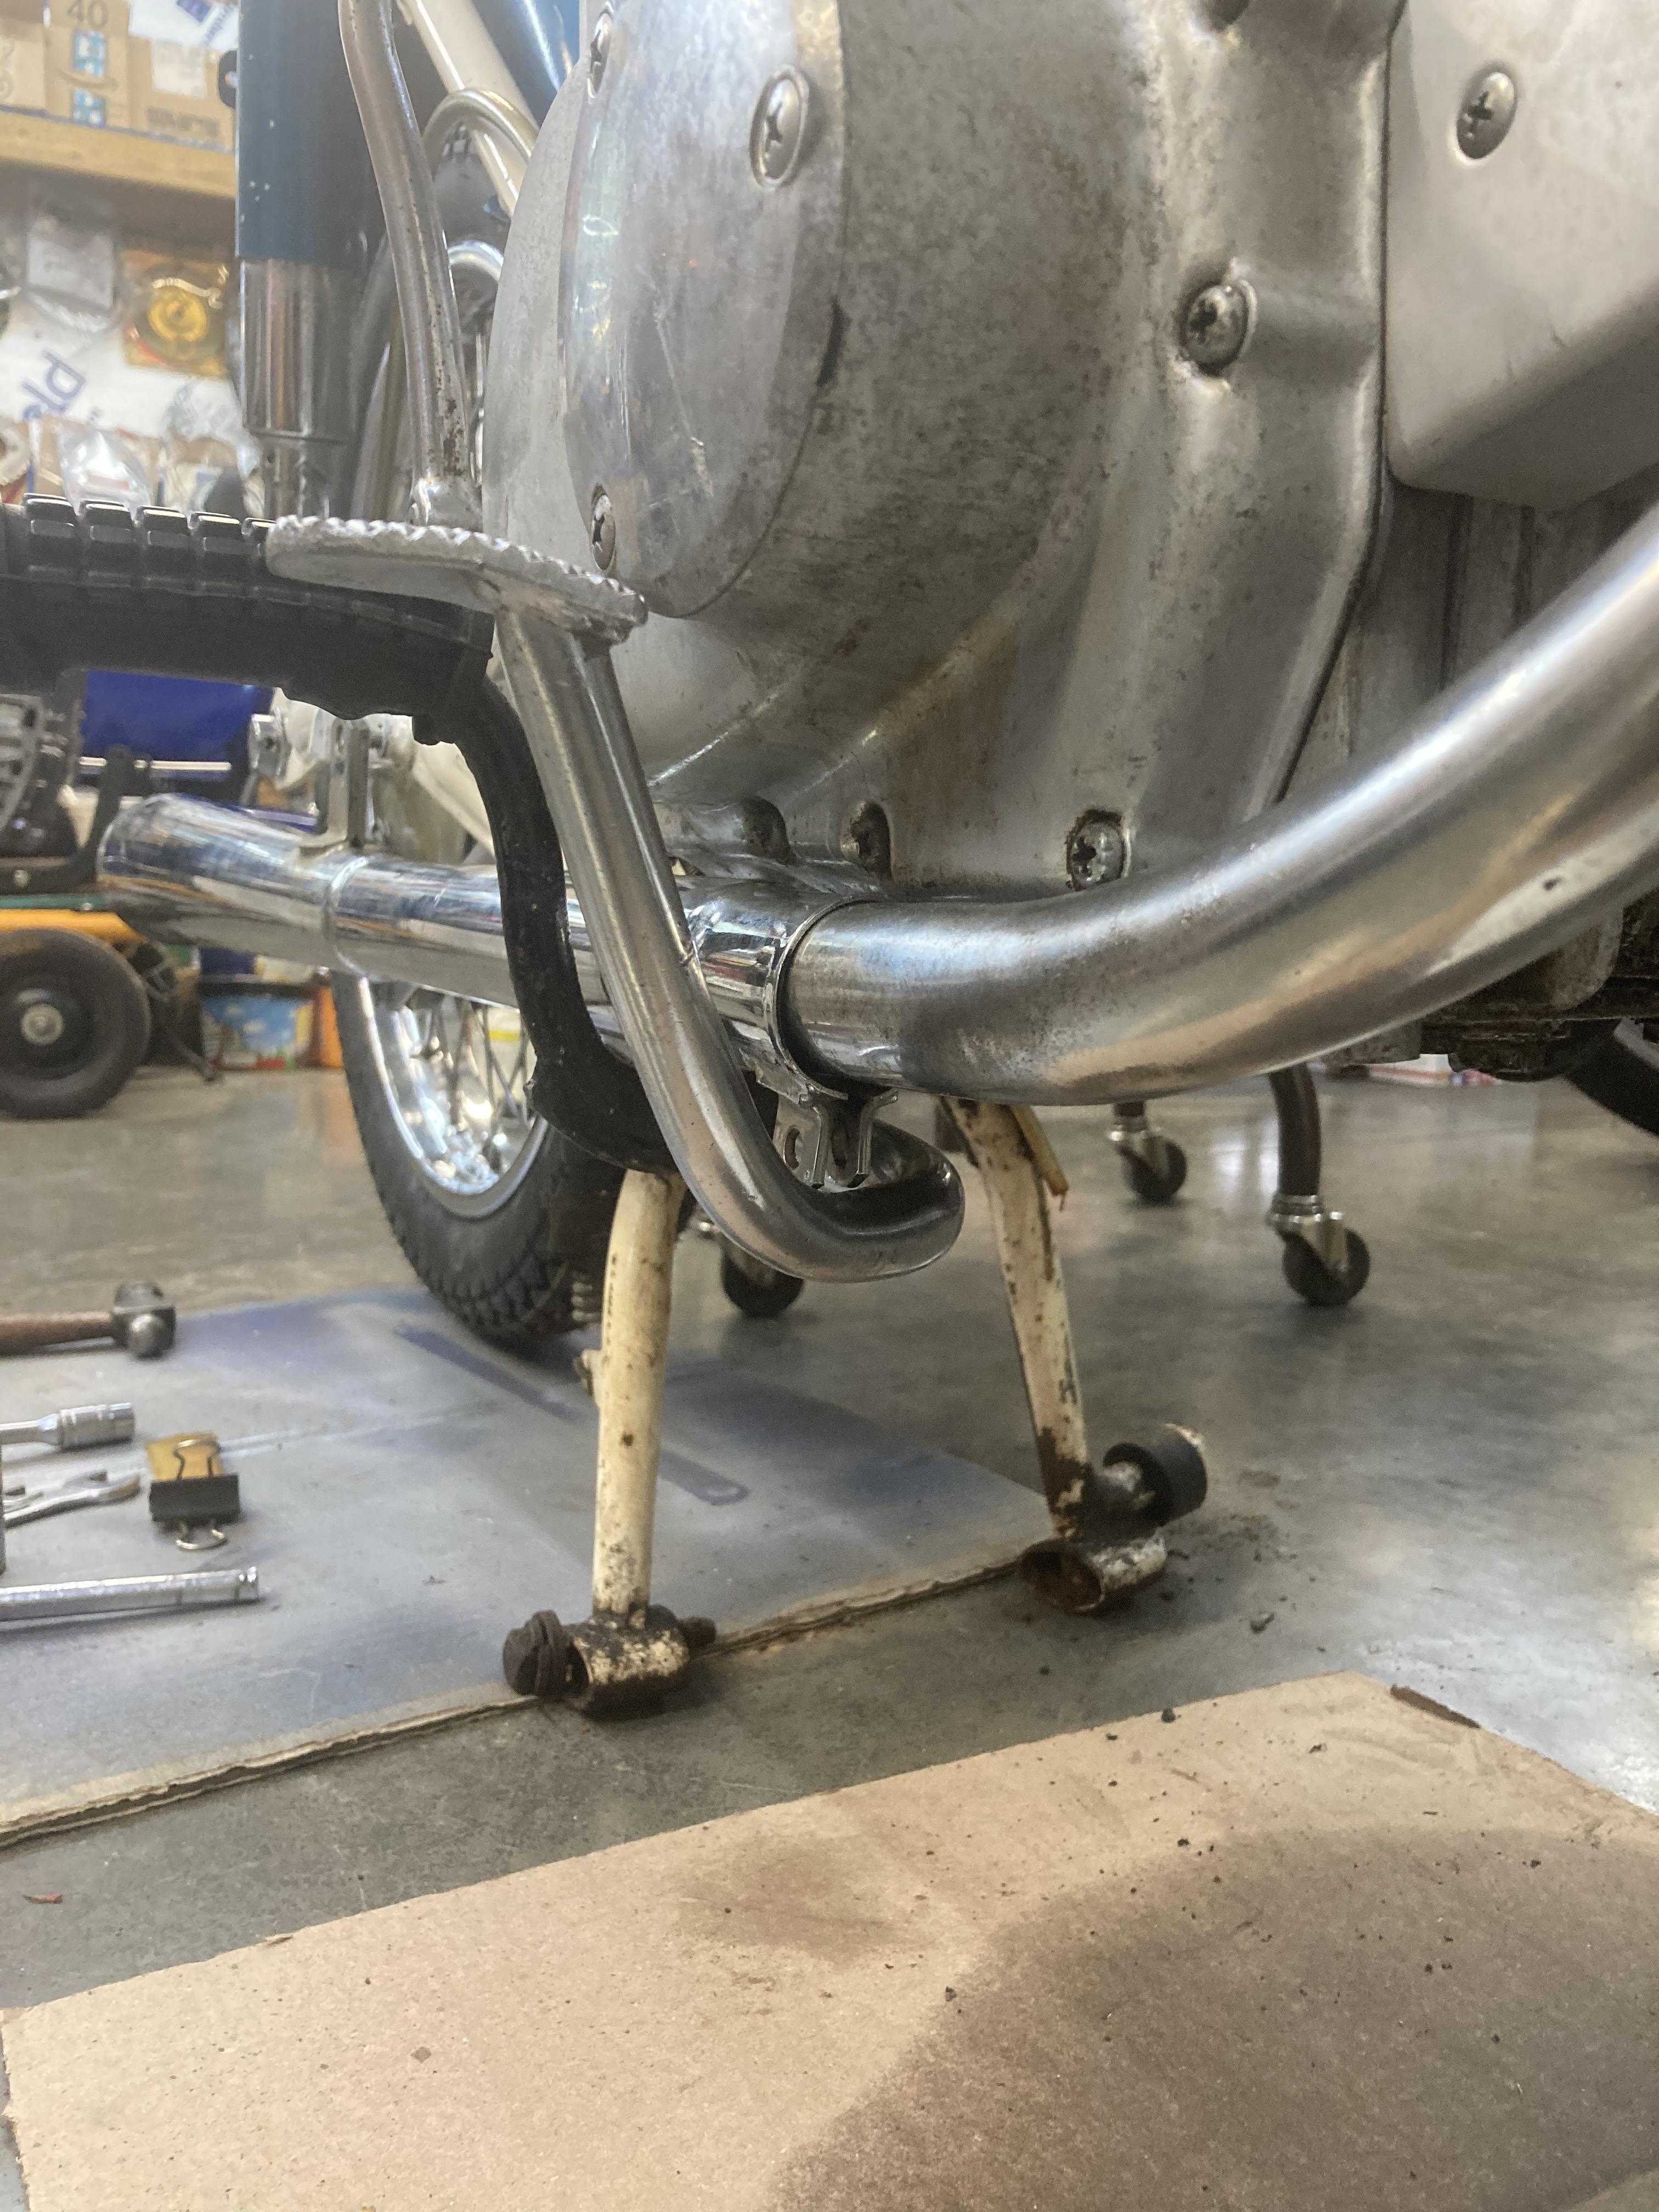
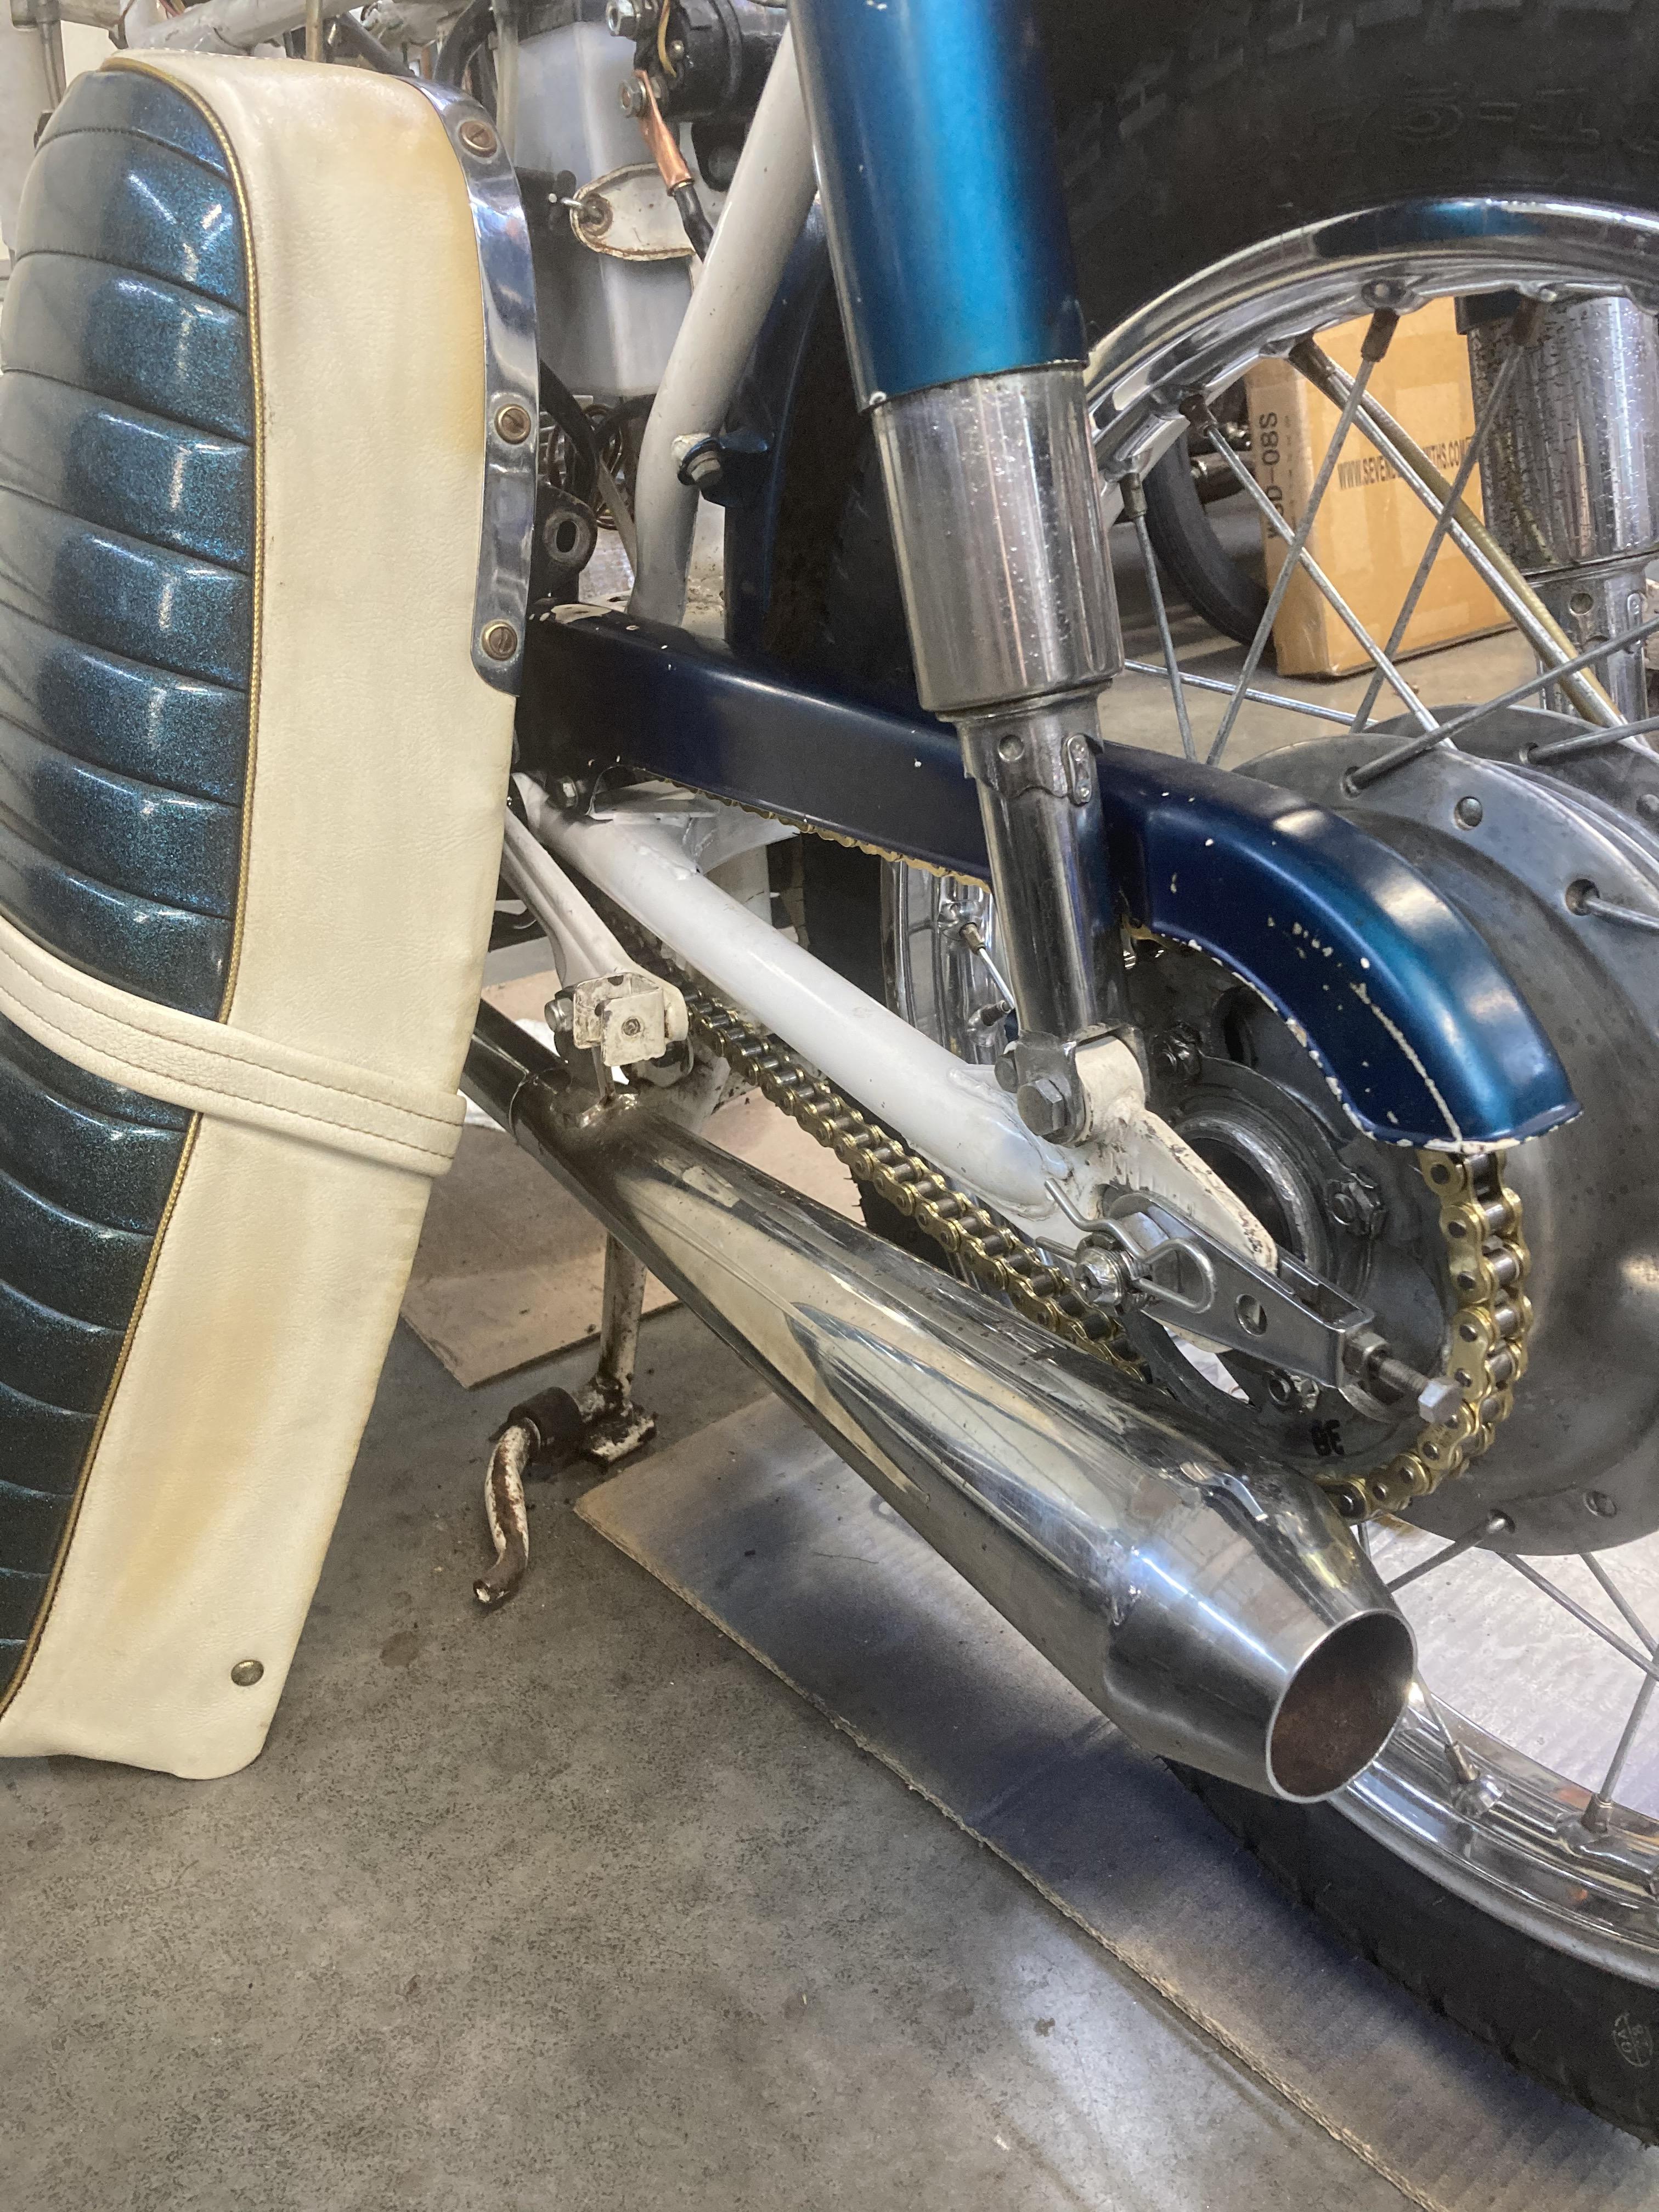
The above is the exhaust clamp brackets that are to be removed so a band clamp can be used such that it won't mess with my brake peddle height. Aftermarket exhaust is well done except it was probably designed for several different models and the brake lever on this one must not have been considered.

2W2woYL.jpg


My new HD 428 mx chain. I found two (2) master clips in the one that came on the bike. Heresy, in my book. The gold was on sale and it matches the seat piping. I've not had a gold chain before, kinda feel like Mr.T. The teeth were, fortunately, in good shape, it did belong to a Dentist, after all.;)


tKCCOrY.jpg


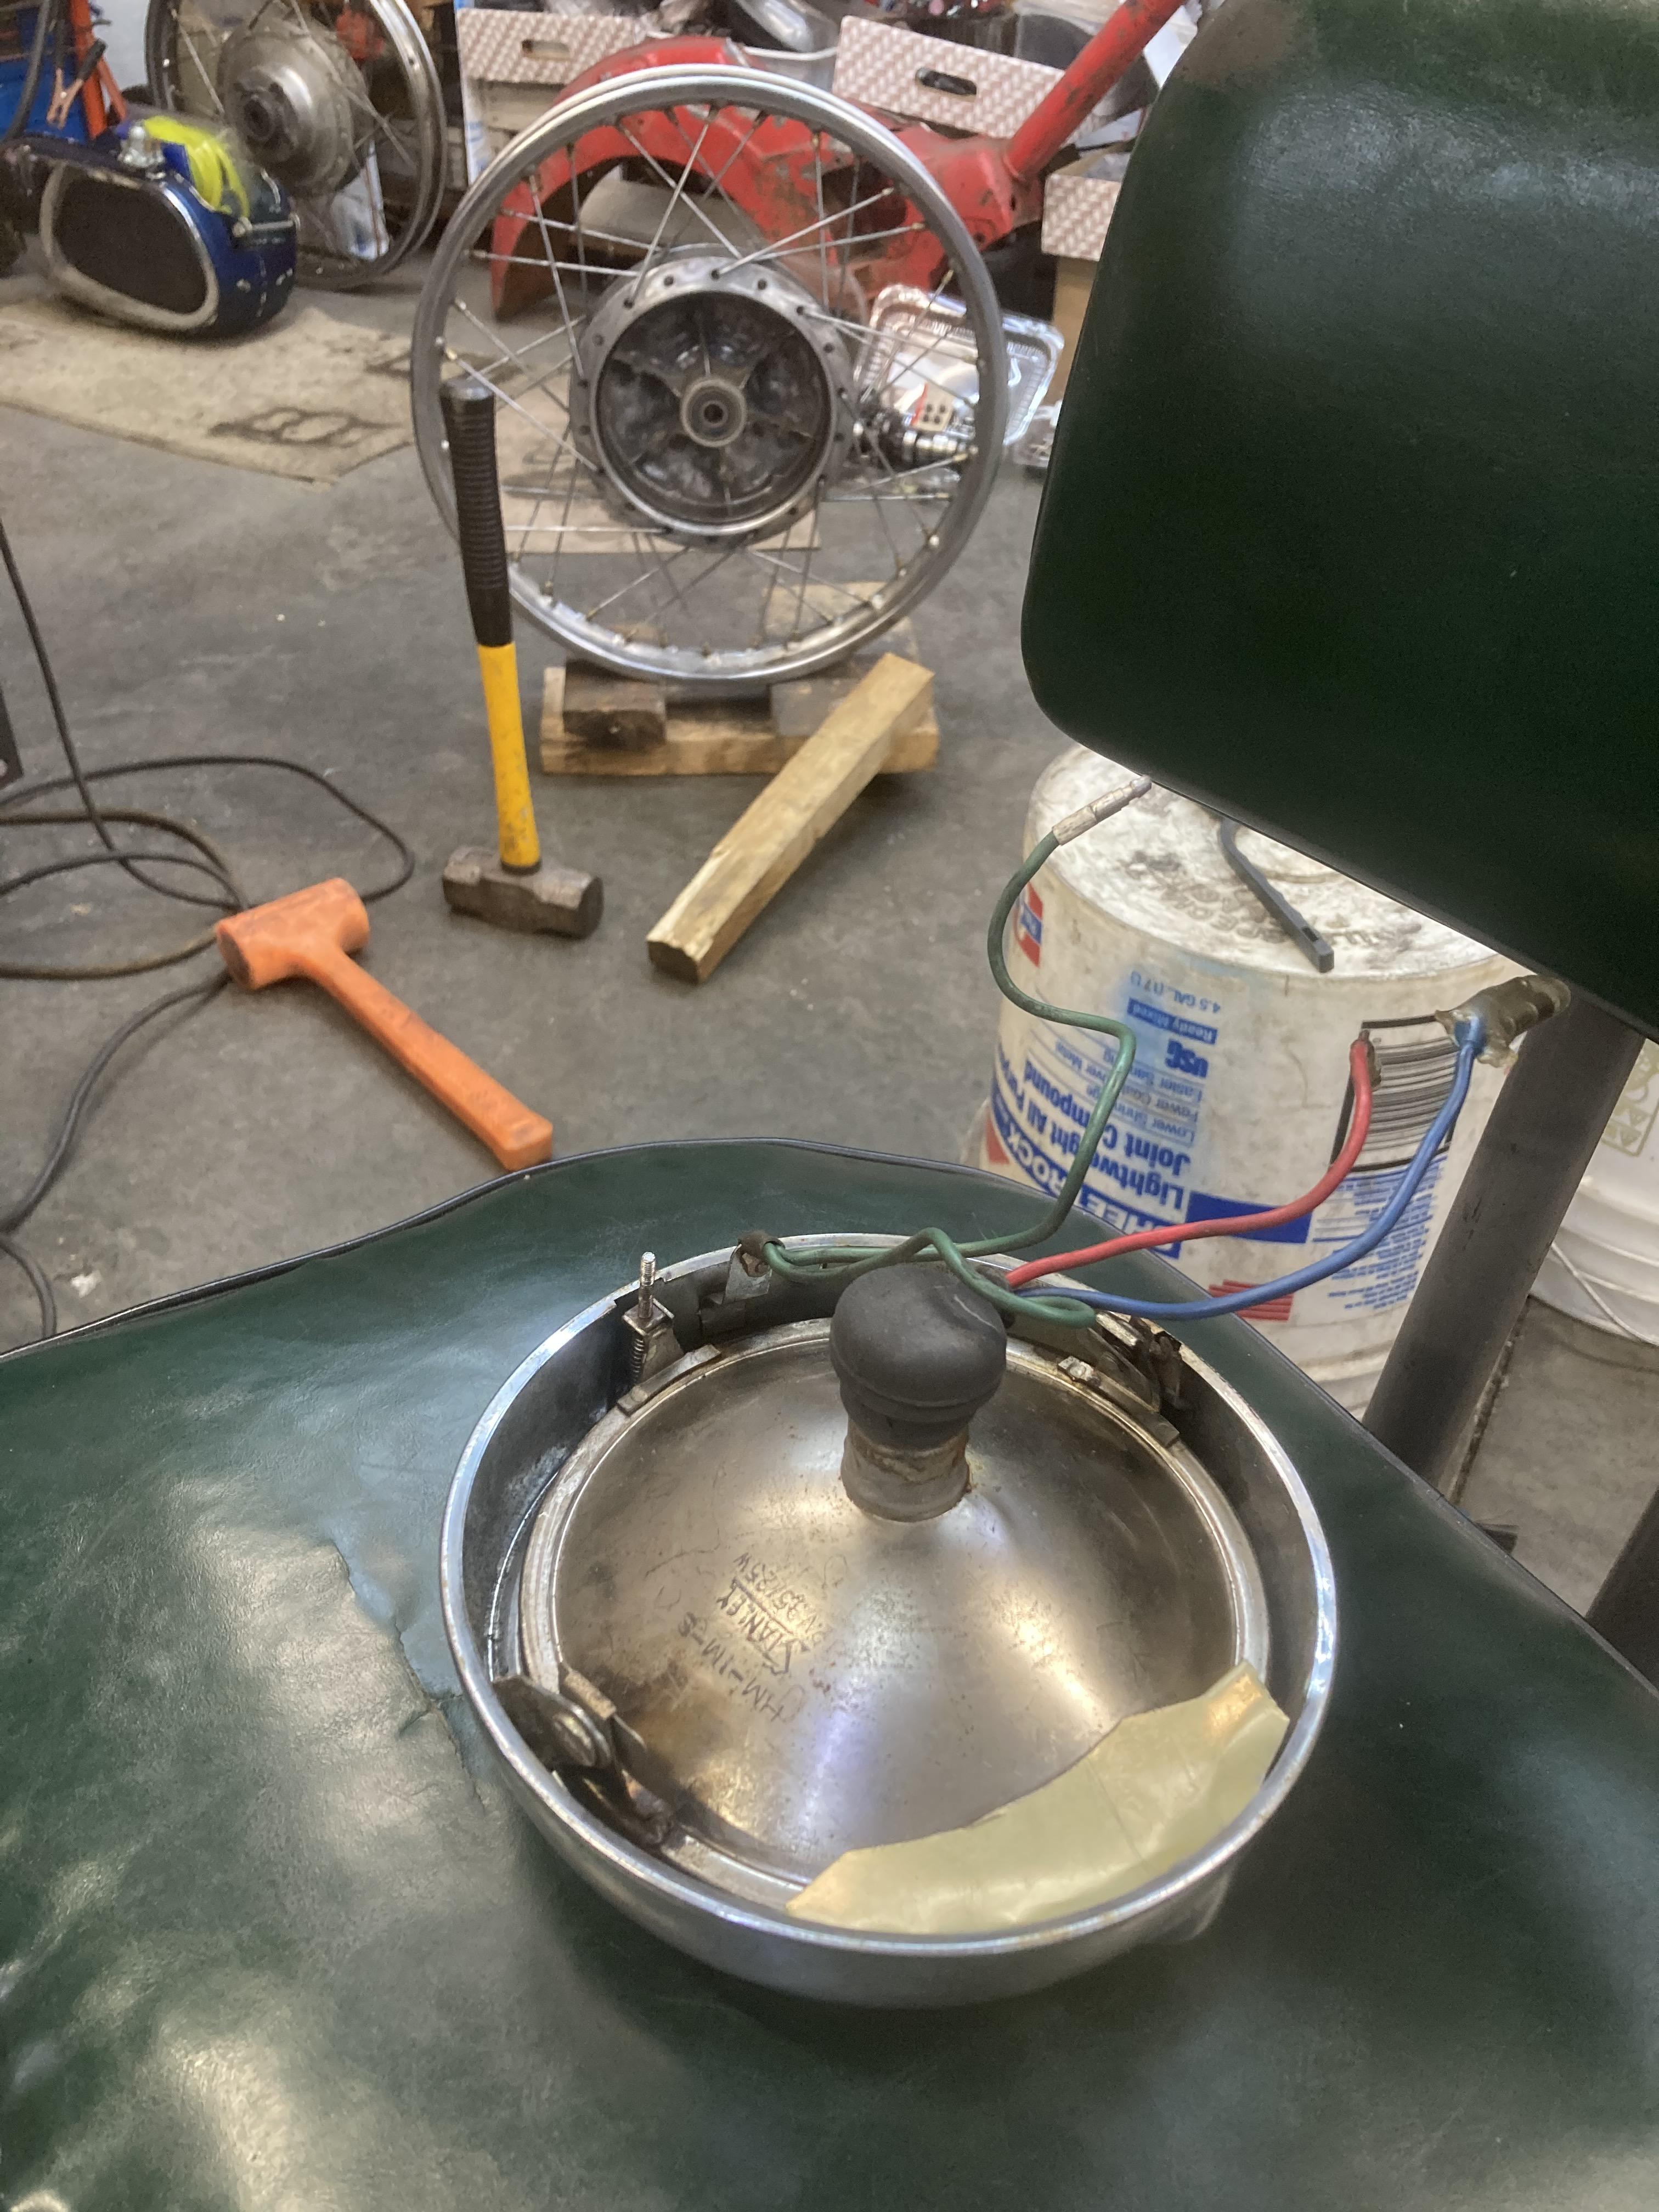
The sealed beam mounting tabs/pivots are both bad. Not sure how I will fix it but decent trim rings are hard to find and expensive, Mine has good chrome so no welding, maybe solder or JBweld or....

In the background is my wooden rim cradle and the implements of persuasion that I use to teach the rim to repent of it's flat spots. This used ebay wheel was as bad as could be hidden in poor ebay ad photos but the chrome is mucho better than mine was (which ain't saying much). And I have extra hubs now for my alloy raisin wheels.
 
Great thread Ballbearian. Nice work with the bike. Looking much better.

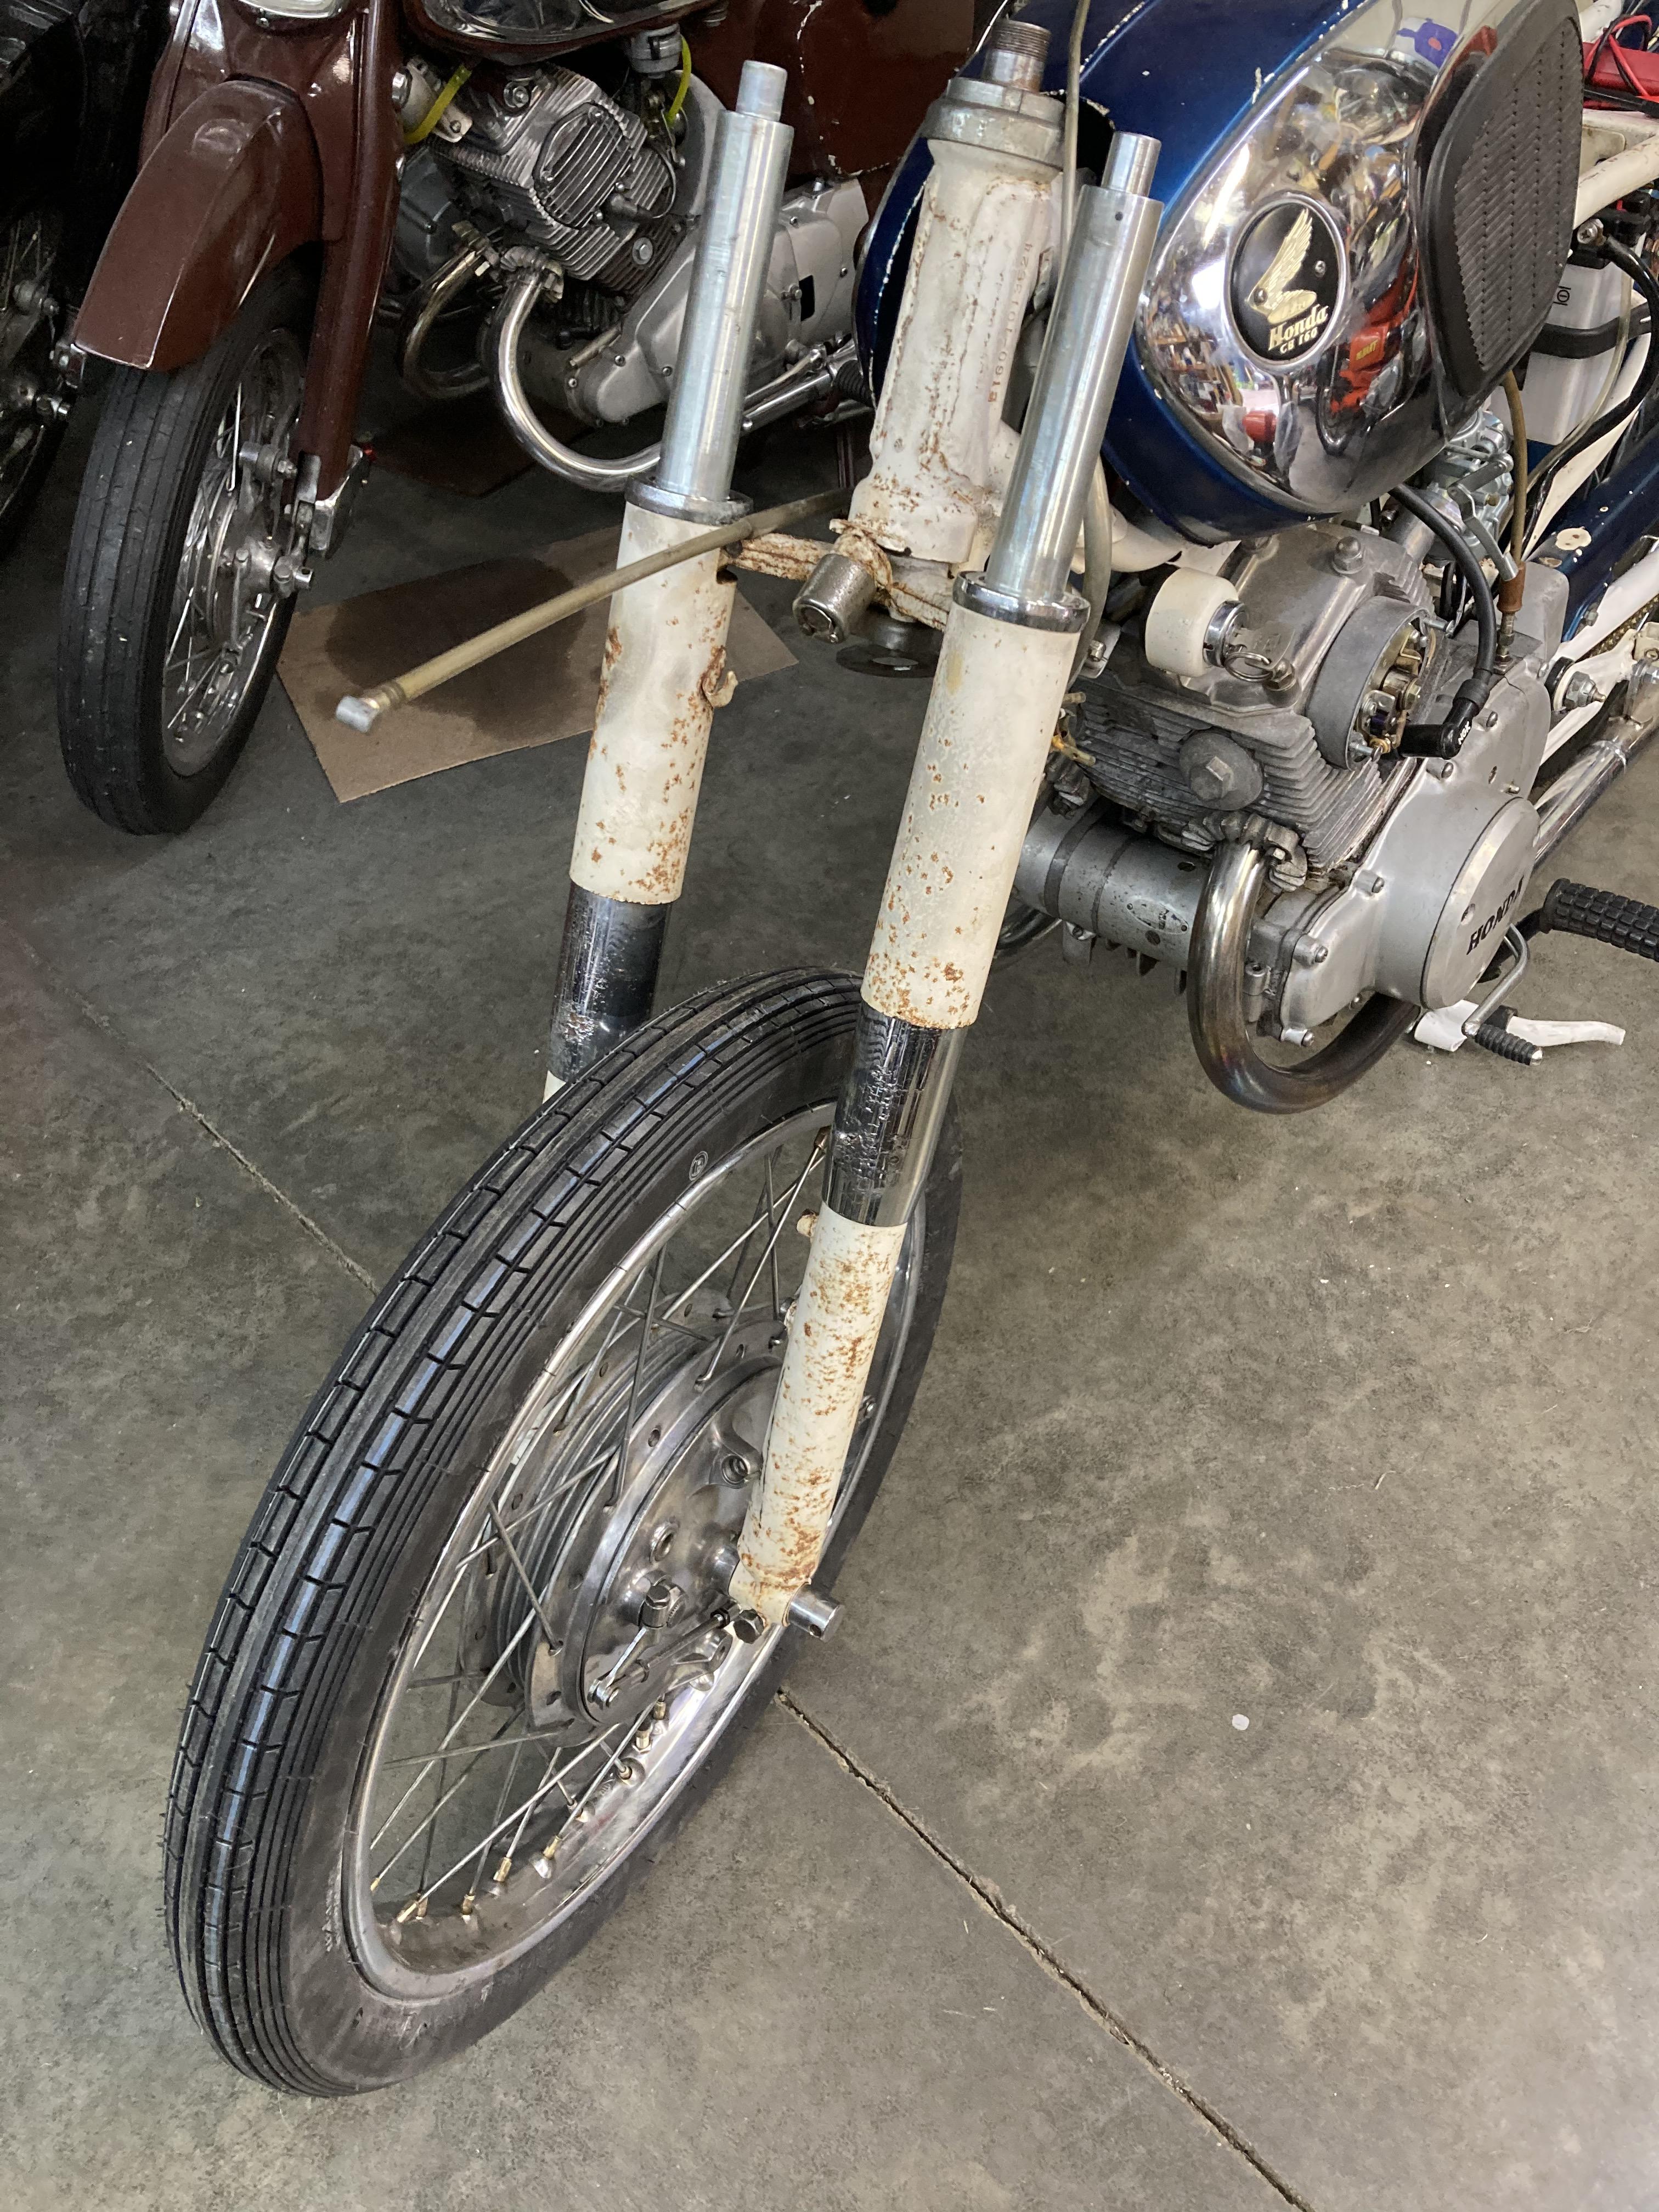
Still not sure about the paint ultimately. For now I'll try to appreciate it the way it is but the fork middles and lowers are just too nasty to let go so will probably repaint them soon when I get to the front.
 
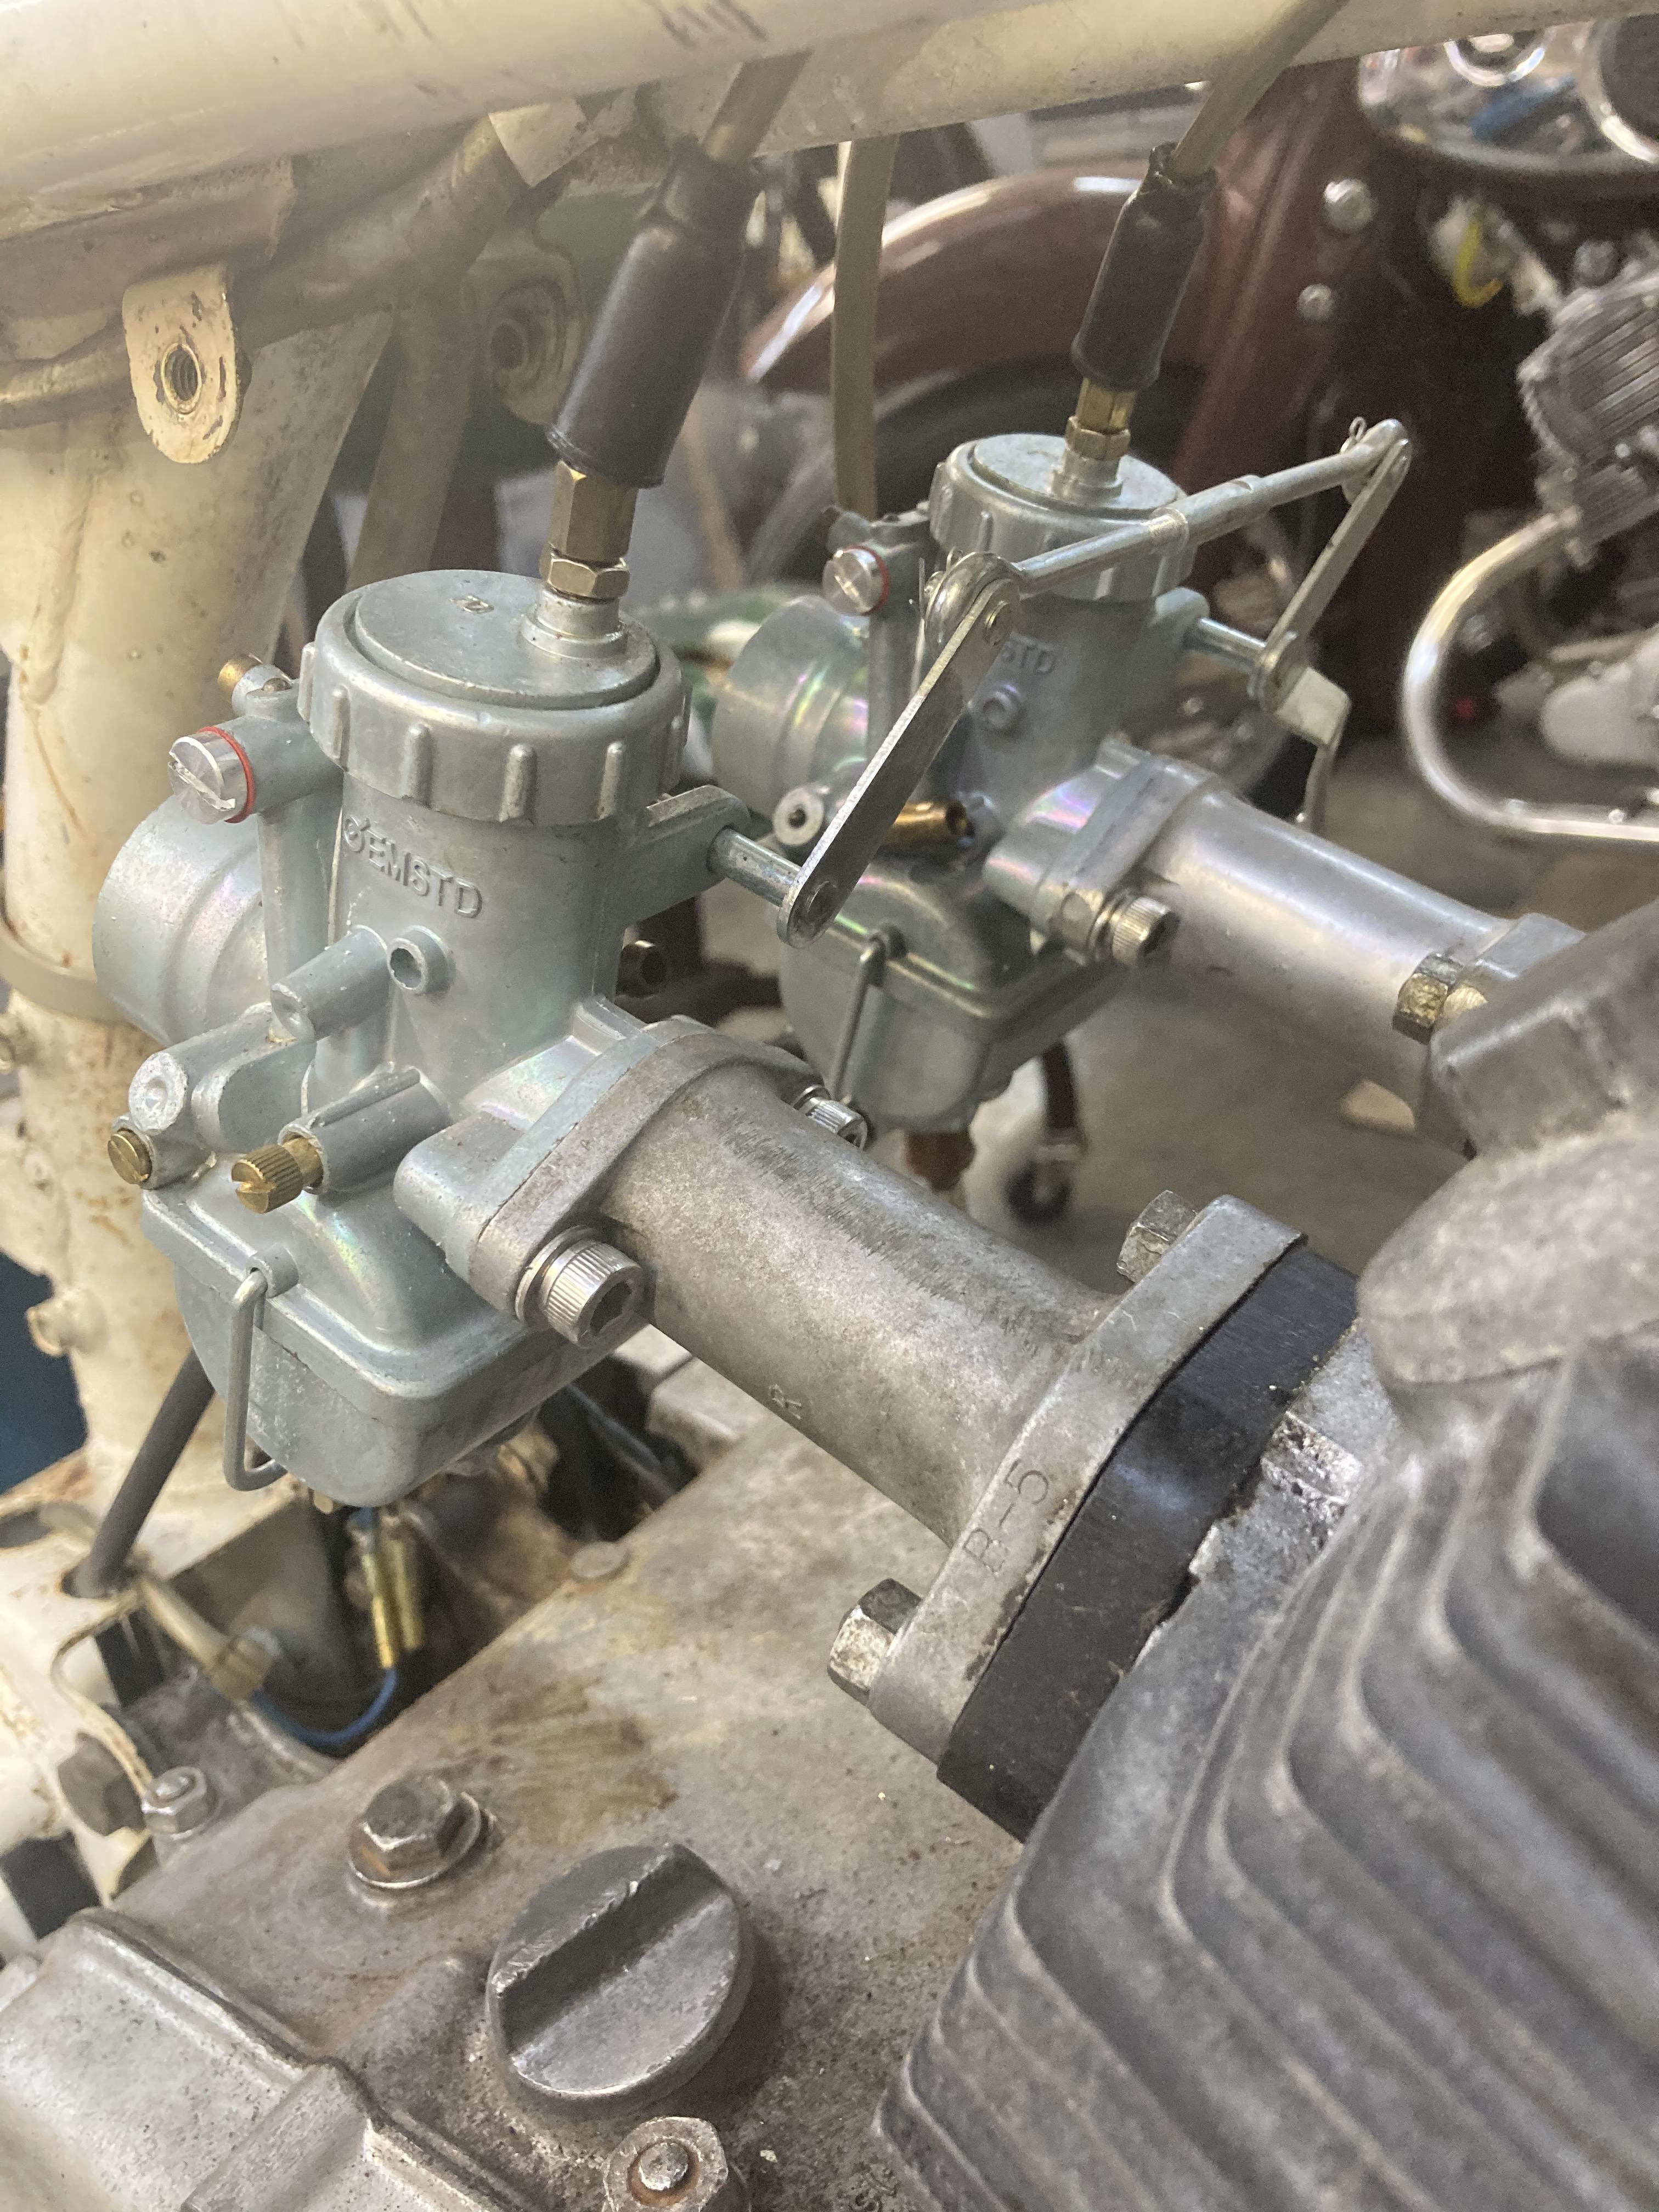
I don't know what bolts/screws are used on these intake tubes, I couldn't tell from the parts book. They are 6x 1.00mm but the normal 10mm hex head is too large for the ears on the carb end. The PO had some cross heads in there but there is no way to get a screwdriver in there. I thought of those neat bolts with the 8mm hex head that Honda went to later for the case screws but I didn't have any on hand so I went with some stainless allen types that I had to shorten to about 16mm length. Just curious as using small vice grips to tighten carb mounts didn't seem proper. The O rings were just too fat anyway.

Z42xbR8.jpg


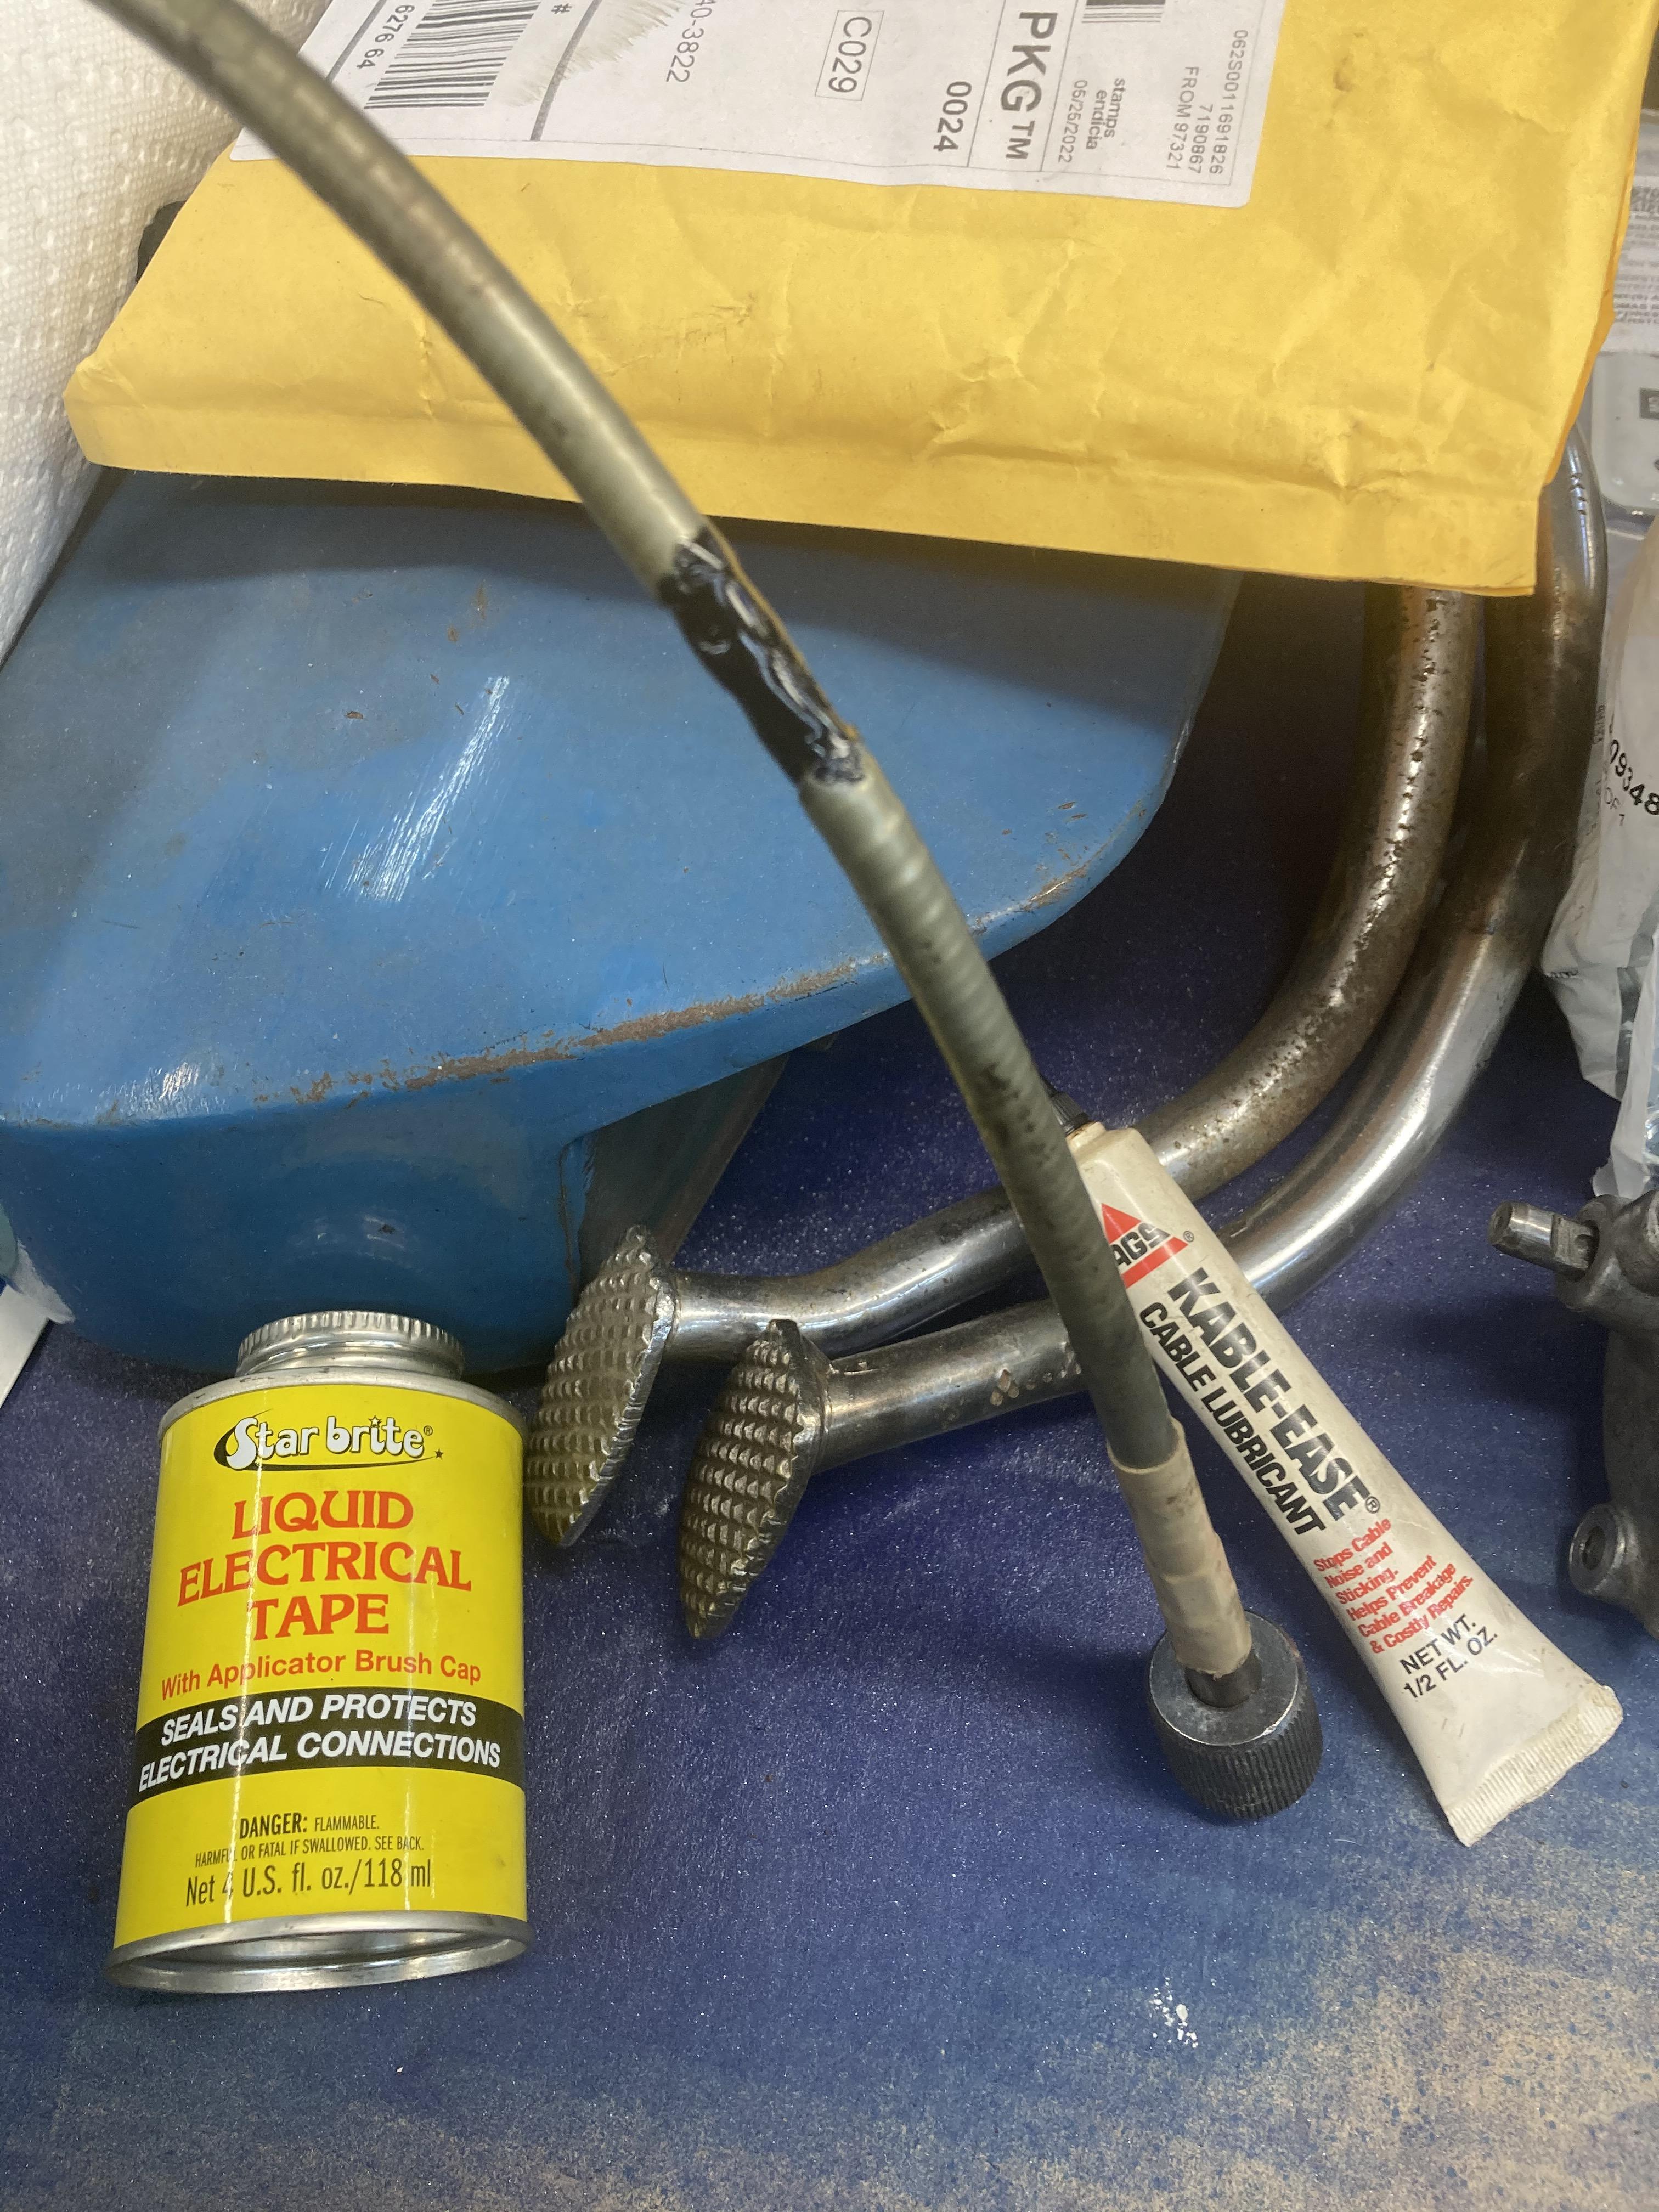
The speedo cable was dry as a bone and a break in the plastic outer sheathing had caused a lump of rust on the housing coils so I cut away the plastic and ground the rust then applied some Liquid Tape to reseal the outer. KableEase is my preferred cable lube for these type cables, It's kind of clingy and so doesn't run down to the bottom like oil and it's thinner than grease, sort of liquid graphite like.

POcWv7A.jpg


The Liquid tape shrinks as it dries, so will probably give at least a couple coats. Yeah, it's a bit lumpy but saves a good cable housing that doesn't have any kinks. Here is the one on my Benly CA95 that I sprayed silver over the same fix that was much larger. No one notices, I wish they did, so I could brag on my cheap skate ways.

q1fK58l.jpg


The center stand is too ugly as is and one leg is twisted so the foot bar hits the exhaust funny without the rubber bumper making contact. The handle bars are bent just up (not up and back) so I need an assistant to hold the bike while I take the long 1 1/2" pipe to it. I hope not to have to use the big vice, I always mess up the chrome even with trying to use wood blocks. At least the foot pegs are straight now. Bent stuff drives me nuts.
 
I don't know what bolts/screws are used on these intake tubes, I couldn't tell from the parts book. They are 6x 1.00mm but the normal 10mm hex head is too large for the ears on the carb end. The PO had some cross heads in there but there is no way to get a screwdriver in there. I thought of those neat bolts with the 8mm hex head that Honda went to later for the case screws but I didn't have any on hand so I went with some stainless allen types that I had to shorten to about 16mm length. Just curious as using small vice grips to tighten carb mounts didn't seem proper. The O rings were just too fat anyway.

I think cross-head pan screws might have been original based on this CMSNL diagram. I guess you'd need a screwdriver with a right angle in the shaft, so Allen head bolts seems like a good way to go. According to the diagram, the screws were 14mm long, so you're more or less spot on.

Do you think a screwdriver could get at those screws through the holes on the opposite end of the tubes, prior to mounting on the intake? I can't quite tell from the photo.

I'm enjoying this thread, cheapskate ways and all.
 
Do you think a screwdriver could get at those screws through the holes on the opposite end of the tubes, prior to mounting on the intake?

Pretty sure that's why Honda made them offset (rotated), I guess the intent was to put the carbs on the manifolds first and then the assemblies on the head.

I'm enjoying this thread, cheapskate ways and all.

LOL, completely agree. I always enjoy seeing how others deal with stuff while on a budget, so many useful tactics can be learned.
 
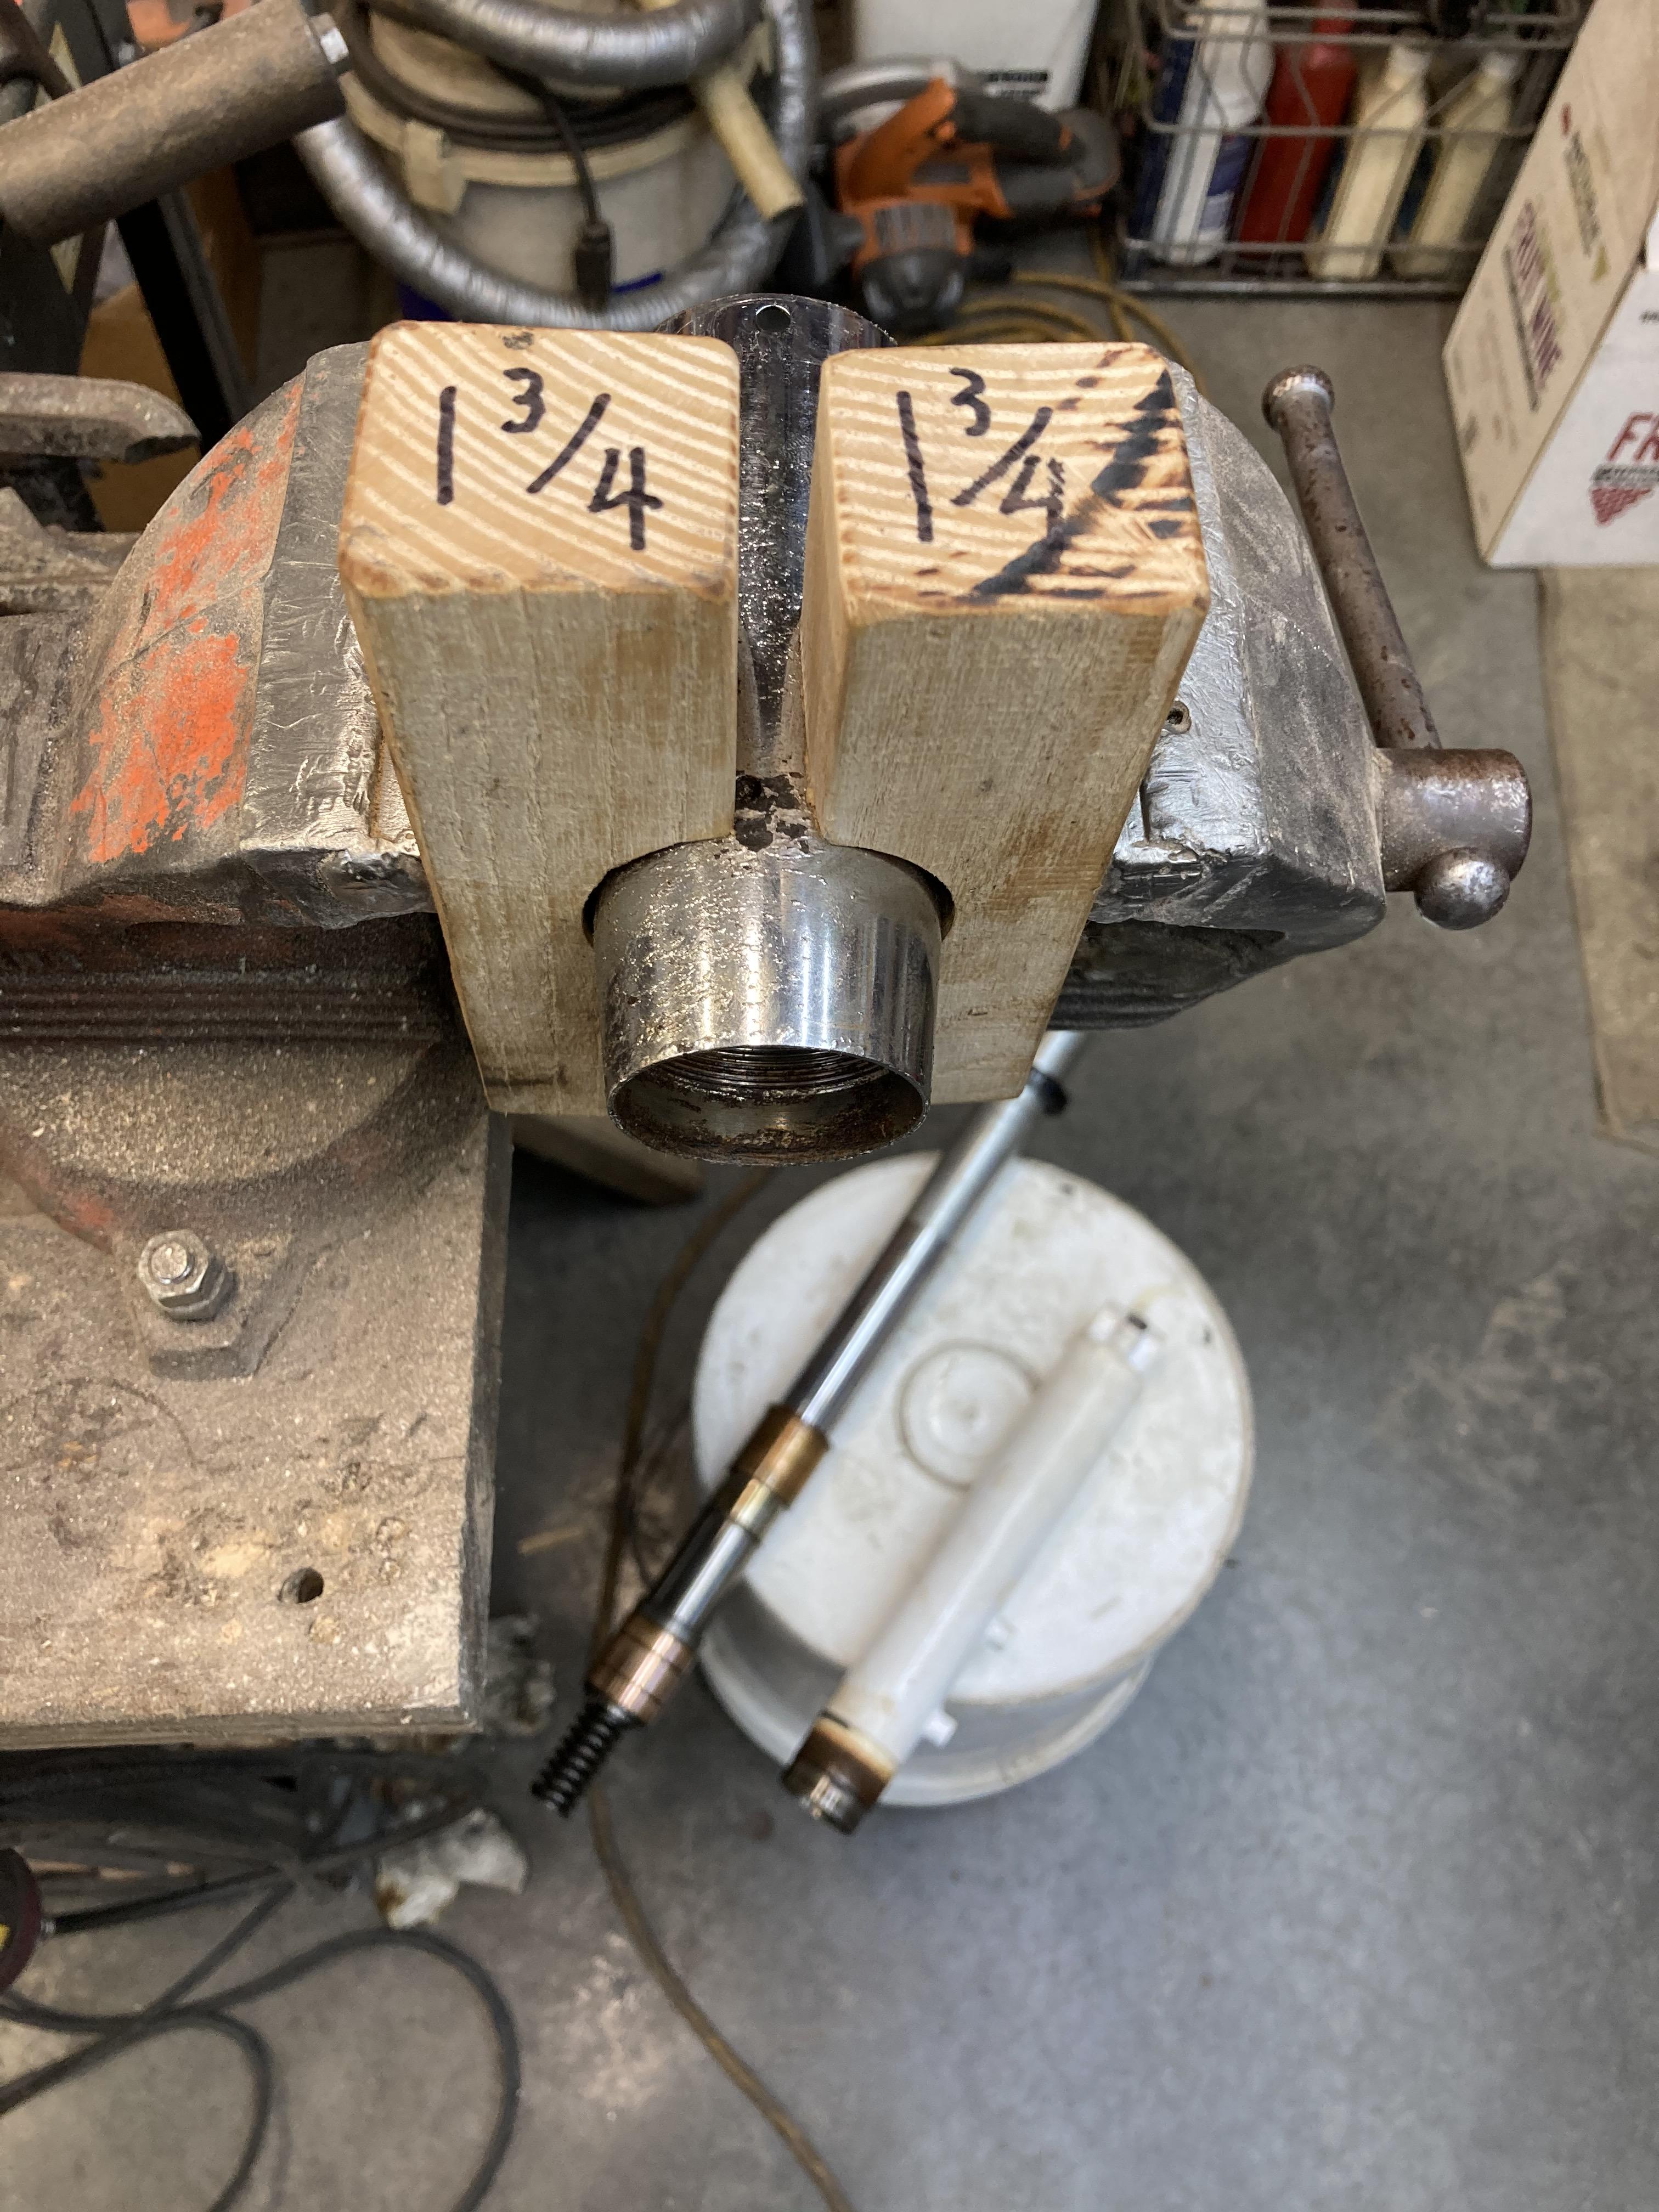
Anybody have experience disassembling these forks? Words of wisdom? I haven't done many of any type forks. I'm thinking that separating the chrome seal housings from the lowers may be a challenge. I was thinking of making some hardwood clamping blocks for the big vice as they would seem to unscrew. I don't see any advantage to leave them in the steering tree anymore, so get them out is next?

The plan is to repaint the tins and check/replace the seals and fluid.

iGNVOsI.jpg
 
Shout out to Alan F for his toothpaste idea for cleaning nooks and crannies on aluminum. Worked pretty good on this laced up front hub with thin center ribs.
 
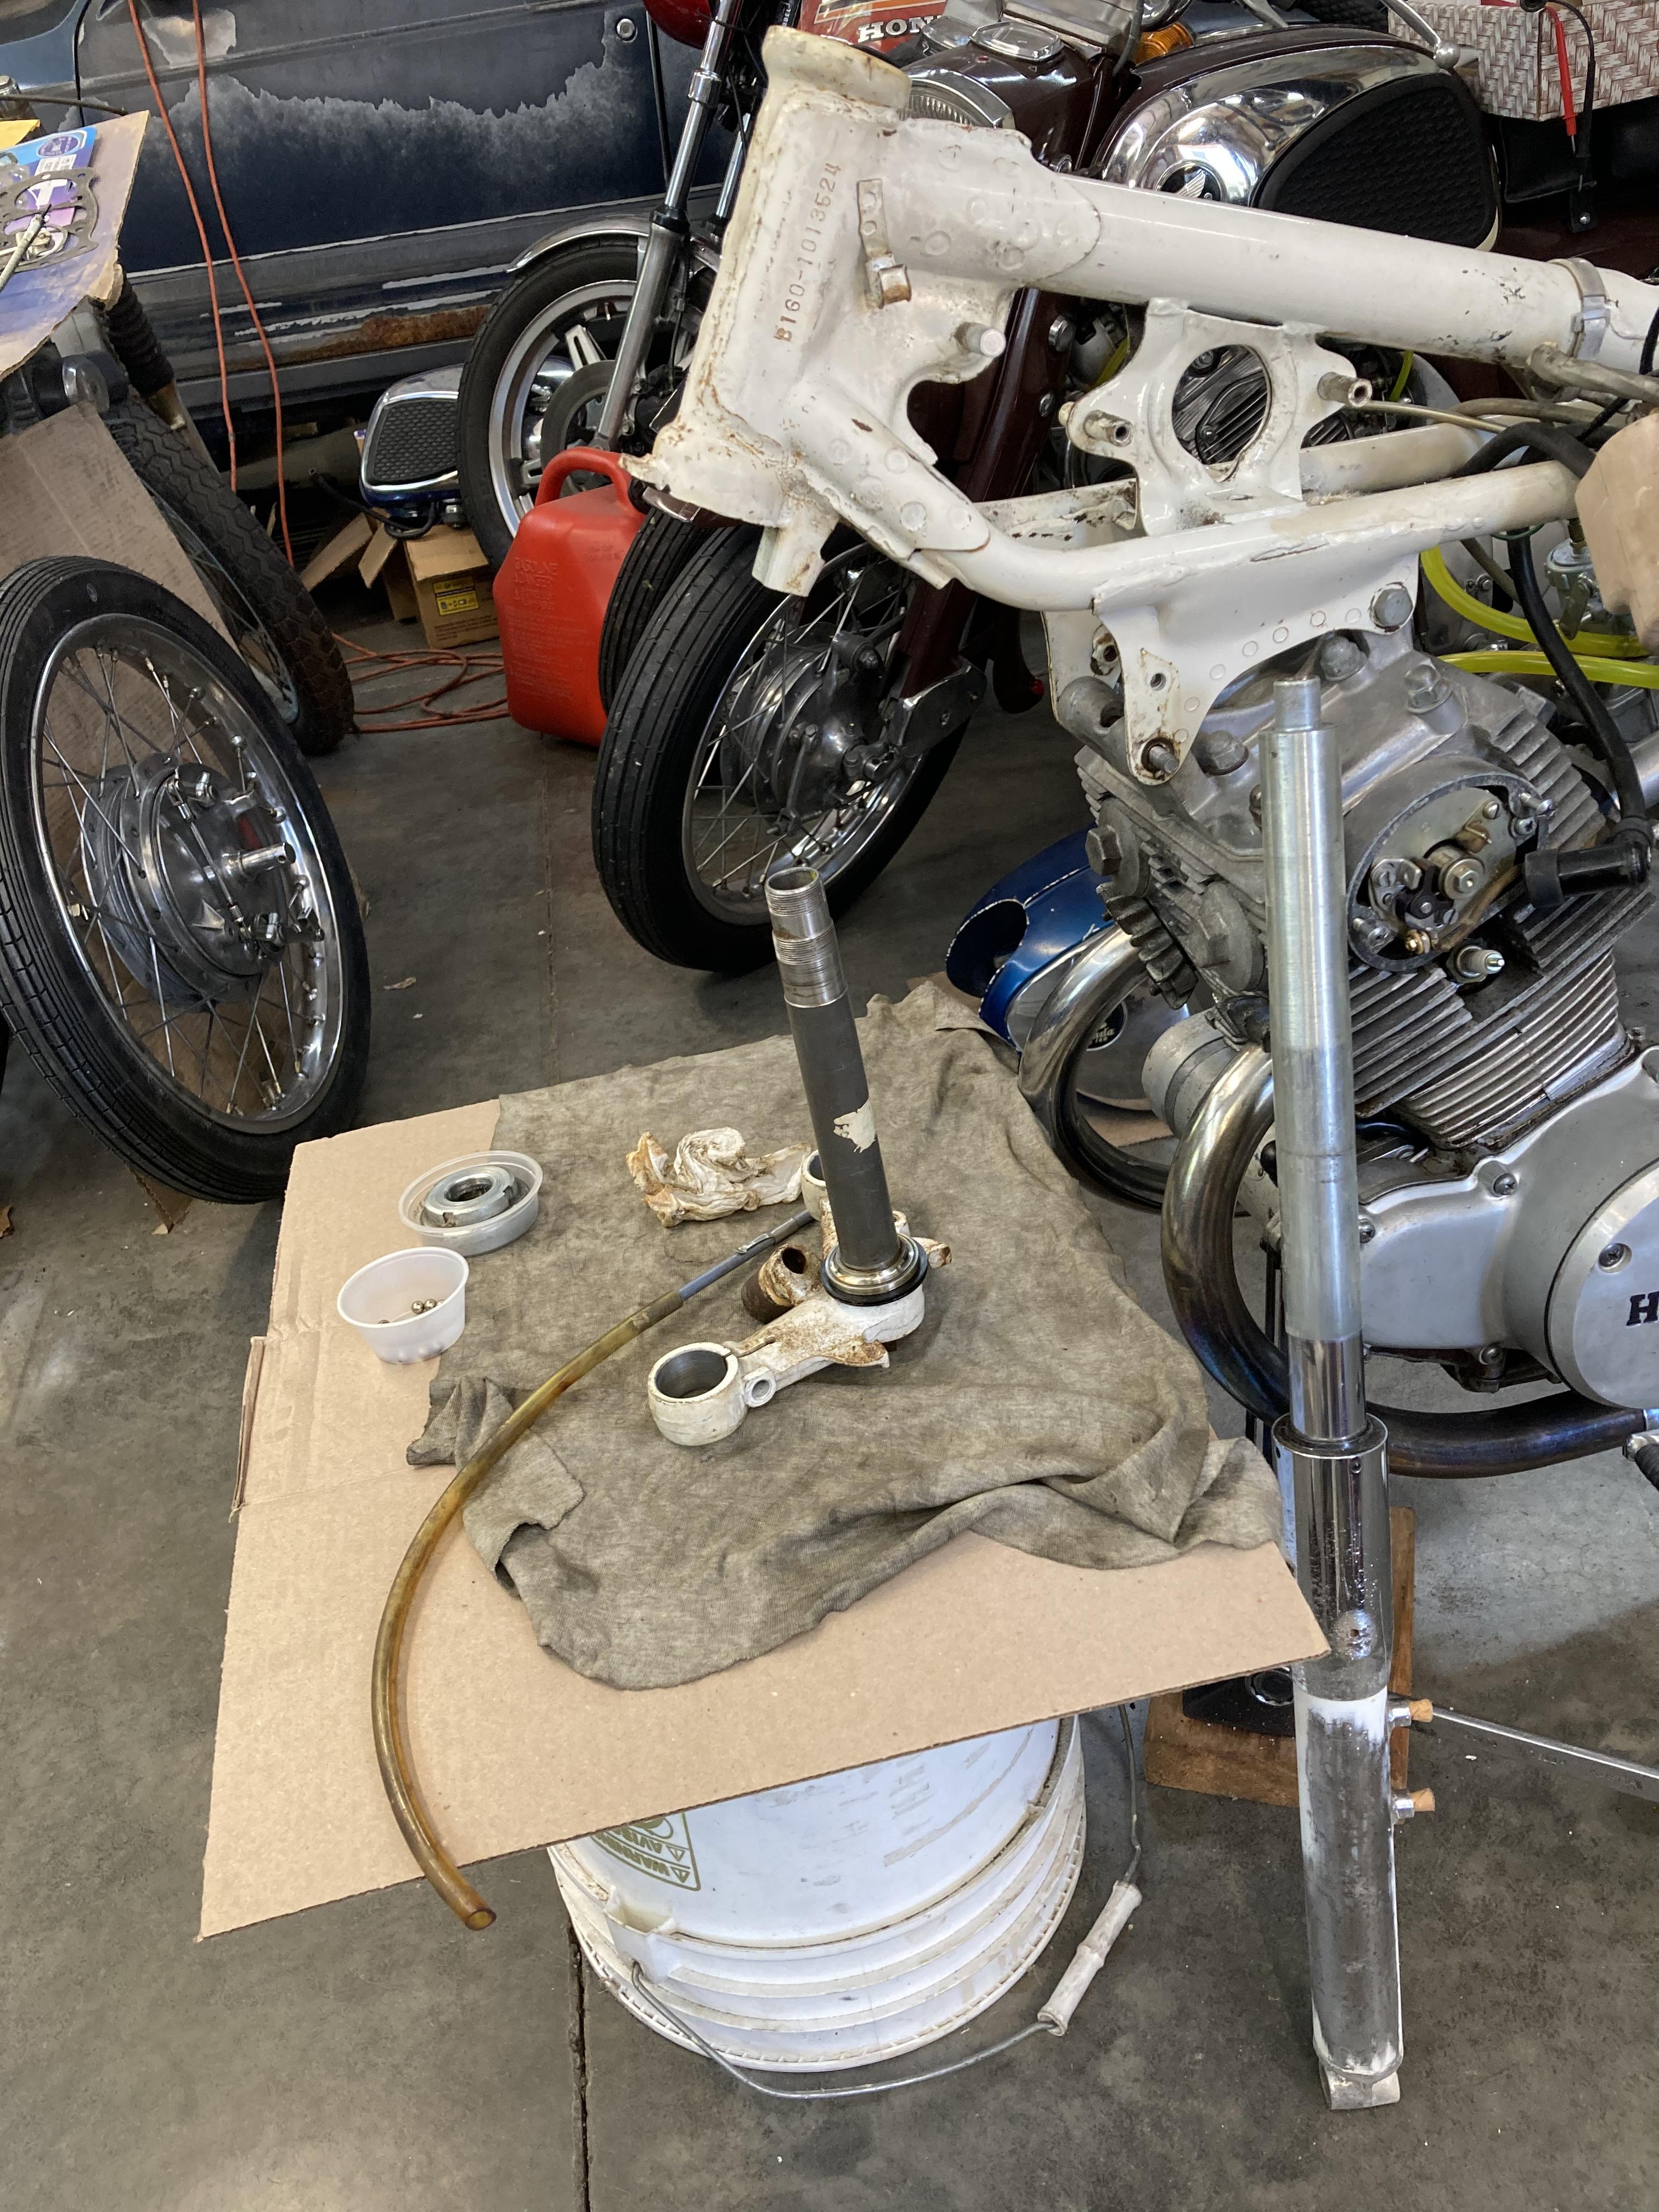
Forks and steering breakdown

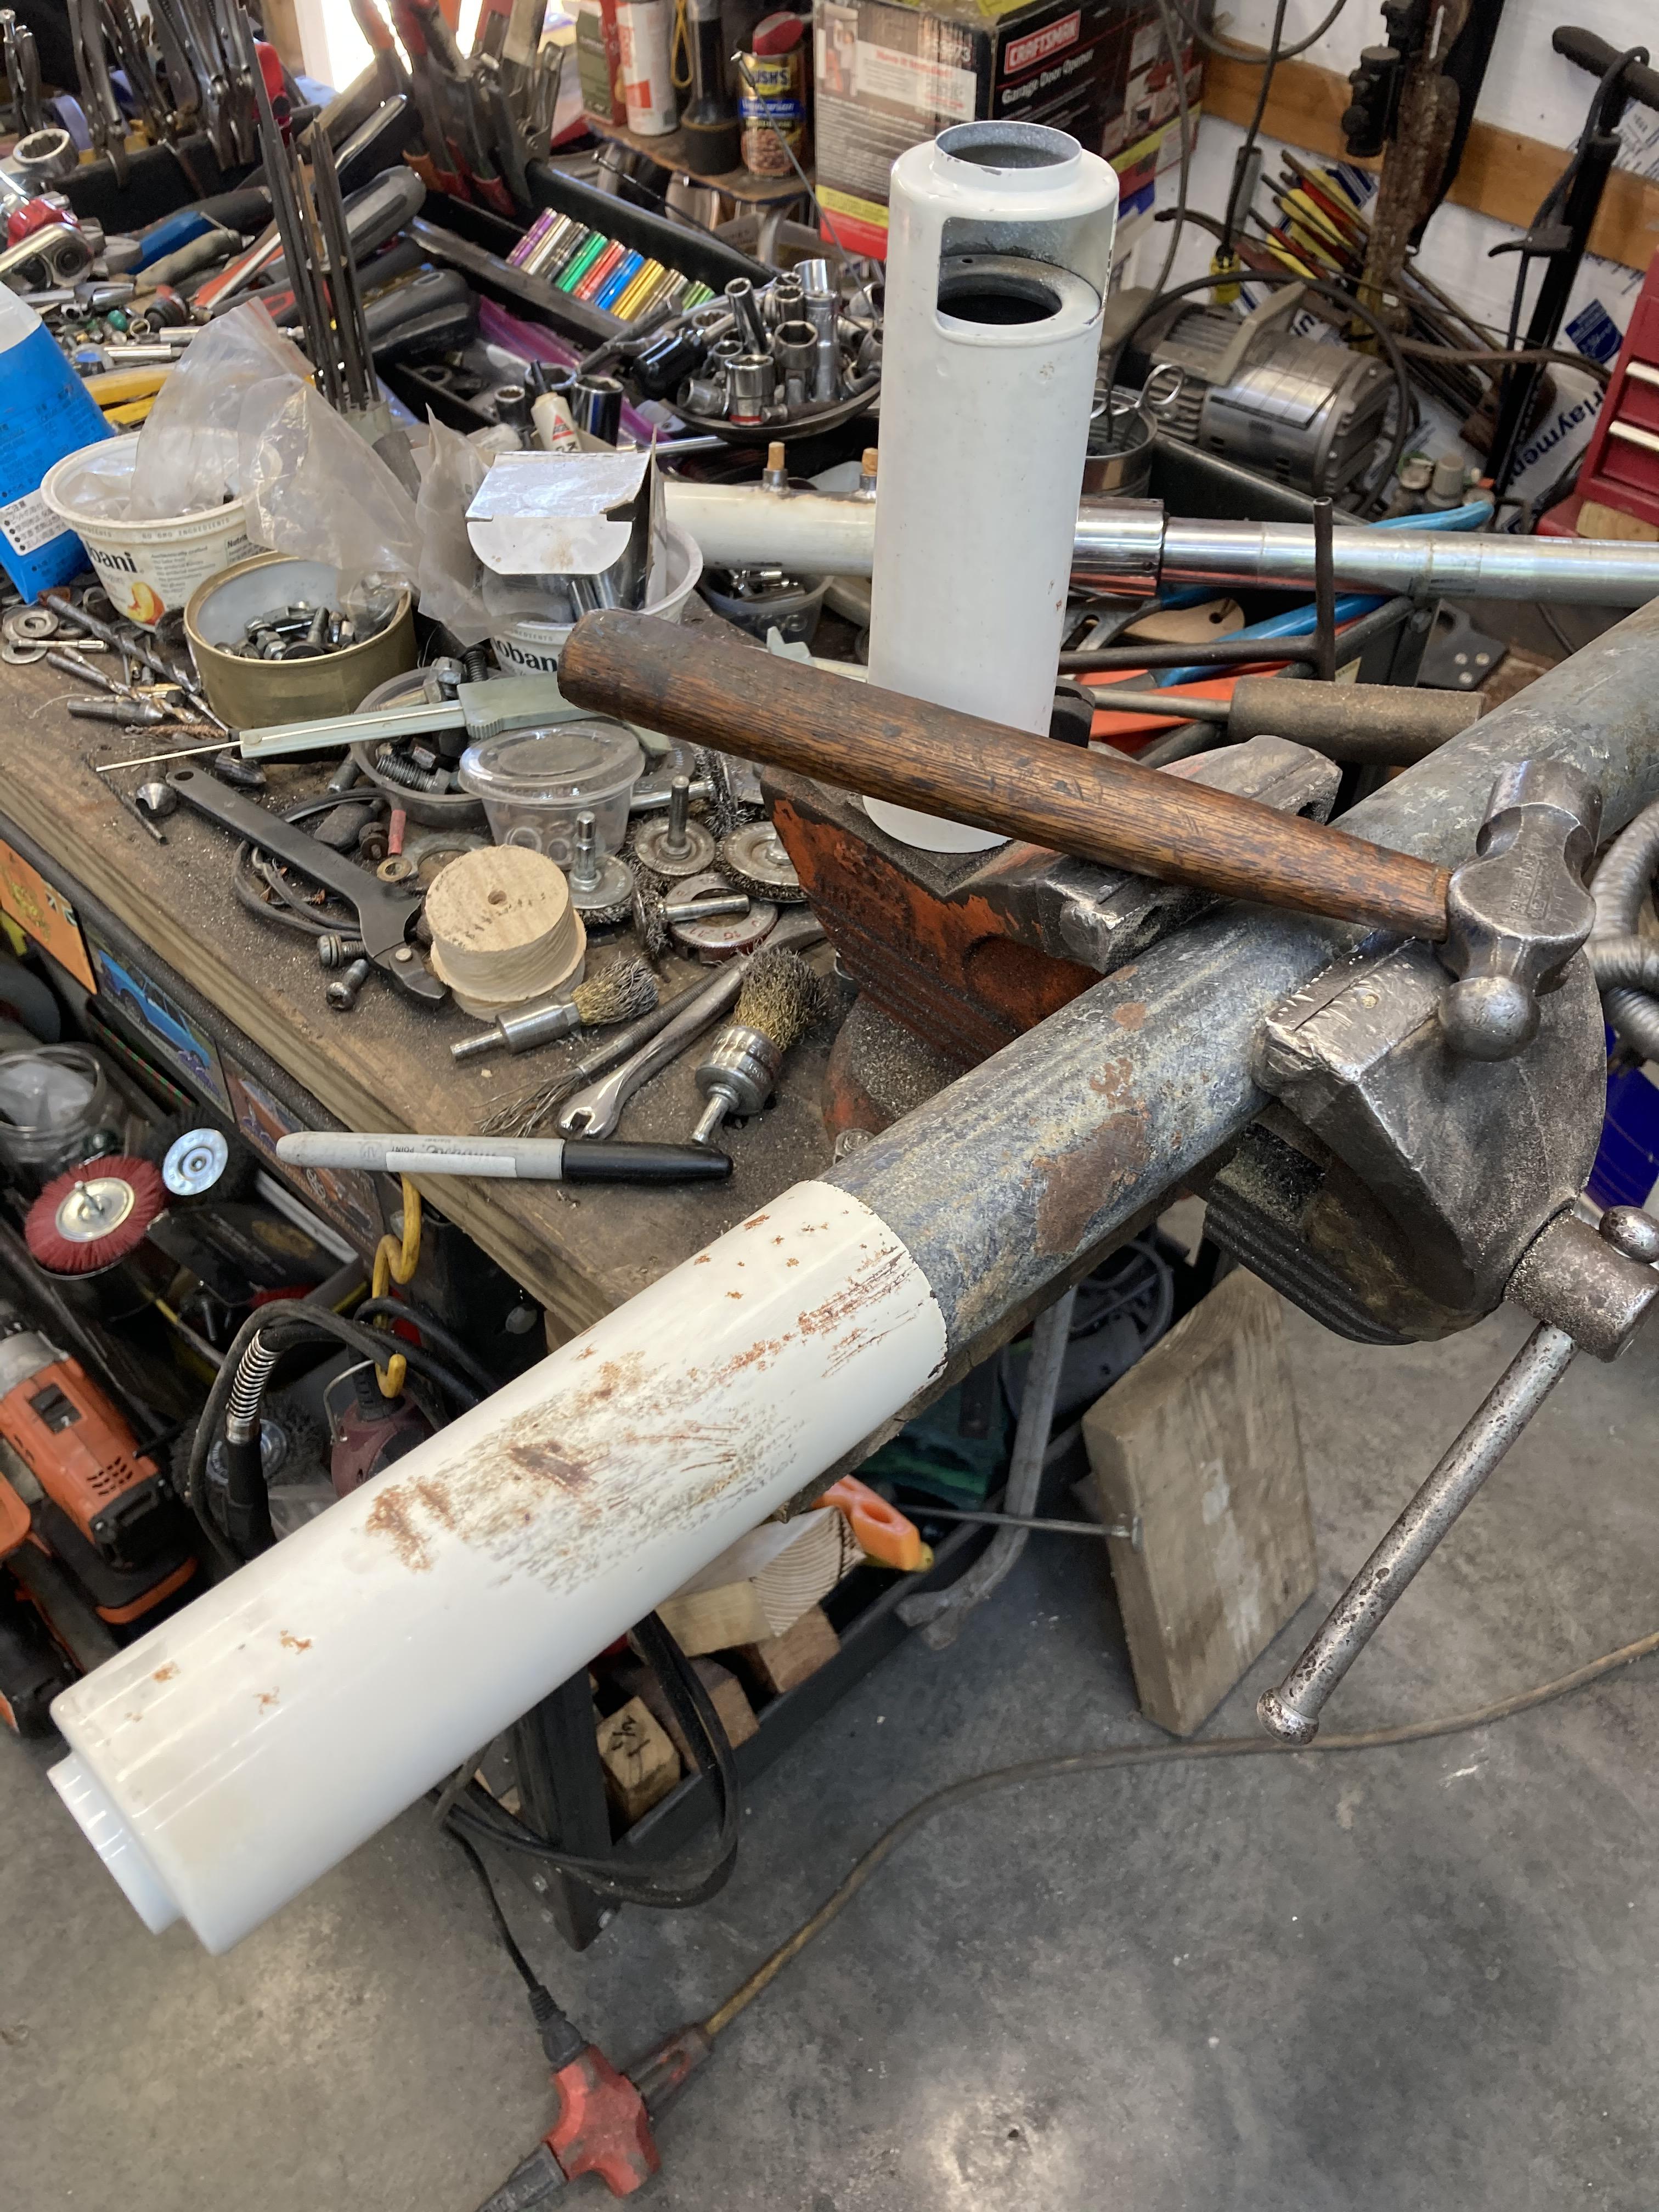
What began as a tire and used wheel swap has escalated into a repaint for the front end as well. The middle shroud on one fork had a dent that I was able to pound out on a mandrel of galvanized drain pipe of 1.75 outer diameter plus a couple turns of duct tape.

3uOAjGI.jpg


Sanding the Honda paint is a slow process. I tend to believe reports of it being a lacquer based product, applied electrostatically, in a one step process. There are spider veins of rust under any nick or chip. White primer will be used then top coat.

Why stop there? The triple tree and steering tube portion of the frame are easily visible and quite prominent to the eye, so spot derusting and touch up seems worthwhile at this point.

sFKBEHN.jpg


The 18 x2 balls will be repacked in the very good races.

I'm not just a cheapskate, I'm rather used to loose balls. ;)
 
On my CL175 there was a weird metal bracket mounted on the opposite side of the coil onto the frame in that area. It housed maybe the flasher or something else. I have the bracket somewhere but it was empty on my bike. We are restoring a buddies 68 CL175 and I think he has that bracket somewhere in his parts with something mounted in his bracket.

If I remember I will ask to see what it was that is in there.

Here's the bracket on my bike and a modern flasher. I think my buddies bike has the old flasher in there and it is larger tube style unit


View attachment 14584

Strikes me as funny that a bracket that was obviously insulated from ground (supposed to have sleeved grommets IIRC) has become a grounding point in your pic.......That part is the "Stay, winker relay", part number 38301-235-670
 
Last edited:
Finally got these forks apart. Had to use the bigger vise than this one and a 2 foot bar in the axle fitting. PBblaster was definitely needed to break the rust on those fine threads on the lowers and in the chrome seal housings.

sM4CA1f.jpg


New (early type) seals will go in, but the upper dust seals,
I'll re-use.

Here is an older vented gas cap that blew apart unintentionally while trying to clear the single breather hole. Sorry I cleaned it up before thinking to take a pic of how much rust, etc. was in there.

ovIaCuBb.jpg
 
Finally got these forks apart. Had to use the bigger vise than this one and a 2 foot bar in the axle fitting. PBblaster was definitely needed to break the rust on those fine threads on the lowers and in the chrome seal housings.

Those style forks are always a PITA, I'm amazed that Honda thought that design was a good idea. It wasn't that long after when they went to circlip style retention, just seems odd that with all their R&D knowhow they didn't come up with the later design sooner.
 
Those style forks are always a PITA, I'm amazed that Honda thought that design was a good idea. It wasn't that long after when they went to circlip style retention, just seems odd that with all their R&D knowhow they didn't come up with the later design sooner.

Yes, and they do have a circlip but it only holds the seal in the upper part of the housing, above the threads so you still have to unscrew it to get to the valve ring and piston. I'm not sure if I want to risk destroying the triple lip seal to see if the aftermarket double lipper I got will fit. A rinse and re-fill may be all that is really needed. Nothing looked like it was wearing out but I just couldn't leave it froze up and just hope it all was Ok.
BTW, my chrome stinks on these but the $'s (500) for new ones are insane.
 
I tried to remove the fork seals by making a driver from a piece of pipe but could only pound so much as it rested against the lips and I didn't want to destroy them. The only way to get them out will be total destruction and I'm not going to do that unless they start leaking.

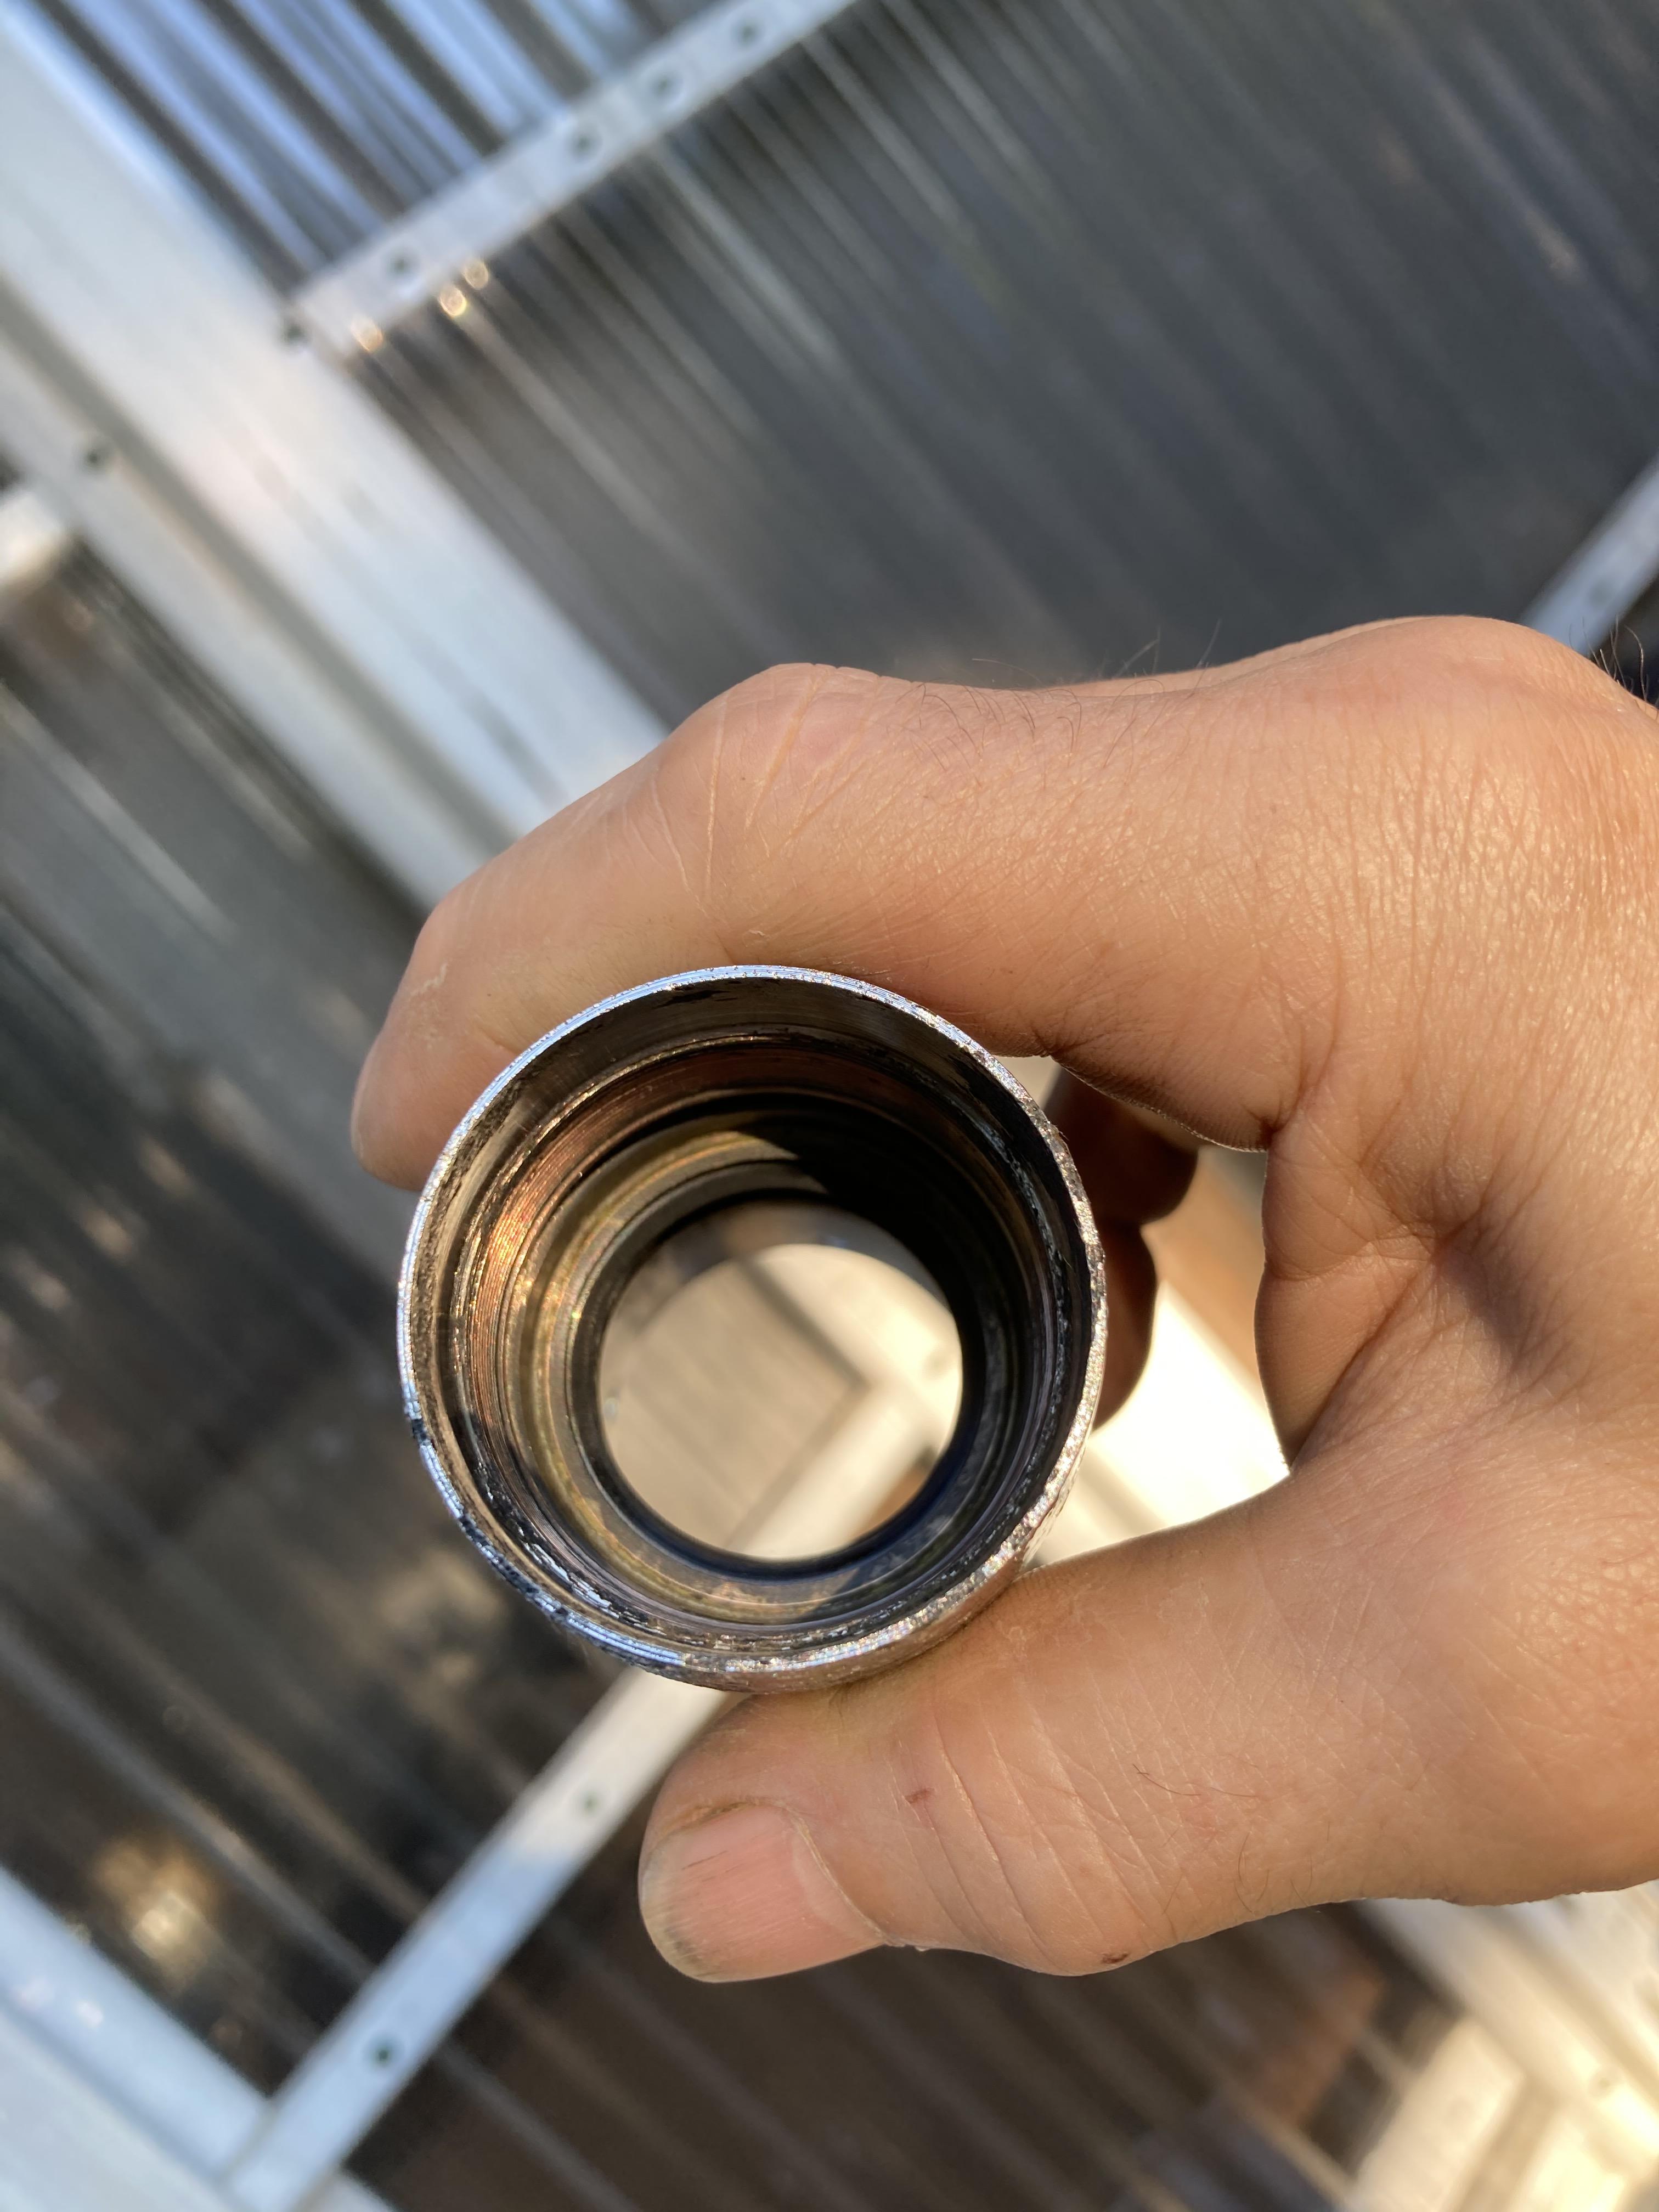
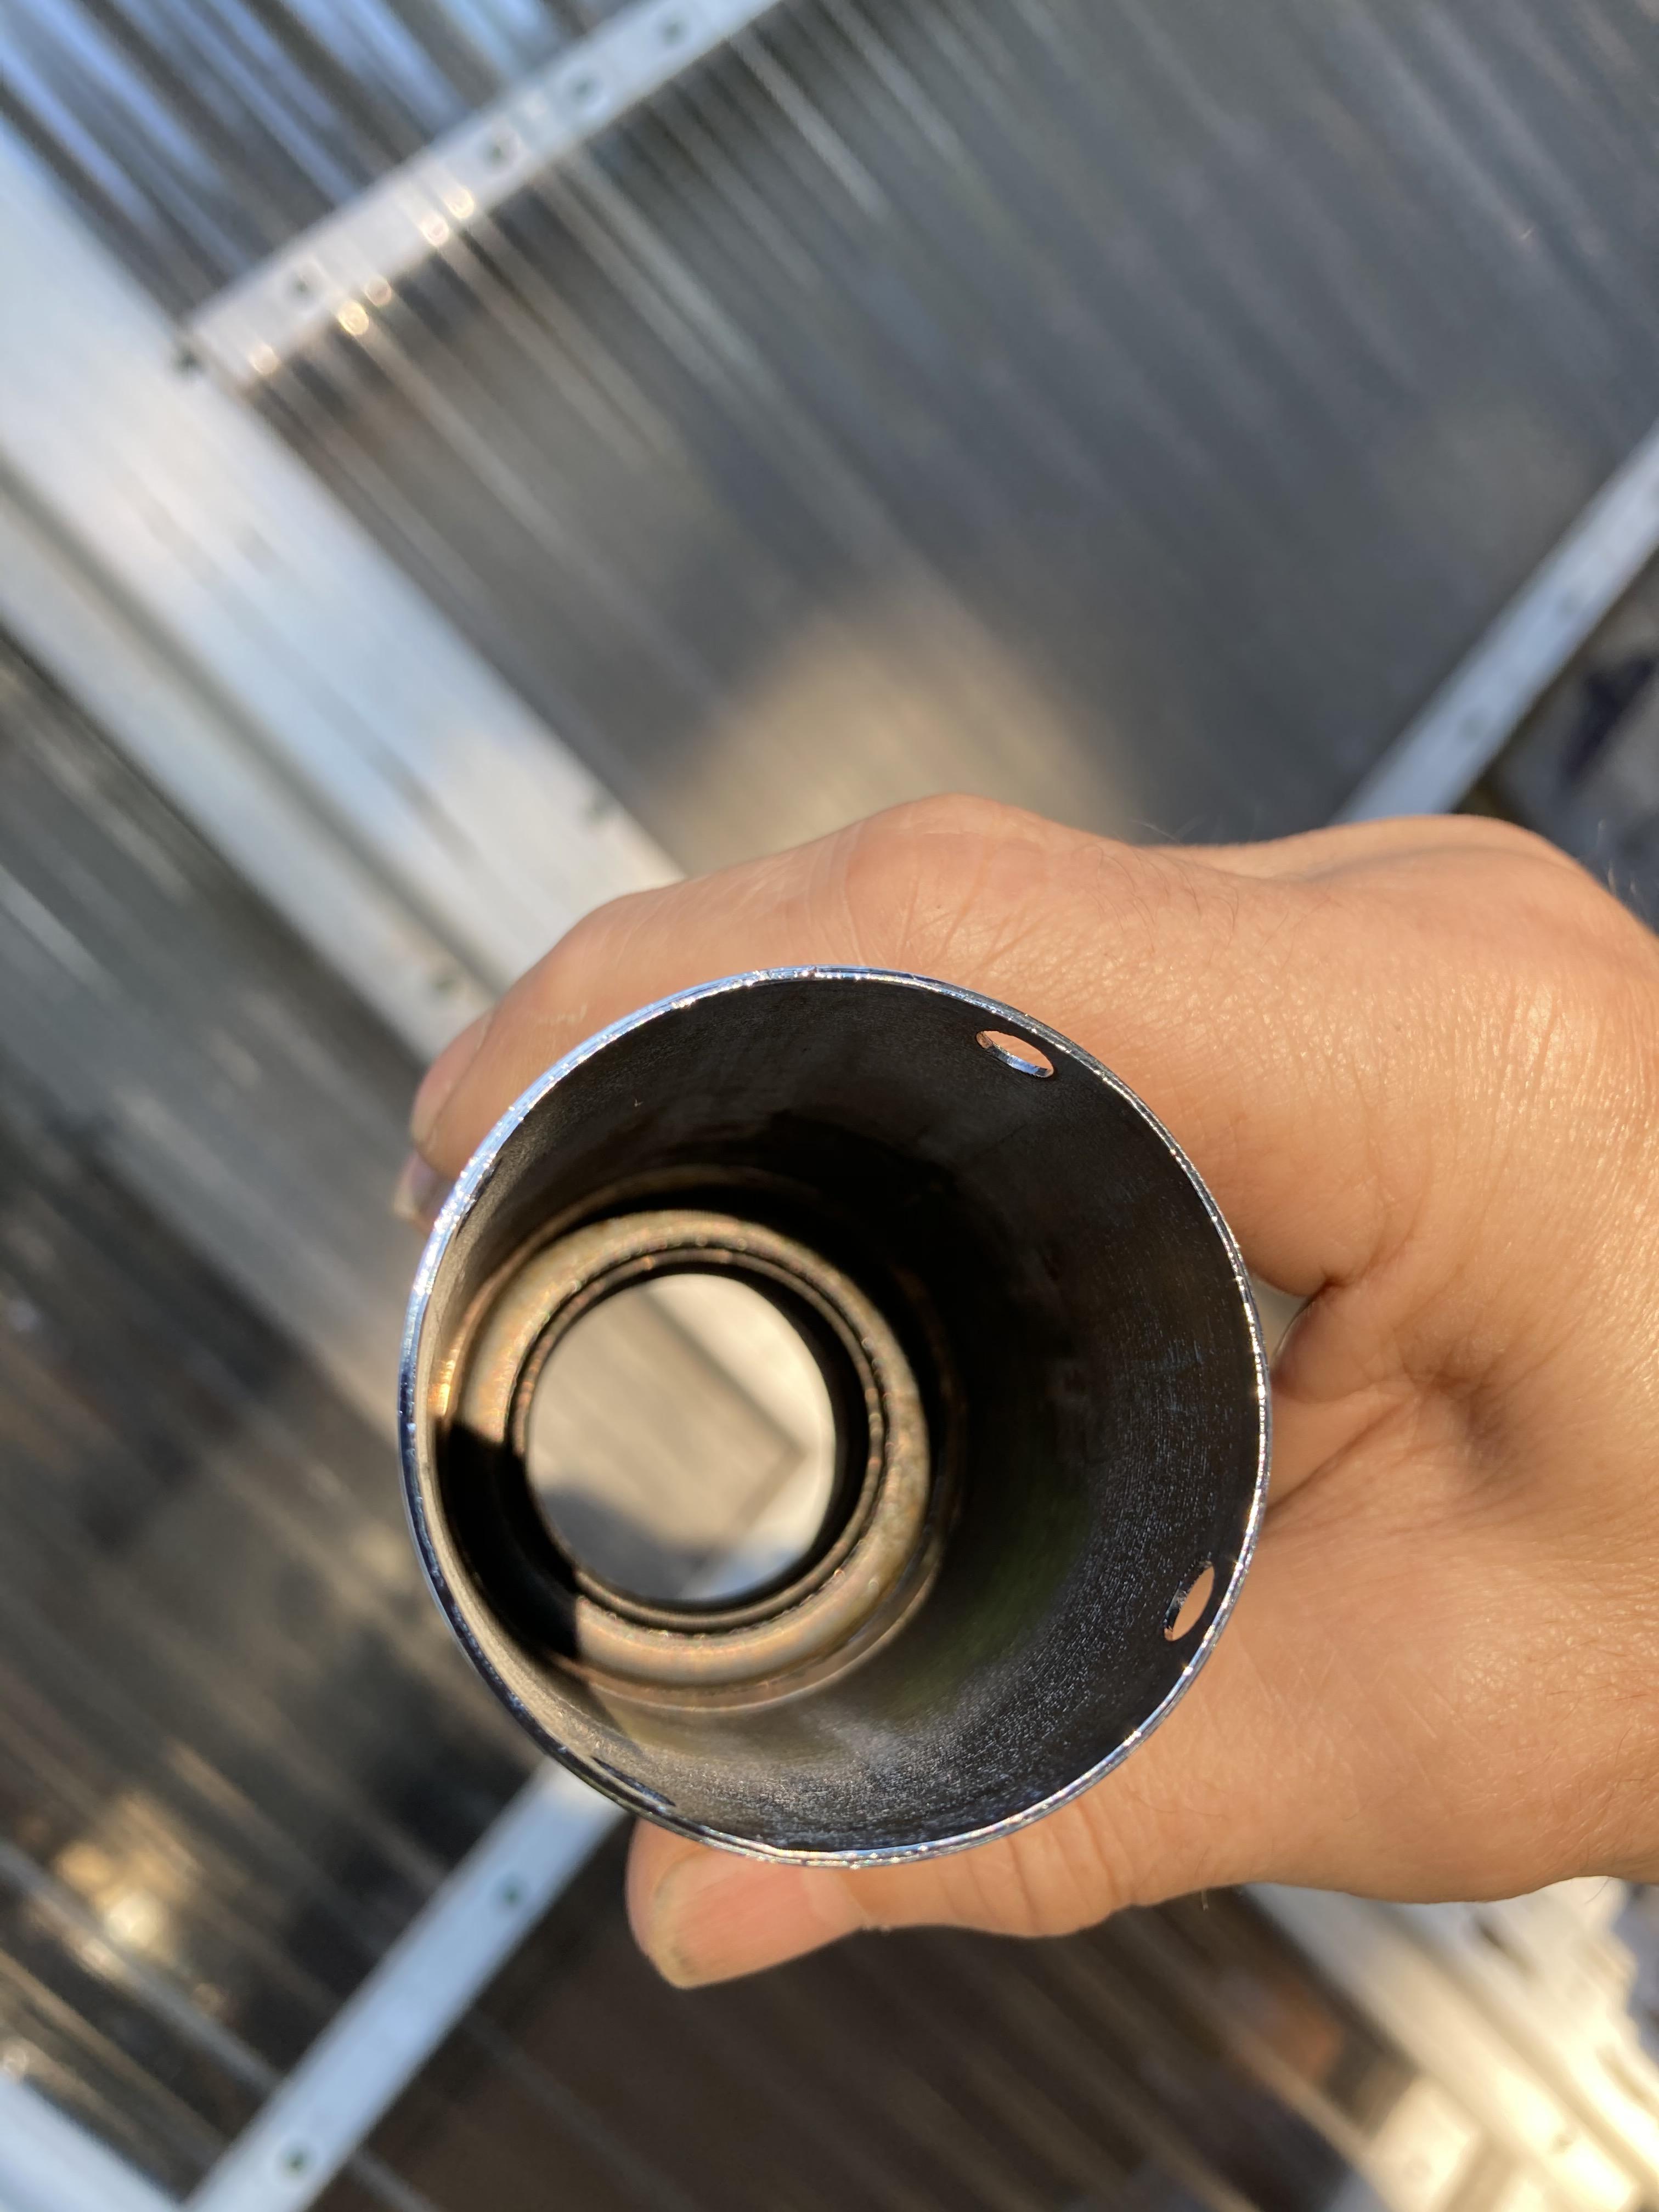
Here are a couple pics of inside the seal housing for whomsoever might want to know how this is set up, as the FSM and Parts diagrams are pretty vague.

k1ntiBC.jpg

9eZpYpc.jpg


I should get my basting syringes to accurately fill the lower legs will fork oil (170cc of 10w) today and get these forks back together. I will check the wear limit specs again but hope all is good and the oil gets where it is supposed to go.

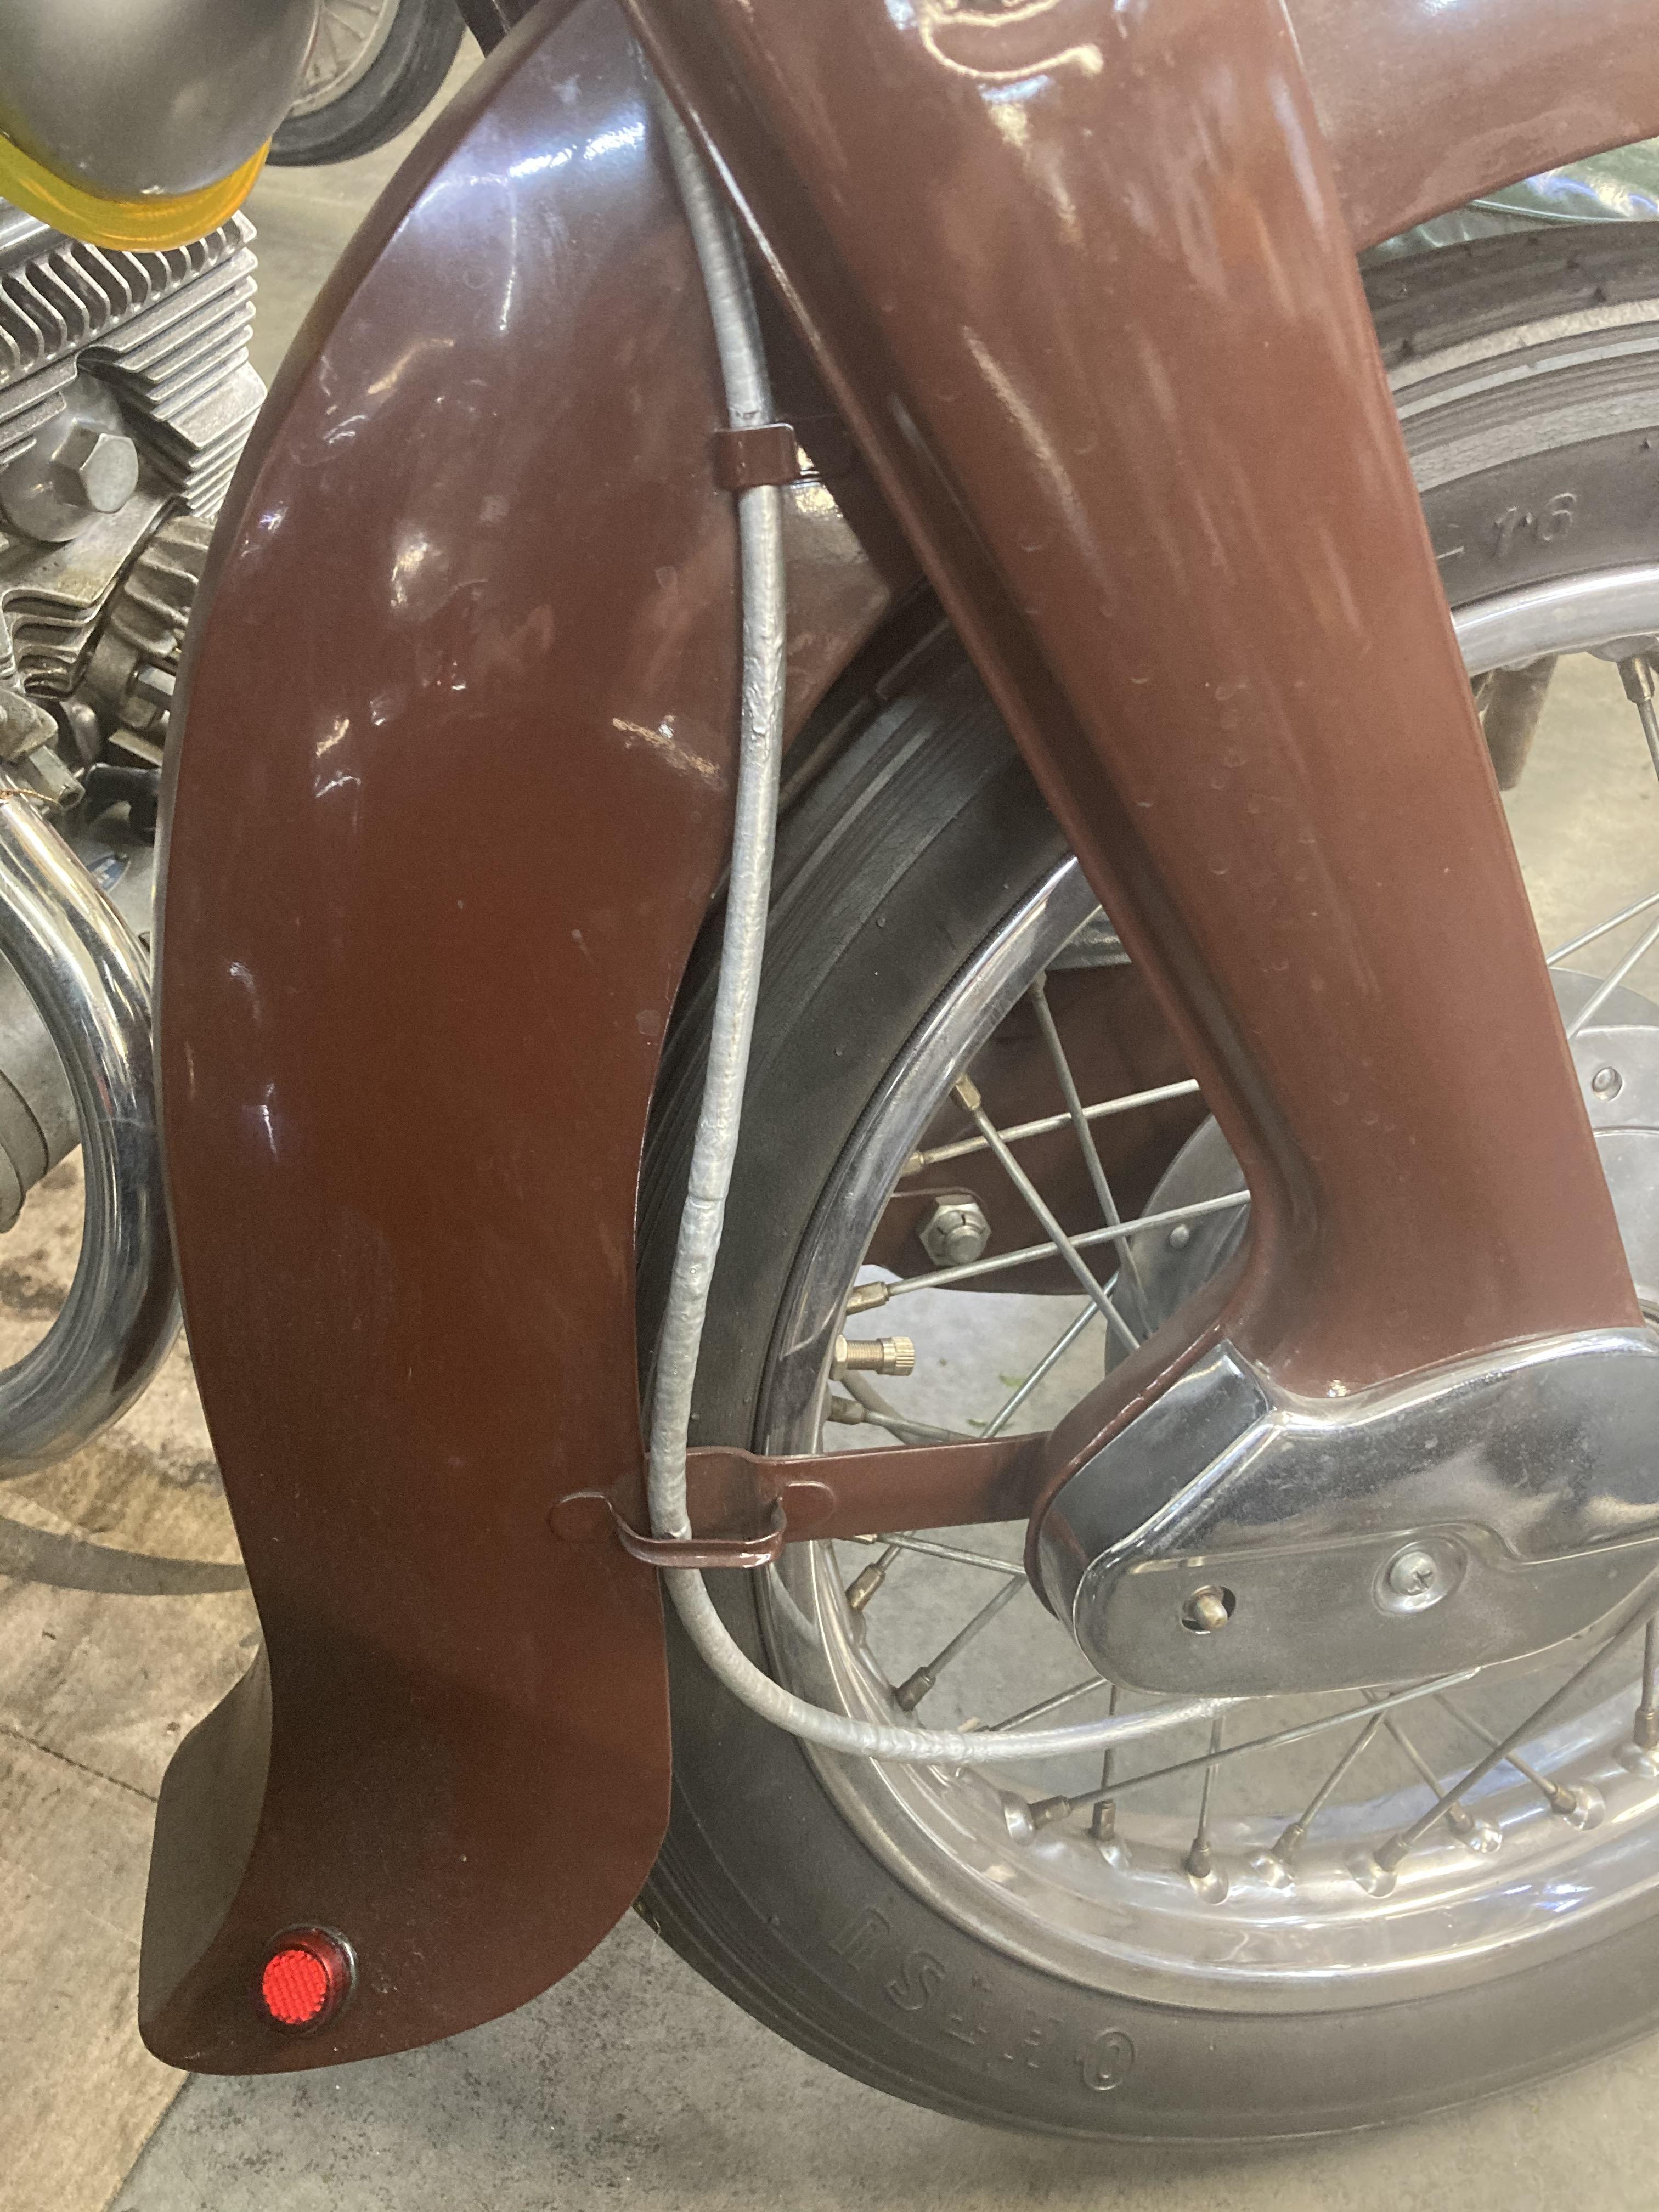
Removing dents and repaint on the front fender is about all that remains of side jobs to get this puppy fired up and on the road.
 
"Removing dents and repaint on the front fender is about all that remains of side jobs to get this puppy fired up and on the road."

Can't wait to see it go!!!!
 
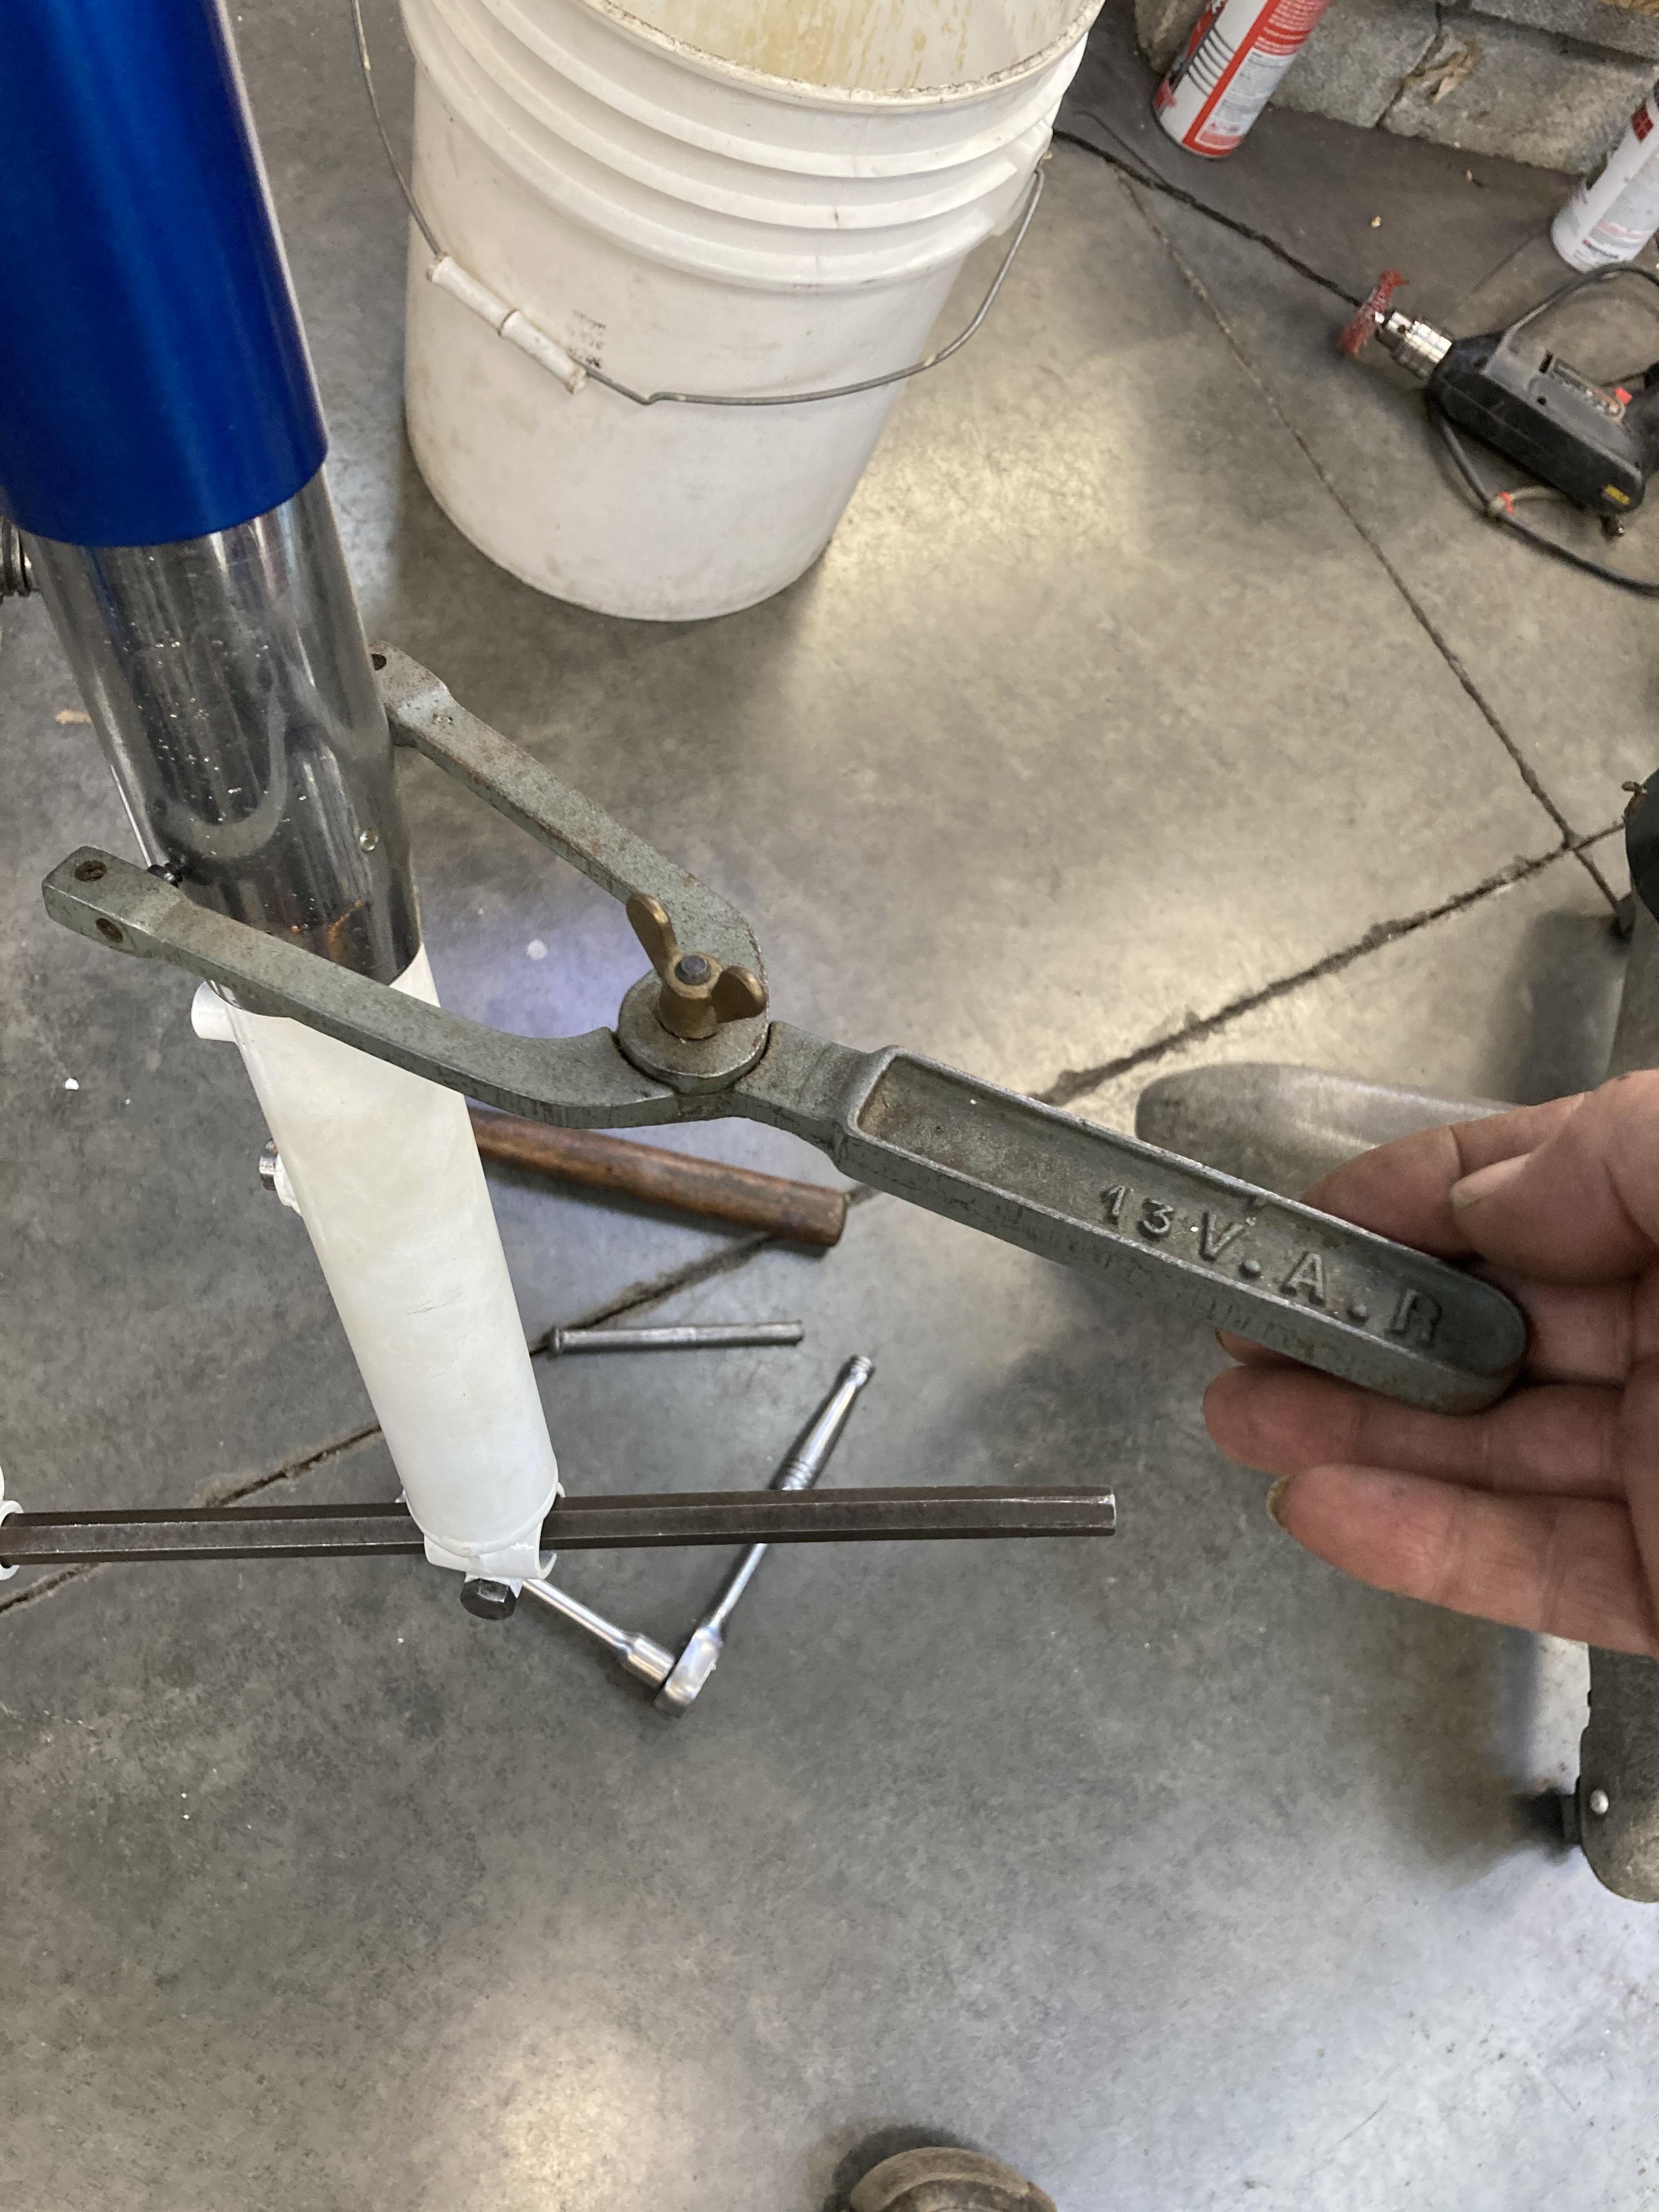
My fat basting syringes showed up so I filled the lowers and carefully put the tubes in. I thought there might be some trick to get the air out or at least to avoid loosing oil but everything went together without a mess (1st time I've done this). Put the assemblies back in the steering tree and knew I'd need to get leverage to finish tightening the seal housings that were only hand tight and still almost a centimeter to go before they were seated. I guess I could have used my wood blocks again but I grabbed a vintage bicycle pin spanner that is as old as the bike that worked perfect.

xmQn7Iz.jpg


I went blue from white on the middle fork shrouds just for variety. My grubby mitts put smudges on the fresh painted white lower legs so I risked a light swipe with acetone to try to hide the evidence. Evidently there were not many white ones sold (and they were all white) so I'm trying to respect it's past without driving me crazy over grunge.

PKqn1aH.jpg
 
Got it put back together. Switches, mirrors, wiring, cables, all sorted out.
Found out the starter clutch needs whatever.


It started with a couple kicks, but auto revved up spastically and backfired a couple times so I shut it down and noticed a few wisps of smoke from left pipe (the header was blue previously). Only left got warm.

qSNUIff.jpg


I was hoping for a test ride, oh well. It looks better. I remember it running at the buyer's place a couple months ago. Can't remember which side smoked a bit.

I'll check the ignition usual suspects and valves and timing. A compression test seems in order after the starter clutch is fixed. Intake O rings may need help.
Anyone think of something else?
 
Back
Top Bottom