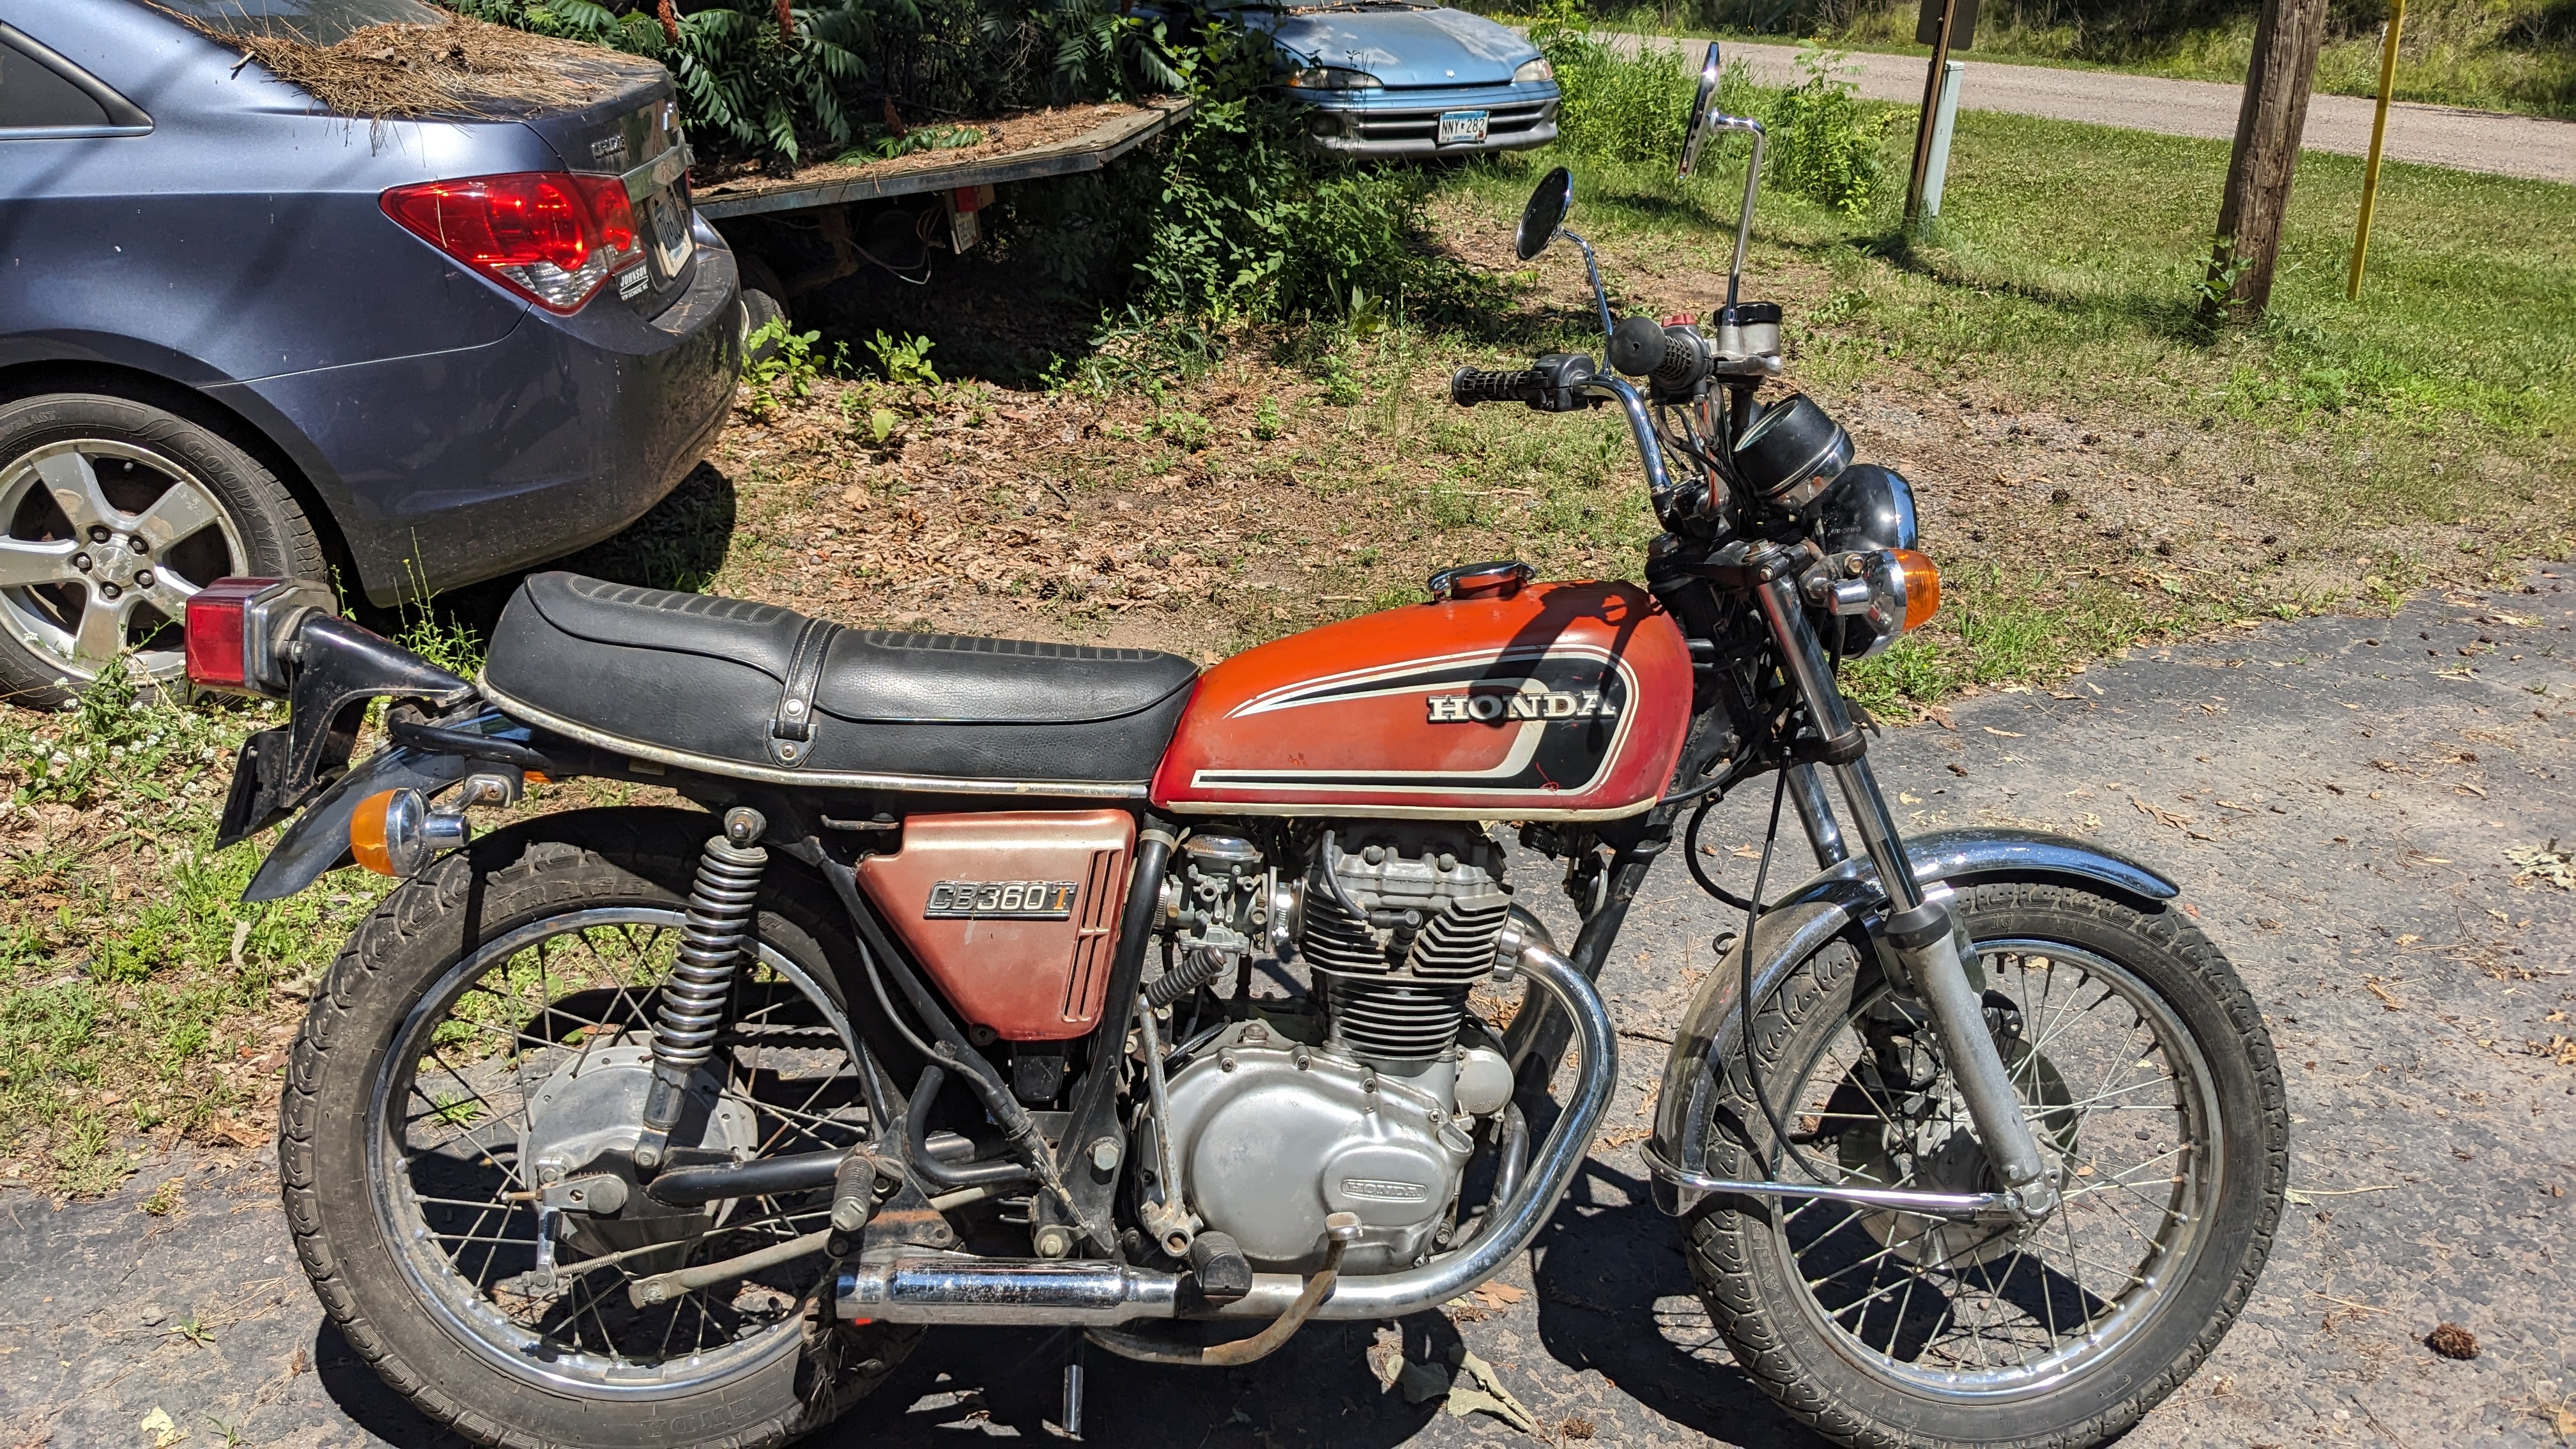
Had this CB360T in my garage for close to a decade. This summer it's finally time!

asdfqwer426

Member
Joined
Aug 10, 2020
Total Posts
43
Total likes
46
Location
Mora, MN
Like the title says, I've had this CB360T for almost a decade. Between starting work after college, having a kid, other life stuff, I just never really had time for it.

This is the summer though!

I got it from my brother in law, he had had it for a few years himself before passing it on to me. He got me into bikes originally and found me my CL350, then I did some work on a CB500T (still ride it, it's the one with the suzuki pistons), and also had a CB360T project that I fixed up and sold over ten years ago now.

Luckily my brother in law had done some work on the engine before he passed it on to me, and after looking it over myself it sure seems to be in good shape. It's a later model from after the recall so no worries there. Over the years I had it, I would occasionally kick it over and check the oil to make sure the engine didn't go to crap.

It's got quite the patina on it, but is otherwise just about all there. I had to buy a replacement front fender (accidentally got the drum model), and just all the usual wear parts. After cleaning the carbs and sorting the electrical, it fires right up at the touch of a button.

Rebuilt the forks with new seals a couple days ago.

I still have some miscellaneous nuts and bolts coming in the mail, as well as some of the tank mounting rubber hardware. Unfortunately the metric section at the local ace hardware is always out, and the selection is poor, so I wait for them in the mail.

Still need to finish the brakes (master cylinder rebuild kit is in the mail), and get some tires.

a week or so ago I attempted to patch my seat cover.
I read around online and wound up cutting a strip of denim to sew in as a backing cloth to keep the new thread from ripping through the old vinyl. Used strong upholstery thread and a curved needle with a ladder stitch to hold it together. unfortunately it had been sitting split for so long that the vinyl was permanently stretched open. It was hard to get the stitching even with the curved needle. Regardless, it seems pretty solid, if not as good looking as I hoped.

I'm waiting a few days for parts in the mail, so there it sits. in the meantime my CL350 had a bad head gasket so I'm working on that this week.
 
Thanks for the link! I suppose I didn't say in the original post, I was hoping to get this thing running tip-top, and then I'll probably have to sell it. Times are tight, and I've got my relatively good 350, 500T, and a not so good yamaha 650 project to keep me busy.

I'm sure I'll put a few miles on it before I get around to selling later this summer though!

I still need to sort the title. I know that's usually a dreaded thing, but I've done a handful of bikes in MN before and other than waiting a couple months for it to come in, it hasn't been an issue for me.
 
Last edited:
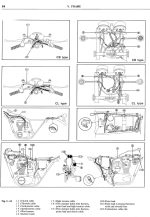
Well a few new parts came in the mail. Anyone have a picture or advice on how exactly all this stuff sits under the tank here? I assume the wiring goes under the strap that sits between the tank grommets, but how about the Y piece? my best guess is pointing down and cradles the throttle cable. maybe?

WHELP! Nevermind, did some searching that led me back here to this post that has a picture from the manual.
 
Last edited:
There are more than a few 360 owners here who will weigh in, but I believe the Y shaped piece is for guiding the main wiring harness at the area of the front tank mount. These posts (#2 and 3) should help.

 
These images may help. I don't think my bike had/has part #11, but I haven't missed it. I have modified parts of the harness on mine, so it is no longer completely stock.

1172.png


1173.png
 
Thanks all! Got it all sorted and in place. Still waiting for my nuts and bolts order, and master cylinder rebuild kit, and then I can try putting down the road a bit. Won't be going up to speed on the old tires, but eager to shift through the gears and make sure it's all doing what it's supposed to.


These images may help. I don't think my bike had/has part #11, but I haven't missed it. I have modified parts of the harness on mine, so it is no longer completely stock.

View attachment 58160


View attachment 58161
Yeah, my 350 doesn't have any band like that and it works fine. Would probably be ok without it, but I was missing the round tank rubbers and found an ebay listing with all of those parts, so figured I'd make it complete and use it.


I remembered my tach needle is VERY slow to respond. The grease inside the damper cup thing must be all hardened, and I see some telltale spots on the inside of the lens saying it isn't in the state it's supposed to be. I'll have to open up the tach and regrease and clean it out. I seem to recall a post (maybe on the old site) about someone experimenting and finding the best grease to use in it's place. Any recommendations?
 
I remembered my tach needle is VERY slow to respond. The grease inside the damper cup thing must be all hardened, and I see some telltale spots on the inside of the lens saying it isn't in the state it's supposed to be.
I should have taken pictures when I was just into a set of gauges for this purpose, but, unfortunately, I did not.

My terminology will be off here, but once I had the gauges open, I could feel the resistance moving the needle with my finger. I noticed that when I rotated the needle I could see some goop on the bell shaped cup thing that was only exposed with the needle rotated quite a bit. I cleaned that off and the resistance was greatly reduced. I also used a light oil on the needle shaft. In my case it was a yo-yo oil, Yomega Brain Lube, that I've had for many years.
 
I've opened my 350 gauges to replace the faces, and opened 450 gauges to turn it into a bomber inspired single unit years ago, so I know exactly what you mean.
I hadn't considered that the grease might just need to be cleaned up, it's clearly not where it's supposed to be but that makes a lot of sense.

My kid just got into yo-yos after some event at school, I busted out my old duncan butterfly for her. Maybe I need some yo-yo oil!
 
My kid just got into yo-yos after some event at school, I busted out my old duncan butterfly for her. Maybe I need some yo-yo oil!
Nice! If I recall correctly, the Duncan Butterfly shouldn't get oil because the string loops directly around a metal shaft. Some yoyos have an extra nylon bearing around the shaft that string loops over and the oil goes between the shaft and that plastic bearing. Mine is a Yomega Fireball Saber Wing from the 90s that I got during graduate school — works well. I hope your daughter enjoys it!

Trick progression:
(1) Walk the dog
(2) Rock the cradle
(∞) Split the Atom (not that hard really)
 
I can walk the dog, but haven't attempted the cradle yet! My kid got this trick sheet with her yoyo from school. Admitedly, her yoyo is not that great, it was some school fundraiser thing, but she likes it and that's what matters!

Never heard of the splitting the atom, I'll have to look into it.
 
I'm nearly done with this summer project, although there's a few things left.
u5HaNH8.jpeg

Big two are tires and title.

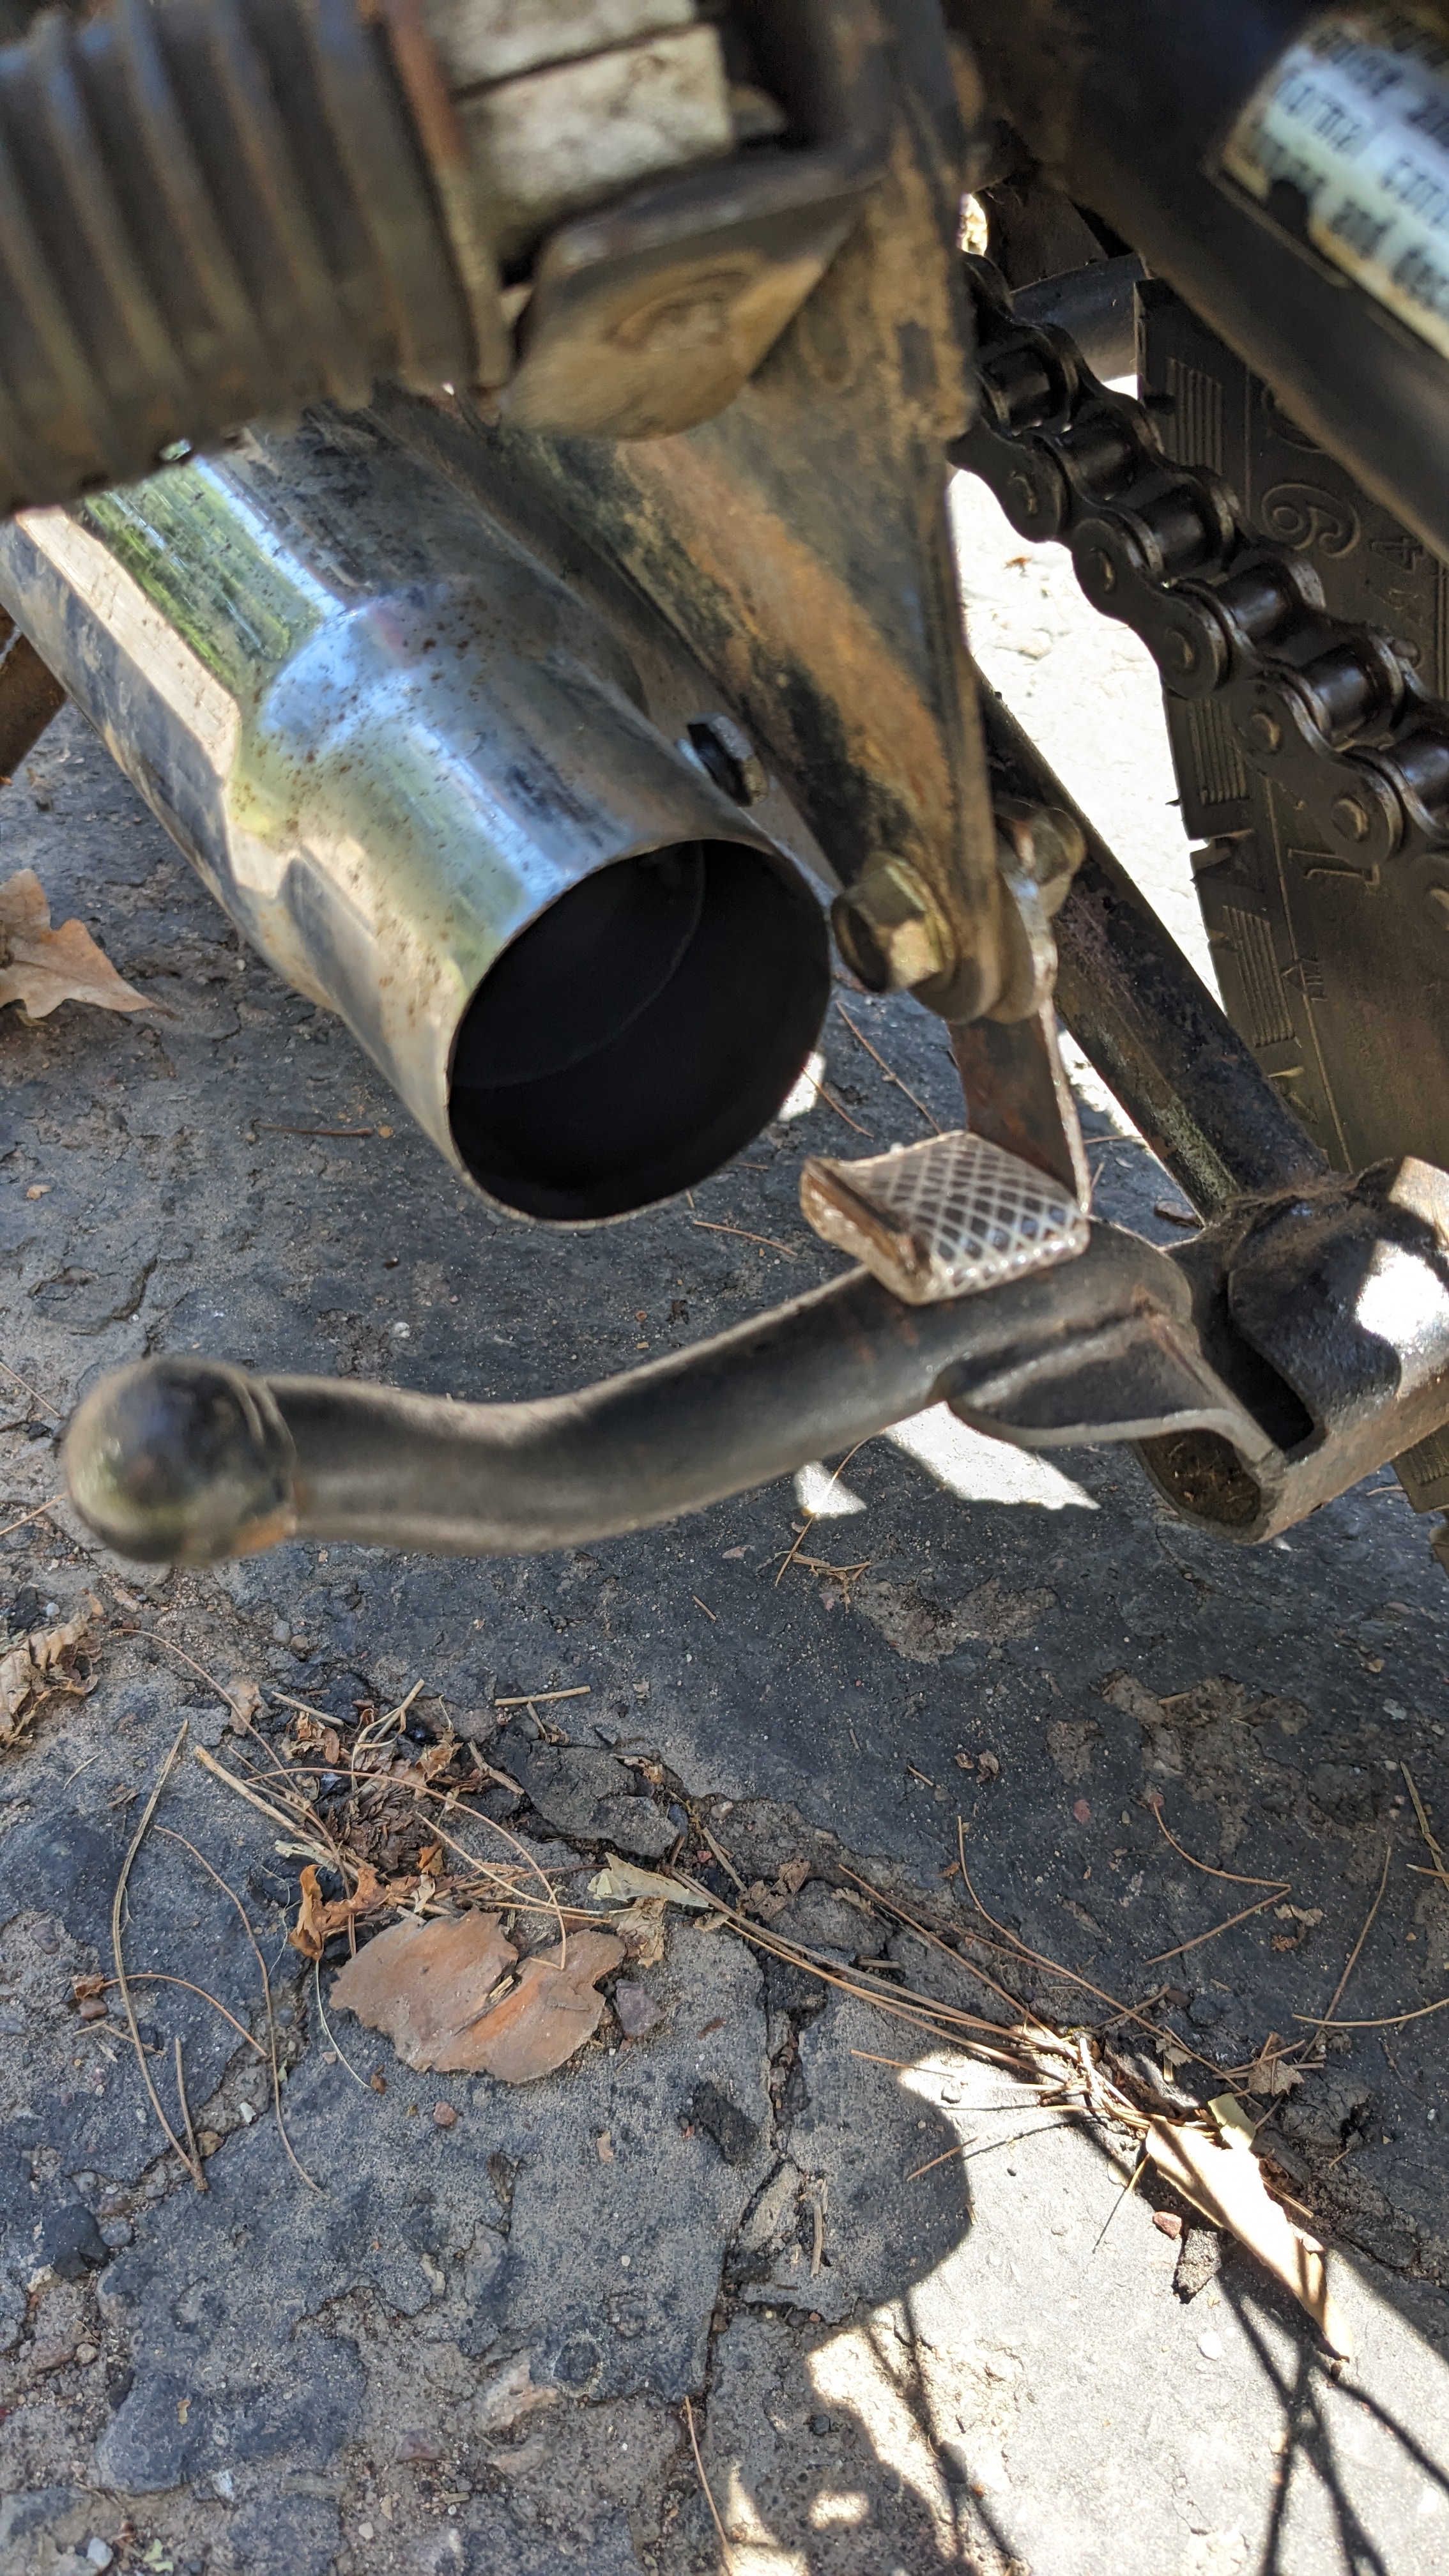
I got a new center stand on ebay as mine had the lever broken off of it, so getting it up on the stand was VERY hard, and without the stock muffler stop it was hitting the chain. Glad I noticed that before I put any actual miles on it. I managed to rig up this little stop and put a hose over it to cushion it.
tieEZYs.jpeg

I don't think it's too close to the exhaust... I suppose time will tell.

At one point after getting it running well I found it leaking oil around the camshaft cover on the top of the engine, so I removed that and cleaned up the old RTV kind of stuff and put some new stuff on (making sure not to gum up oil passages) and that is holding great.

I also let it sit for a few days with a tank full of vinegar to clean out the tank, it really needed it. I may need to go in there again though as the aftermarket petcock's little plastic screen seems too restrictive and I get practically no fuel flowing when I'm on reserve.

three small things left are the right shorty muffler is puking up fiber glass material because the baffle packing is worn out, my tach is still gummed up internally and doesn't really move (I just put one of my spares on for now but one of it's mounting studs is broken off), and finally I purchased a set of mismatched locks on ebay that have the right key ways needed for me to rekey the locks myself. I got some 2.5mm brass rods to cut into my own pins, and sometime later this month I plan to work a bit more on my rekey write up to include how to disassemble the steering lock and change out those pins. I won't need to redo the seat lock, but it looks like it's about the same method as the steering lock so hopefully it will still be helpful.

Not street ready yet, but it starts up perfectly at the push of the button and runs great. I putt down my dirt road a bit just to make sure it's all working right, and even gave my daughter her first ride around the yard. She said she really liked it, but doesn't want her own!
 
Nice progress — we'll look forward to the details on the key setup.

I've used similar shorties and was able to remove the baffles to get rid of old fiberglass and redo them with fresh packing material. The packing material didn't make them quiet enough for me and required pretty regular refreshment, so the shorties ultimately did not last long, either. Some folks here swear by steel pot scrubbers, but I never tried it.
 
Nice progress — we'll look forward to the details on the key setup.

I've used similar shorties and was able to remove the baffles to get rid of old fiberglass and redo them with fresh packing material. The packing material didn't make them quiet enough for me and required pretty regular refreshment, so the shorties ultimately did not last long, either. Some folks here swear by steel pot scrubbers, but I never tried it.
I might have to look into that, repacking them is on my list. Remember reading about steel wool back in the day, but I bet pot scrubbers would hold up way better. I'm just using them because they came with the bike. Some stock mufflers, or the reproductions I see out of asia on ebay would be great but they're just out of the budget.

I use my 3d printer a lot and I need to print a rod cutting jig for my dremel so I can use it to precisely cut and grind the pins to the exact length needed.
 
When you are ready to upgrade the exhaust there are many ways you can choose to go. A couple of years ago, a new member had a set that I liked which I will link to here. I believe they were MAC pipes in the seca line and required a slight enlargement to the mounting hole. If you read the subsequent posts you can get all the details. I actually bought a set to use in the future, but have yet to do so. They may not be easy to find, but were cheaper than NOS Honda pipes.

I'm currently running used OEM pipes that are perfectly satisfactory and I often set up a saved search on eBay when looking for something like that. It helps you find a good deal if you are not in a hurry.
 
I've opened my 350 gauges to replace the faces, and opened 450 gauges to turn it into a bomber inspired single unit years ago, so I know exactly what you mean.
I hadn't considered that the grease might just need to be cleaned up, it's clearly not where it's supposed to be but that makes a lot of sense.

My kid just got into yo-yos after some event at school, I busted out my old duncan butterfly for her. Maybe I need some yo-yo oil!
The tach discussion had my curiosity - that dual gauge headlight has my attention. What was the build process there?
 
Back
Top Bottom